Find Underground Water on Your Land (Step-by-Step)
Buying raw land without knowing where the water is — or whether there’s water at all — is one of the most expensive mistakes in off-grid living. Drilling a dry well can cost $5,000–$15,000 with nothing to show for it. Before you spend a dime on drilling equipment or hire a well company, you need to understand what’s happening underground. We’ve dug into geological surveys, well-driller field reports, and decades of homesteader experience to put together a practical, step-by-step approach to locating water on your property.
What You’ll Learn
- How to read your land’s natural indicators — vegetation, terrain, and geology that signal groundwater
- Free and low-cost tools for mapping underground water before you drill
- How to use public well logs and geological surveys to estimate depth and yield
- When to hire a professional hydrogeologist versus doing your own reconnaissance
Start With Public Records Before You Touch the Land

The single most valuable step costs nothing. Before you walk the property, pull existing well data for your area.
State Well Log Databases
Off-Grid Insider
Get off-grid guides & gear picks in your inbox — free
Nearly every U.S. state maintains a database of permitted well logs. These records include the depth at which drillers hit water, the yield in gallons per minute (GPM), and the geological layers they passed through. Search for “[your state] well log database” or check your state’s Department of Natural Resources website.
Key data points to look for:
- Static water level — how far below the surface the water table sits at rest
- Yield — anything above 5 GPM is typically sufficient for a household; below 1 GPM and you’ll need storage tanks
- Depth to bedrock — this affects drilling cost dramatically ($15–$30 per foot in sediment versus $30–$60+ per foot in hard rock)
Look at logs from wells within a half-mile radius of your property. Water tables can vary significantly over short distances, but neighboring wells give you a realistic baseline.
USGS Groundwater Resources
The U.S. Geological Survey publishes groundwater maps, aquifer boundaries, and water-table-depth estimates through their National Water Information System. Cross-reference this with your county’s soil survey from the NRCS Web Soil Survey tool — soil type directly affects how water moves underground and where it accumulates.
Read the Land: Natural Indicators of Groundwater
Once you have background data, walk the property. Nature leaves clear signs of where water collects underground.
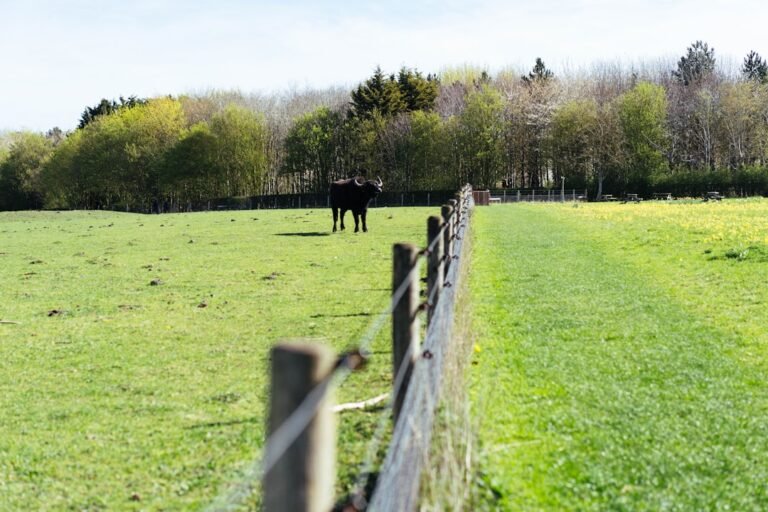
Vegetation Clues
Certain plants are reliable groundwater indicators, sometimes called phreatophytes — species whose roots tap directly into the water table:
- Willows, cottonwoods, and alders — these need consistent moisture and almost always indicate shallow water (often within 10–20 feet of the surface)
- Cattails and rushes — signal saturated soil or a very high water table, sometimes within 2–5 feet
- Patches of unusually green grass during dry periods — these spots are drawing moisture from below when surrounding vegetation has gone dormant
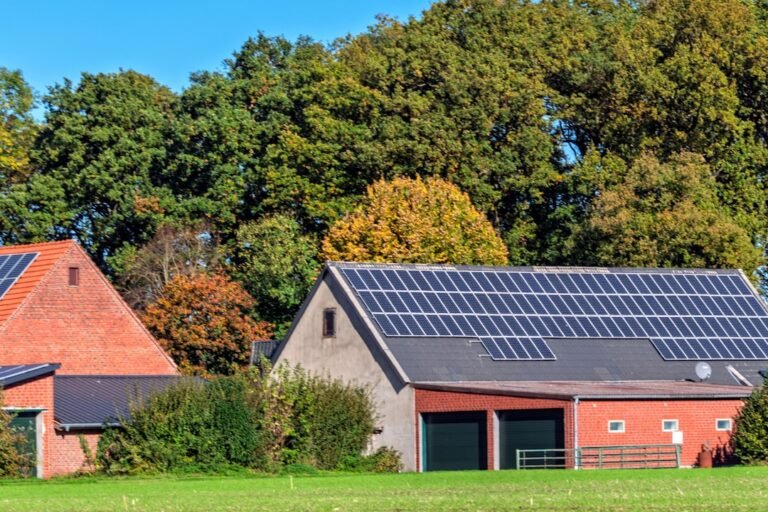
A distinct line where vegetation shifts from dry-adapted species (sagebrush, juniper) to moisture-loving species often marks the edge of a subsurface water feature.
Terrain and Geology

Water flows downhill underground just as it does on the surface. Focus your search on:
- Convergence zones — where two slopes meet to form a valley, swale, or draw. Groundwater concentrates where drainage patterns funnel together
- Bench areas on hillsides — a flat shelf partway up a slope can indicate a change in rock layers, which often creates a perched water table
- Spring seeps — look for wet ground, mineral deposits (white or orange staining on rocks), or moss growth on slopes even during dry months. Mark these locations with GPS
- Fractured rock outcrops — in hard-rock terrain, water moves through fractures rather than pore spaces. Visible fracture lines on exposed rock often continue underground and serve as water conduits
Soil Observations

Dig a few test holes 3–4 feet deep in promising areas using a post-hole digger or a manual auger. What you’re looking for:
- Moisture increasing with depth even during dry conditions
- Clay layers — clay acts as an aquitard (water barrier), meaning water often pools just above clay strata
- Sand and gravel layers — these are aquifer materials with high permeability and good water yield
A basic manual soil auger in the 4-foot range costs $50–$100 and lets you sample soil profiles across your property without heavy equipment.
Low-Cost Survey Methods
Seismic Refraction (DIY-Friendly Version)
While professional seismic surveys require expensive equipment, you can approximate subsurface layers using a simple method: strike a metal plate on the ground with a sledgehammer while a helper listens with a stethoscope or ear pressed to the ground at measured distances. Changes in sound transmission speed indicate transitions between soil, saturated zones, and bedrock. This is imprecise but free.
Electrical Resistivity

Water-saturated ground conducts electricity better than dry ground. Resistivity meters designed for groundwater prospecting measure this difference. A basic unit costs $800–$2,000, which is steep for one-time use — but some well drillers, agricultural extension offices, or university geology departments will loan or rent equipment. If multiple neighbors are also looking for water, splitting the cost makes sense.
Dowsing — The Honest Assessment
We’d be leaving out a major part of the conversation if we didn’t address dowsing (water witching). Controlled studies — including a notable 1990 study in Munich that tested over 500 dowsers — have not demonstrated results better than chance. Some experienced dowsers may be unconsciously reading the same terrain indicators we’ve described above, which can produce real results for the wrong reasons. Our recommendation: use the geological and observational methods in this guide. They’re repeatable and explainable.
When to Hire a Professional
If your land is in hard-rock terrain, arid climate, or you’re seeing conflicting signals, a licensed hydrogeologist is worth the $500–$2,000 consulting fee. They can:
- Run a proper electrical resistivity or ground-penetrating radar (GPR) survey
- Interpret the geology to recommend specific drill sites ranked by probability
- Estimate expected yield and water quality before you commit to a $10,000+ well
Ask your state’s geological survey or local well drillers for referrals. A good hydrogeologist will save you money by reducing the chance of a dry hole.
Common Mistakes
Drilling in the most convenient spot. Homeowners regularly drill near the house for convenience rather than where the water actually is. Running a water line 200 feet from a productive well is far cheaper than drilling a second dry hole.
Ignoring water quality. Finding water isn’t the same as finding usable water. High iron, sulfur, arsenic, or total dissolved solids (TDS) can make a well expensive to treat. Pull water quality data from neighboring well reports when available, and budget for a comprehensive water test ($150–$300) once you have a producing well.
Relying on a single indicator. Green vegetation, a low spot in the terrain, or a neighbor’s successful well — none of these alone is reliable. Stack multiple indicators. The best drill site is where vegetation, terrain, geology, and well log data all point to the same spot.
Skipping the yield test. A well that produces water during drilling isn’t necessarily a well that can sustain household demand. Insist on a proper pump test — typically 4–24 hours of sustained pumping with water level monitoring — before accepting a well as complete. Most reputable drillers include this, but confirm in writing.
Our Recommendations
For Property Reconnaissance
Seymour Midwest Post Hole Auger / Manual Soil Auger — A sturdy hand auger lets you test soil composition at multiple points across your property for a fraction of what a single drill attempt costs. Look for one rated for at least 4-foot depth with interchangeable bits.
For Water Quality Testing
Safe Home Ultimate Drinking Water Test Kit — Tests for 200+ contaminants including heavy metals, bacteria, pesticides, and volatile organics. Once you locate water — whether from a well, spring, or surface source — you need lab-grade testing before committing to a treatment system.
For Ongoing Water Level Monitoring
Solinst Model 101 Water Level Meter — The industry standard for measuring static water level in wells and boreholes. Available in lengths from 100 to 1,000 feet. This is a professional-grade tool, but if you’re managing multiple wells or monitoring a spring-fed system, it pays for itself by catching problems early.
FAQ
How deep do most residential wells need to be?
It varies enormously by region. In areas with high water tables (parts of the Southeast, Pacific Northwest river valleys), wells may hit water at 20–50 feet. In arid Western states or granite-heavy terrain, 200–500 feet is common. Your state’s well log database is the best predictor for your specific area.
Can I dig a well by hand instead of drilling?
Hand-dug wells are feasible in soft soils where the water table is within 30 feet of the surface. They require a wider diameter (typically 3–5 feet) and proper casing to prevent collapse. It’s labor-intensive but has been done successfully by homesteaders for centuries. For anything deeper or in rocky ground, mechanical drilling is the practical option.
How much water does an off-grid household actually need?
Plan for 50–100 gallons per person per day if you’re running a full household with indoor plumbing. With conservation measures (low-flow fixtures, greywater recycling), many off-grid households get by on 30–50 gallons per person per day. Livestock, irrigation, and fire suppression are separate — and often much larger — demands.
Is spring water safer than well water?
Not inherently. Springs are surface-influenced, meaning they’re more vulnerable to contamination from runoff, agriculture, and wildlife. Wells that draw from deeper aquifers typically have better natural filtration. Both require testing. The advantage of a spring is that it’s gravity-fed and requires no pump — but you’ll likely need filtration and possibly UV treatment.
What if my land has no groundwater?
It happens, particularly in certain desert and karst regions. Your options include rainwater harvesting (which can be a primary water source with enough roof area and storage), water hauling with bulk storage tanks, or — in some cases — exploring a different parcel. A property with no viable water source will cost you in hauling fees for as long as you live there. Factor that into your land purchase decision, not after.