Save $5,000: Install a Composting Toilet (Step-by-Step)
Composting Toilets for Off-Grid Cabins: A Complete Installation & Operation Guide
The Problem Most Off-Gridders Face
You’ve built your cabin miles from the grid, installed solar panels, and dug a well. Then reality hits: you need a functioning toilet that doesn’t require septic pumping trucks or municipal sewage. A conventional septic system costs $3,000–$5,000 and requires professional installation. A composting toilet? You can install one yourself in a weekend for under $1,000, and it actually improves your soil while eliminating human waste safely and legally.
We’ve installed and operated three different composting toilet systems across my properties over the past eight years. This guide covers what actually works—and what wastes your money.
What You’ll Learn
- Exactly how to choose between dry, self-contained, and continuous-batch composting toilets for your specific cabin setup
- Step-by-step installation instructions, including ventilation sizing (the most commonly botched part)
- Real maintenance schedules—not “whenever you feel like it” advice
- How to avoid the five biggest mistakes that kill composting toilets
Choosing Your Composting Toilet Type
Off-Grid Insider
Get off-grid guides & gear picks in your inbox — free

Dry Composting Toilets (Best for Single-User Cabins)

A dry toilet uses no water. After each use, you add carbon-rich material (sawdust, wood shavings, or coconut coir) to cover waste. The mixture sits in a chamber below, decomposing aerobically.
Best for: Cabins used seasonally or by one person. Minimal power needs.
Reality check: You’ll hand-turn compost every 2–4 weeks. If you’re grossed out by touching sawdust that’s touched waste, this isn’t your system.
Example: The Nature’s Head Dry Toilet Check Price → costs around $950. It separates liquid from solids, which dramatically speeds decomposition. The urine diversion goes to a separate 2-liter bottle you empty weekly (into a 5-gallon bucket for dilution and plant fertilizing). Solids drop into a 5-gallon bucket lined with a compostable bag. You add about 1–2 cups of coconut coir after each use.
Our experience: This works flawlessly in a cabin you visit 3–4 weekends per month. We’ve run the same Nature’s Head for six years without a single clog or smell issue—provided you use the coir religiously. If someone forgets the cover material, you’ll know immediately and won’t forget again.
Self-Contained Electric Composting Toilets (Best for Year-Round Use)

These use electric heat (and sometimes mechanical agitation) to accelerate decomposition inside the unit itself. Nothing gets removed until the 4–7 gallon bin is full, which takes 1–3 months for one person.
Best for: Permanent cabins with reliable power. People who want zero hands-on compost management.
Power draw: Typically 300–500 watts when heating, 2–3 hours per day. A 400Wh daily solar budget can handle this.
Example: The Separett Villa 9000 Check Price → ($1,100–$1,300) is a Swedish-made workhorse. It heats waste to 60°C (140°F), which kills pathogens while reducing volume by 70%. Urine drains to an external container. Every 30 days (for one person), you dump the compost solids—which look like dark, crumbly soil—into a 5-gallon bucket. No smell. No turning. No carbon material needed.
Installation note: You need a dedicated 120V outlet (or 240V for some models). If your solar system doesn’t have spare capacity, add a small 200W panel just for the toilet. The extra cost ($200–$300) is worth never worrying about smell.
Continuous-Batch Composting (Best for Medium-Use Cabins, 2–3 People)
This is a traditional multi-chamber system with separate bins. As one fills, you move to the next bin. The first bin sits for 6–12 months while microbes and insects finish the job.
Best for: Cabins used 2–3 weekends monthly by multiple people. Maximum sustainability—nothing electronic, no power draw.
Reality check: You need about 20 square feet of outdoor space. Climate matters—in cold climates, decomposition stalls in winter, so you need three bins instead of two.
Cost: $400–$800 for materials (wood, hinges, hardware). Building it yourself versus buying pre-fab.
Our experience: We built a three-bin cedar system for $650. The middle bin stays in rotation—you fill it over 4 months, then let it cure for 8 months while the third bin fills. The finished compost from the first bin becomes garden gold. But winter in zone 5 slowed everything down, so We added a fourth bin to maintain the rotation during dormant months.
Installation: Step-by-Step
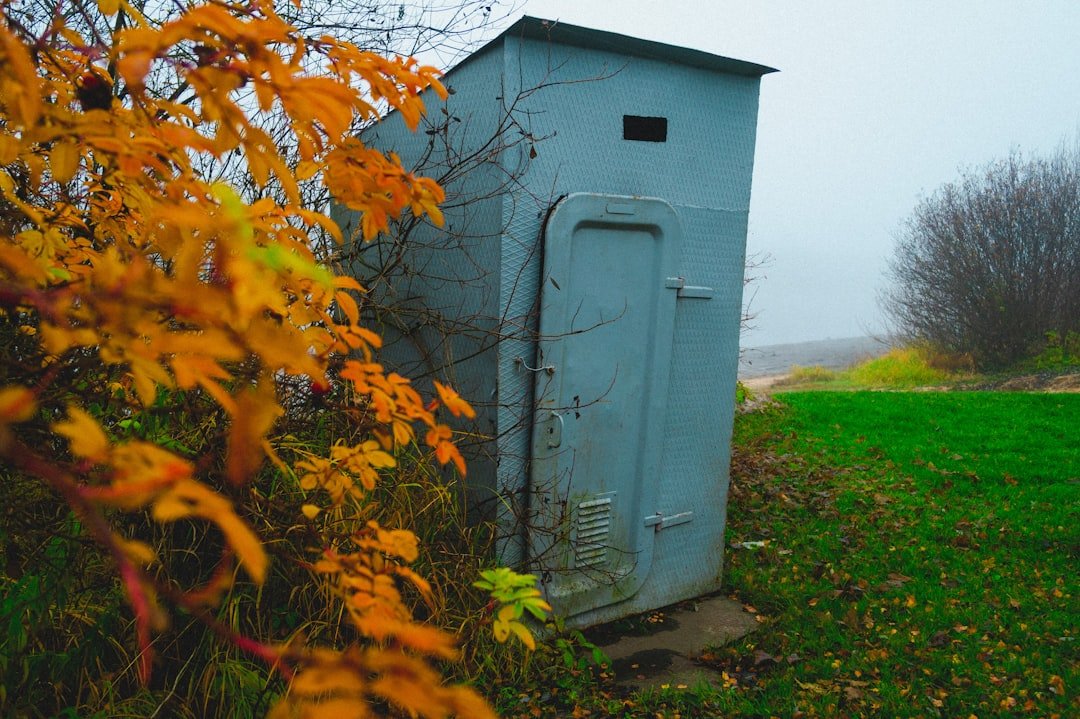
Location & Ventilation (The Critical Part)

This is where 80% of problems start. Inadequate ventilation causes smell, which makes neighbors angry and kills your system’s license to exist.
Requirements:
– At least 3 feet from your cabin door (smell diffusion)
– Not upwind of your main living space
– Elevated slightly above ground level (drainage)
– Easily accessible year-round
Ventilation sizing:
A single-occupant composting toilet needs minimum 2-inch PVC vent pipe running to a height at least 12 inches above your roof ridge. This creates stack effect—rising warm air draws fresh air through the toilet, not out into your cabin.
For every additional occupant, add 1 inch of vent diameter. Two people? Use 3-inch pipe.
Vent pipe installation:
1. Drill a 2.5-inch hole in your toilet’s back or top (check manual—don’t guess).
2. Connect 2-inch PVC pipe with a rubber coupling (allows some flex if the toilet shifts).
3. Run the pipe vertically through your cabin roof or through an exterior wall.
4. Install a vent cap at the top (not a sharp 90-degree elbow—air can’t escape).
5. Insulate the vent pipe in cold climates with foam pipe insulation. Condensation inside an uninsulated vent can drip back into the toilet.
Pro tip: Install the vent cap with a slight downward angle on one side so rain sheds off. A vent cap with a spring damper (like the Broan roof cap, $25–$35) opens only when air flows, preventing rain infiltration.
Electrical Setup (If Using a Powered Unit)

For the Separett Villa or similar electric composters:
- Run 12-gauge, 240V-rated wire (even for 120V units—future-proofing).
- Install a dedicated 15-amp breaker.
- Use a GFCI outlet rated for wet locations.
- The toilet shouldn’t share a circuit with other critical loads.
Typical install takes 30 minutes if the outlet is already roughed in. If not, budget $150–$250 for an electrician.
Liquid Management
Dry and self-contained toilets: Urine separates into a bottle or external tank. You need:
– A 5-gallon food-grade bucket for storage (yes, food-grade—you might use this for garden fertilizer later)
– A gravity-fed hose (if using an external tank)
– A 1-gallon dilution bottle for mixing (1 part urine : 8 parts water before applying to plants)
Never apply urine straight to vegetables. It’s too concentrated and can damage plants. Dilution is non-negotiable.
Maintenance Schedule (Actual, Not Theoretical)
Weekly
- Empty urine separator (if applicable)
- Check that vent pipe isn’t blocked by snow, leaves, or mud daubers
Monthly
- Add carbon cover material (sawdust/coir) to dry toilets
- Empty solids bin (if using electric composter for one person)
- Inspect vent cap for debris
Quarterly
- Inspect plumbing connections for leaks or corrosion
- Check that the toilet lid seals properly
- Empty solids if you haven’t already (don’t let it overflow—trust me on this)
Annually
- Deep-clean all removable components with vinegar and water
- Inspect wooden structures for rot or termites
- Review your compost bins—are you getting finished material, or just a stalled pile?
Common Mistakes (We’ve Made These)
1. Undersizing Ventilation

We installed a 1.5-inch vent on my first dry toilet. Result: smell in the cabin after three months. Upgraded to 3-inch pipe. Problem solved. Don’t be cheap on ventilation diameter.
2. Forgetting Carbon Material
Someone will forget to add sawdust. Smell floods your cabin. You’ll spend a week airing it out and losing credibility with family. Label the carbon bucket “USE AFTER EVERY TIME” with a Sharpie. Consider installing a foot pedal dispenser that automatically covers waste.
3. Mixing Urine and Solids

If your toilet doesn’t separate urine, decomposition becomes anaerobic (smelly) and takes 2+ years to finish. Urine separation is worth the extra cost. Every good system does it.
4. Placing the Toilet Too Close to Water Sources
Groundwater contamination is real if your cabin’s toilet sits uphill from your well. Keep composting toilets at least 50 feet from any water source, and downhill if possible. Check local regulations—some counties have specific requirements.
Our Recommendations
For Single-User, Seasonal Cabins
Nature’s Head Dry Toilet Check Price → — $950
– Bulletproof urine separation
– No power needed
– Works in climates down to -20°F
– 6-year track record on our property
For Year-Round, Grid-Independent Cabins
Separett Villa 9000 Check Price → — $1,200
– Electric heat ensures decomposition in winter
– Minimal odor
– Finished compost after 30 days
– Requires dedicated solar capacity, but worth it
Bonus: Carbon Material Supplier
Coco Coir Bricks (Amazon Basics or Local Pet Store) — $12–$18 per brick
– Expands to 2+ gallons when hydrated
– Better than sawdust (fewer splinters, faster decomposition)
– Sustainable sourced alternative to peat moss
FAQ
Q: Can We use sawdust from treated lumber?
A: No. Treated wood contains arsenic or copper. Use untreated pine shavings or hardwood sawdust from a local mill. Better yet, buy coconut coir—it’s cleaner and faster.
Q: How long until I can use the finished compost in my vegetable garden?
A: For human waste compost, best practice is 12+ months after finishing decomposition (to ensure pathogen kill). Use it on ornamentals after 6 months. Never use on vegetables you’ll eat raw unless it’s been tested and certified safe. Many off-gridders use it on fruit trees and perennials instead—safer and equally valuable.
Q: Does a composting toilet smell?
A: Not if ventilated properly and maintained. If it smells, you have a ventilation, carbon-material, or liquid-separation issue. Fix one of those three, and the smell disappears.
Q: What if our cabin is completely off-grid with no spare solar capacity for heating?
A: Stick with a dry toilet and urine separation. They require zero power and outperform powered systems in remote locations. The Nature’s Head is your answer.
Q: Can We use a composting toilet in winter?
A: Yes, but decomposition slows dramatically below 50°F. Powered units handle this fine. Dry systems work but take longer to finish. Cold-climate users should plan for extra bin space or accept that winter waste sits dormant until spring thaw jumpstarts microbial activity.