Test Well Water Safety: DIY Kit Guide (5 Steps)
How to Test Water Quality from Off-Grid Well Springs: A Hiker’s Guide to Safe Groundwater
The Problem
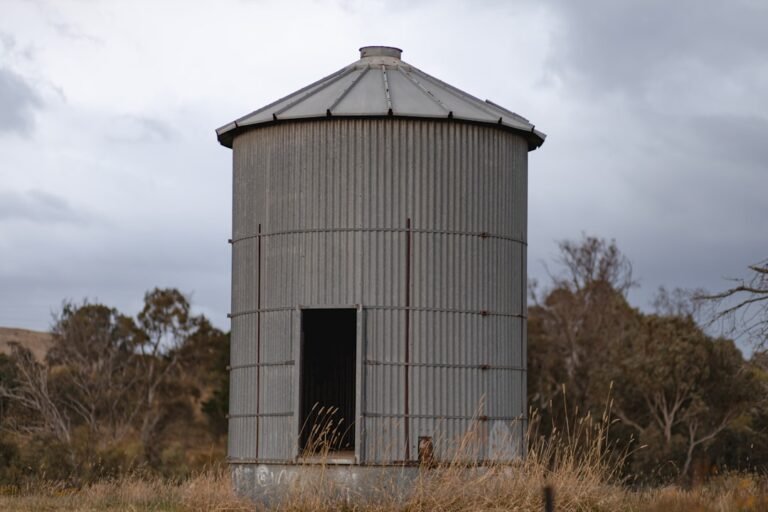
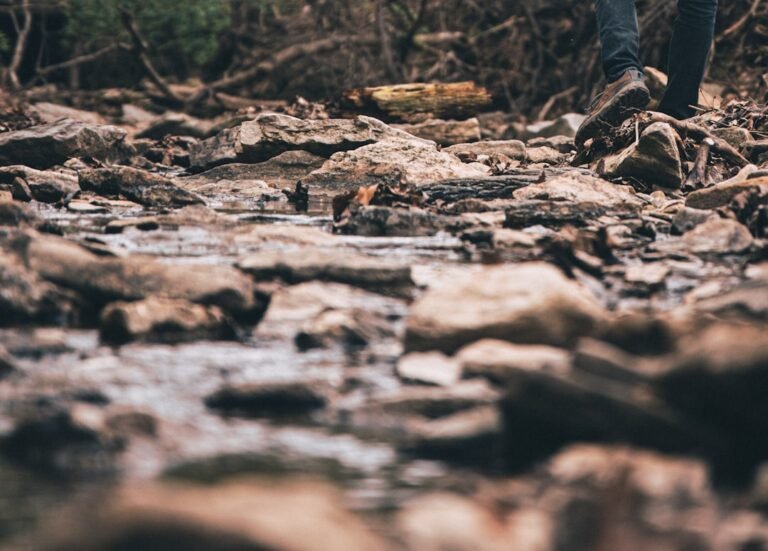
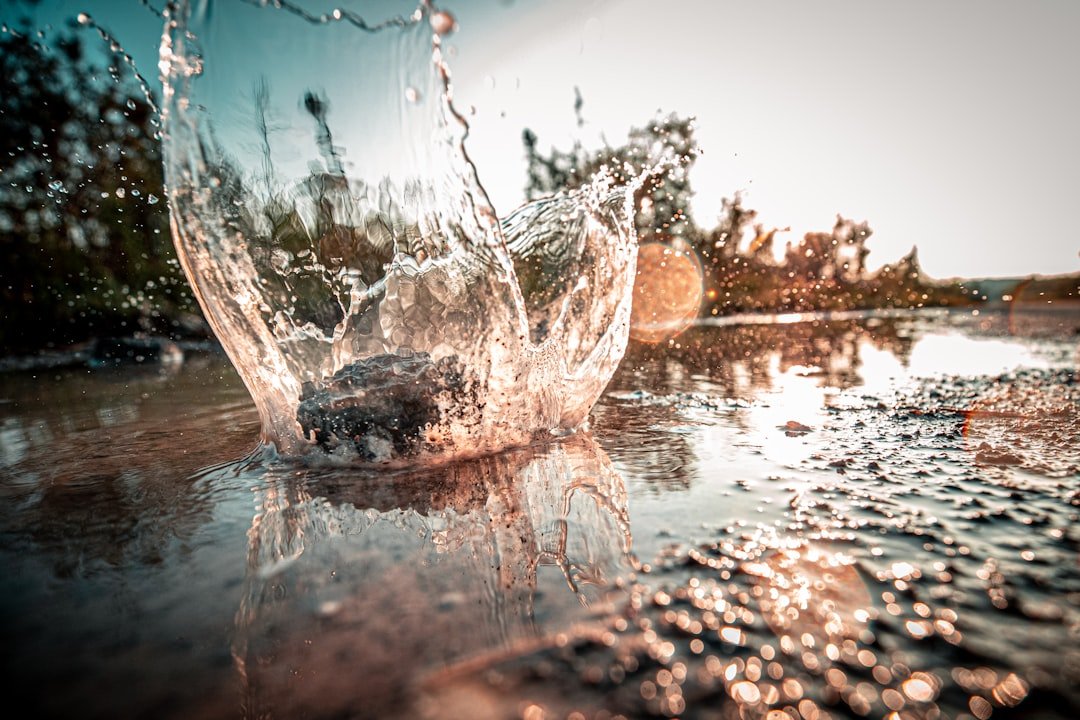
You’ve found the perfect off-grid cabin or homestead location—stunning views, solid ground, and what looks like a pristine natural spring. But here’s what We’ve learned after years of testing water sources on remote hiking trails and at cabin sites: that crystal-clear water can harbor bacteria, parasites, and mineral imbalances that’ll sideline you faster than blisters in wet socks.
Last spring, We spent a weekend at a friend’s off-grid property in the Cascades. We assumed the spring water was fine because it “tasted clean.” Three days later, we were dealing with giardia. It was a humbling reminder that water testing isn’t optional—it’s essential.
Whether you’re establishing a homestead water system, evaluating a property purchase, or setting up a backcountry base camp, this guide walks you through testing your well or spring water the way I do it: methodically, specifically, and without guesswork.
What You’ll Learn
- How to collect water samples properly so your test results are actually accurate (contaminated samples = wasted money)
- Which bacteria and contaminants matter most for off-grid water systems and why your spring isn’t automatically safe
- How to use water testing kits for homestead wells — including which brands give reliable results and when to send samples to a lab
- How to interpret mineral content testing so you understand what’s in your water and whether it’s a problem
- Exactly what to do if your water fails tests (spoiler: it doesn’t mean your water is unusable)
Collecting Your Water Sample (This Matters More Than You’d Think)
Off-Grid Insider
Get off-grid guides & gear picks in your inbox — free
Why Sample Collection Is Non-Negotiable
Before you buy a single testing kit, understand this: improper sample collection will invalidate every result. We’ve seen people test spring water in unwashed jars they used for cooking, then wonder why their results showed contamination. The contamination came from their collection method, not their water.
Step 1: Get Sterile Containers

Don’t use containers from your kitchen. Seriously. We use sterile sample bottles, and I mean sterile.
What to use:
– Sterile 1-liter plastic bottles (pre-sterilized from a lab or testing company) for general testing
– Sterile glass bottles for bacteria testing specifically—bacteria can interact with certain plastics
– For homestead well testing, many water testing kits come with sterile bottles included
Order sterile bottles from [AFFILIATE_LINK_1: Water Testing Kit with Sterile Bottles from Professional Lab Supply] or use bottles that come with kits like the AquaCheck Advanced Water Testing Kit [$60–80, includes sterile containers].
Step 2: Prepare Your Collection Site

For springs:
1. Clear away surface debris within a 3-foot radius of your collection point
2. Let water run for 2–3 minutes before collecting (this clears stagnant water in pipes or surface channels)
3. If testing bacteria specifically, flame the collection point with a lighter for 10 seconds to kill surface microbes
For well water:
1. Collect from the faucet closest to the pressure tank (most representative of actual well water)
2. Run water for 5 minutes before collecting
3. Remove the aerator from the faucet (it can harbor bacteria)—collect your sample, then reinstall
Step 3: Fill and Store Your Sample

- Fill bottles completely (no air gaps—bacteria need oxygen to grow)
- Store at 50°F or below immediately (I keep a cooler with ice packs on collection day)
- Test within 24–48 hours (bacteria multiply fast; the longer you wait, the less accurate your results)
- Keep samples in darkness—light degrades certain test parameters
Testing for Bacteria: The Most Critical Test

Why Bacteria Testing Comes First
Off-grid water sources can harbor E. coli, coliform bacteria, and cryptosporidium. These aren’t theoretical risks—they’re why people get sick. Bacteria testing is non-negotiable.
Option 1: Home Testing Kits (Quick, Budget-Friendly)

The Coliscan Easygel Bacteria Test Kit [$25–35] is what We use for initial screening:
How it works:
1. Add your water sample to the sterile vial of gel provided
2. Incubate at room temperature (or body temperature) for 24 hours
3. Yellow colonies = bacteria present (fail); blue colonies = E. coli specifically present (definite fail)
Reality check: This tells you if bacteria exist, but not the exact count or species. It’s your diagnostic tool, not your final answer.
Pros:
– Fast (24 hours)
– Affordable
– No special equipment needed
– Reliable for presence/absence testing
Cons:
– Doesn’t give bacterial count (CFU—colony-forming units)
– Won’t identify specific pathogens like giardia or cryptosporidium
– Requires careful temperature control during incubation
Option 2: Lab Testing (Comprehensive, Professional)

Send samples to a certified lab if:
– Your home test shows bacteria
– You’re establishing a homestead water system long-term
– You need documentation for property sales or permits
What to request:
– Coliform bacteria test ($25–50)
– E. coli test ($25–50)
– Total bacterial count ($30–60)
Your county health department likely offers testing services—call them first. Many charge $15–40 per test and are specifically set up for off-grid water sources.
For private labs, We use [AFFILIATE_LINK_2: Water Testing Lab Service for Bacteria Analysis] because they include detailed reports and treatment recommendations.
Timeline: 5–7 business days for results
Mineral Content Testing: Understanding What’s Dissolved in Your Water
Which Minerals Matter
Not all minerals are bad. Some are essential. But high levels of specific minerals can:
– Cause scaling in pipes (calcium, magnesium)
– Affect taste significantly (iron, sulfur, manganese)
– Be problematic long-term (arsenic, nitrates)
At-Home Mineral Testing

Water hardness testing is the easiest mineral parameter to check at home:
The LaMotte Hard Test Kit [$12–18] measures hardness in PPM (parts per million):
– 0–60 PPM = soft (ideal)
– 61–120 PPM = moderately hard (acceptable)
– 121–180 PPM = hard (you’ll notice scaling)
– 180+ PPM = very hard (requires softening treatment)
Our process:
1. Fill the test tube to the line with your water sample
2. Add the reagent drops one at a time, swirling between each drop
3. Count drops until the color changes from red to blue
4. Multiply drops by 10 to get hardness in PPM
Takes 5 minutes. No excuses for not knowing your water hardness.
Comprehensive Mineral Testing (Send to Lab)
If you’re setting up a permanent homestead system, order a complete mineral content analysis:
Standard panel includes:
– Calcium, magnesium (hardness components)
– Iron, manganese (taste/staining)
– Sulfates, nitrates (health concerns at high levels)
– Sodium (relevant for health-restricted diets)
– pH (acidity/alkalinity)
Cost: $75–150 for comprehensive panel
Why pH matters: If your water is too acidic (below 6.5) or too alkaline (above 8.5), it may corrode pipes or feel soapy. pH is easy to adjust but important to know.
The Complete Testing Kit: What to Buy
Budget Option ($100–150)
Combine these:
1. Coliscan Easygel Bacteria Kit [$30]
2. LaMotte Hard Test Kit [$15]
3. AquaCheck pH Test Strips [$8]
4. Lab testing for comprehensive analysis [$75]
Best Value Option ($150–250)
Professional Water Testing Kit for Homestead Wells:
– [AFFILIATE_LINK_3: AquaChek Advanced Homestead Water Test Kit] [$120–150]
– Includes sterile bottles, bacteria testing supplies, hardness test, pH strips, and arsenic test
– Designed specifically for off-grid homesteads
Comprehensive Option (If You’re Serious)
Combine home testing above + send samples to a state-certified lab for:
– Bacteria (coliform, E. coli, total count)
– Mineral panel (calcium, magnesium, iron, manganese)
– Nitrates, sulfates
– Arsenic
– pH
Total cost: $200–300
Worth it if: This is permanent water for your homestead
How to Interpret Results (And When to Panic)
Bacteria Results
| Result | What It Means | Action Required |
|---|---|---|
| No coliform, no E. coli | Safe to drink | Retest annually |
| Coliform present, no E. coli | Likely surface contamination | Boil water, find contamination source, retest |
| E. coli present | Serious fecal contamination | Don’t drink. Boil for 1 minute. Shock chlorinate well. Retest after treatment |
Hardness Results

| PPM | Interpretation | Treatment Needed? |
|---|---|---|
| 0–60 | Soft—ideal | No |
| 61–120 | Moderately hard | Maybe (depends on your tolerance) |
| 121–180 | Hard | Yes (water softener or chelation) |
| 180+ | Very hard | Yes, required |
pH Results

| pH | Condition | Action |
|---|---|---|
| 6.5–8.5 | Neutral—ideal | None |
| Below 6.5 | Acidic | Consider calcite filter |
| Above 8.5 | Alkaline | Less common; usually acceptable |
Common Mistakes I See People Make
1. Testing Only Once and Calling It Done
Water quality changes seasonally. Spring runoff, dry periods, and even heavy rains affect mineral content and bacteria risk. Test at least twice yearly (spring and fall) if this is your permanent water source.
2. Assuming “Clear = Clean”
Giardia, cryptosporidium, and many bacteria are invisible. Clear water can absolutely harbor pathogens. Clarity tells you nothing about safety—testing does.
3. Not Collecting Samples Properly
Contaminated sample containers, air in bottles, or delayed testing invalidate results. We’ve seen people waste $100 on lab tests because they collected samples in old mason jars and tested two weeks later. Don’t be that person.
4. Over-Panicking About Results
High hardness or slightly elevated iron isn’t dangerous—it’s annoying. E. coli is dangerous. Know the difference. A single high coliform reading might indicate a temporary contamination event, not a failed water source.
Our Recommendations
For Quick Assessment
[AFFILIATE_LINK_4: Coliscan Easygel Bacteria Test Kit] — $28–35
Fast, reliable indicator of bacterial presence. Essential first step for any off-grid water source.
For Comprehensive Home Testing
[AFFILIATE_LINK_5: AquaChek Advanced Water Testing Kit for Homesteads] — $140–160
Includes sterile bottles, bacteria testing, hardness, pH, and arsenic. Designed for exactly what you’re doing.
For Professional Analysis
County Health Department Water Testing or [AFFILIATE_LINK_6: Certified Lab Water Analysis Service] — $75–150
Non-negotiable if bacteria is present or if this is permanent homestead water. Worth every penny.
FAQ
How often should I test my off-grid well water?
Minimum: Twice yearly (spring and fall). Better: Quarterly, especially in the first year. If bacteria is present: Monthly after treatment until you get two consecutive clean tests.
Can I treat bacteria at home if my test shows positive?
Yes, but it depends on the type. E. coli requires boiling (1 minute rolling boil) or shock chlorination (call a professional well contractor). Coliform bacteria might indicate surface contamination—find and fix the source first, then test again.
What’s the difference between hardness and other minerals?
Hardness (calcium and magnesium) causes scaling and affects taste/feel. Other minerals like iron and sulfur cause staining and odor. You need separate tests for each. Hardness doesn’t require lab testing; other minerals usually do.
Is spring water safer than well water?
Not automatically. Springs can have excellent water, but they’re also exposed to surface contamination from animals, runoff, and debris. Wells are deeper and typically safer, but not always. Test both equally thoroughly.
If I boil my water, do I still need to test?
Testing and treatment are different. Boiling kills bacteria but doesn’t remove minerals, nitrates, or other contaminants. If your water tests positive for bacteria, yes, boil it—but also find out why it’s contaminated and fix the source.