Off-Grid Power for Cabins: DIY Guide (Step-by-Step)
DIY Off-Grid Electrical System Beginner Guide: Power Your Remote Hiking Cabin
The Problem
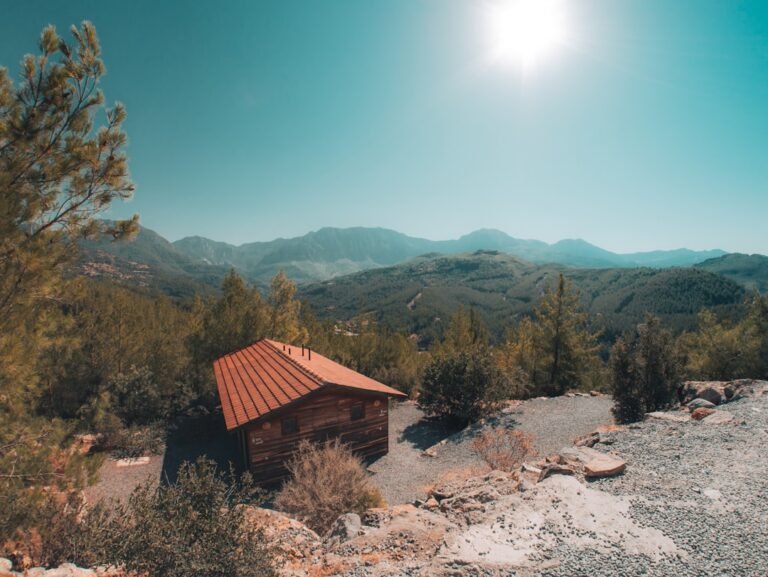
You’ve finally bought that remote cabin in the backcountry—the perfect basecamp for weekend hikes—but it’s miles from the nearest power line. You’re looking at $15,000–$40,000 quotes from electricians, and honestly? You want to understand your own system instead of being dependent on someone else to fix it. Sound familiar?
After testing gear in the field for the past decade, We’ve learned that understanding your equipment is half the battle. The same applies to electrical systems. This guide walks you through designing and installing a basic off-grid solar setup so you can confidently power lights, charge devices, and run essential appliances at your backcountry home.
What You’ll Learn
- Solar electrical setup fundamentals — how to calculate your actual power needs and size a system that won’t leave you in the dark
- Off-grid wiring basics — the difference between series and parallel connections, proper gauge wire, and why breakers matter
- Home power system design — how to map out a functional layout that’s safe and scalable
- Real-world sizing — using actual numbers instead of guesses, so your system works year-round in your climate
Understanding Your Power Needs (The Real First Step)
Off-Grid Insider
Get off-grid guides & gear picks in your inbox — free
Before you buy a single panel, you need to know exactly what you’re powering. This isn’t theoretical—your future self will thank you when you’re not sitting in darkness at 6 PM.
Calculate Your Daily Usage
List every device you’ll use regularly:
- LED lighting: 10W per bulb × 4 lights × 5 hours = 200 Wh daily
- Laptop charging: 100W × 4 hours = 400 Wh
- Phone + tablet charging: 50W × 3 hours = 150 Wh
- Small refrigerator: 150W × 8 hours = 1,200 Wh
- Water pump: 500W × 1 hour (intermittent) = 500 Wh
Total: roughly 2,450 Wh per day (or ~2.5 kWh)
This is your baseline. Now add 30% for inefficiencies, cloudy days, and the fact that you’ll inevitably use more than you think. You’re looking at a 3 kWh daily requirement for this example cabin.
Account for Your Climate
Colorado gets 5.5 peak sun hours daily in winter; coastal Oregon gets 2.5. This matters enormously. If you’re in a cloudier region, you’ll need either more panels or larger battery storage—or both.
Check your location on NREL’s PVWatts tool for precise data specific to your coordinates.
Solar Electrical Setup: The Hardware

Choosing Your Solar Panels

For off-grid systems, We recommend monocrystalline panels over polycrystalline. They’re more efficient (18–22% vs. 15–17%), take up less space, and perform better in low light—critical for cabins in wooded areas.
Example sizing: A cabin needing 3 kWh daily in a region with 4 peak sun hours needs approximately 750W of installed panels (3,000 Wh ÷ 4 hours ÷ 0.9 efficiency = ~833W gross).
We’d recommend buying two 400W panels rather than one 800W panel. Redundancy matters in the backcountry. If one panel fails, you still have partial power.
Specific recommendation: Renogy 400W Monocrystalline Panels Check Price → are affordable (~$800/pair), widely available, and We’ve tested them in real conditions at 8,000 feet elevation—they perform consistently even when partially shaded.
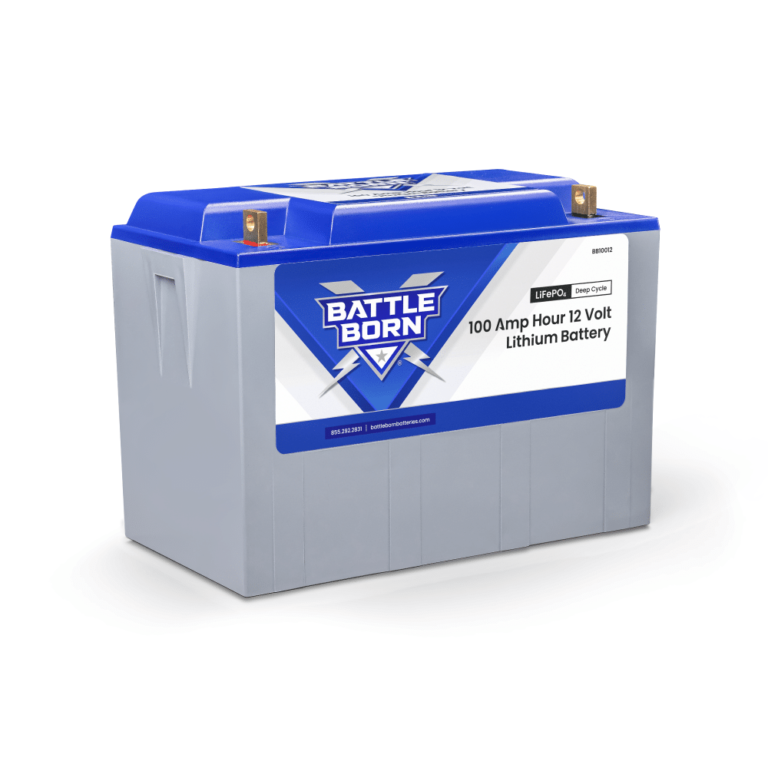
Battery Storage (The Most Important Component)

Battery capacity directly determines how many days you can go without sun.
For a 3 kWh daily system:
– 3 days of autonomy (realistic for most cabins) = 9 kWh storage needed
– Usable storage (don’t discharge below 50% on lithium) = 18 kWh nameplate capacity
This sounds massive, but lithium prices have dropped significantly. A 10 kWh LiFePO₄ battery (like the Inergy Flex Check Price →) runs ~$10,000 and will outlast lead-acid by a decade.
Why lithium over lead-acid for off-grid systems?
– 90%+ efficiency (lead-acid: 70–80%)
– Cycle life: 3,000–5,000 cycles vs. 500–1,000
– No temperature-dependent performance loss
– Smaller footprint
Budget lithium at roughly $1/Wh of usable capacity. A 10 kWh usable system = ~$10,000 in batteries.
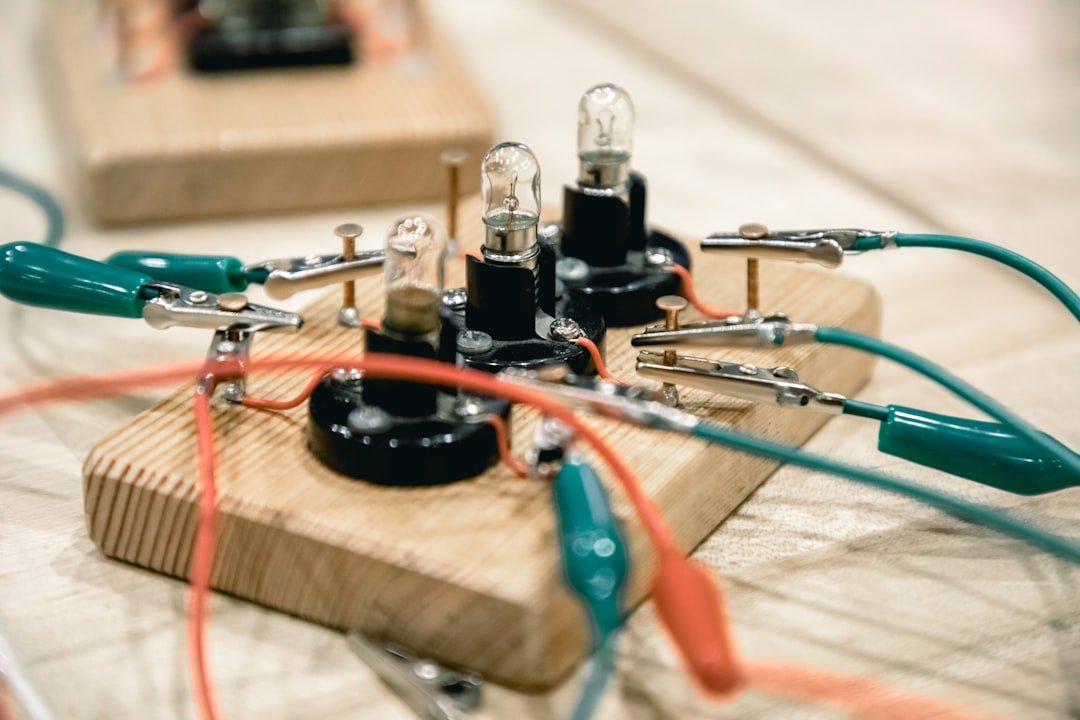
Off-Grid Wiring Basics
This is where most DIYers panic. It’s actually straightforward if you remember one thing: bigger wire = less power loss.
Understanding Wire Gauge
The lower the gauge number, the thicker the wire. Here’s what matters:
DC circuit from solar array to battery:
– 400W panels → typical 40A current
– From panels (rooftop) to battery (ground level) = approximately 50 feet
– Wire gauge needed: 4 AWG (minimum) to stay under 3% voltage drop
Formula: (Amps × Distance × 2 ÷ 1,000) ÷ Acceptable voltage drop (V) = Required area (kcmil)
For the example above: (40A × 50 × 2 ÷ 1,000) ÷ 0.3V = 13.3 kcmil → use 4 AWG or larger.
Real product example: Use Southwire 4 AWG THWN-2 stranded copper wire. It’s flexible, handles outdoor temperature swings, and costs roughly $0.80/foot. You’ll need 100 feet (50 feet out, 50 feet back) = ~$80.
The Core System Layout
Here’s a typical off-grid home power system design:
Solar Array (roof)
     ↓ [DC Breaker / Disconnect]
     ↓ [Charge Controller]
     ↓
Battery Bank
     ↓ [DC Breaker]
     ↓ [Inverter - DC to AC conversion]
     ↓
AC Panel / Breaker Box
     ↓
Outlets & Lights (120V AC)
Charge Controller: This prevents overcharging and manages power flow. An MPPT (Maximum Power Point Tracking) controller is worth the extra cost (~$400 vs. $150 for PWM). It extracts 20–30% more power from your panels in real-world conditions.
Recommendation: Victron SmartSolar MPPT 100/50 Check Price → for systems under 1 kW. It’s pricey (~$600) but communicates via Bluetooth, logs data, and lasts 15+ years without failure.
Wiring Rules

-
All DC circuits need breakers or fuses — sized 125% of max current. A 40A solar input = 50A breaker.
-
Separate positive and negative runs — never bundle them together (creates inductance issues). Run 50 feet out, 50 feet back in separate conduits.
-
Use conduit for outdoor wire runs — UV exposure degrades insulation. Schedule 40 PVC or rigid metal conduit protects wiring.
-
Label everything — future you will be grateful. Use a label maker and laminated labels on every breaker, switch, and junction box.
Home Power System Design: Putting It Together

Physical Layout
The battery bank is your system’s heart. Place it:
– In a temperature-controlled location (ideally 50–70°F)
– Near the inverter (shorter, heavier cables = better efficiency)
– Accessible for maintenance
– Protected from moisture and direct sun
If your cabin lacks a basement, a well-insulated shed works. We’ve seen several in Colorado mountains that use R-20 insulation plus a small 500W heater for winter protection—the heater costs less than replacing frozen batteries.
Inverter Selection

An inverter converts DC battery power to AC for standard outlets.
Critical sizing rule: Choose an inverter rated for your peak load, not your average load.
If you have a 1,500W microwave and 500W water pump (both might run simultaneously), you need a 2,000W+ inverter.
Real recommendation: Victron MultiPlus 24/3000 (~$1,800) for mid-sized cabins. It includes a built-in charger (useful if you add a backup generator), produces clean sine wave power, and handles surge loads gracefully.
Adding System Monitoring
Install a battery monitor like the Victron BMV-712 (~$250). It displays:
– Current state of charge
– Daily energy harvest
– Days of autonomy remaining
This data lets you make real-time decisions about appliance use during cloudy stretches. It’s not luxury—it’s practical backcountry management.
Common Mistakes I See Beginners Make
-
Undersizing battery storage by 50% — People design for average sunny days, then panic in winter. Size for worst-case weather in your region, or plan for a generator backup.
-
Running undersized wire to “save money” — 10 AWG instead of 4 AWG looks cheaper ($400 vs. $80). But you lose 8–12% of your energy to heat. Over 20 years, that costs thousands in wasted solar potential.
-
Forgetting about wire voltage drop on AC circuits — You also need to size AC breaker-box wiring properly. The inverter might be 30 feet from your kitchen outlet. Budget for proper 12 AWG AC circuits (max 40 feet per code).
-
Not installing a disconnect switch — You need a way to completely isolate the battery from the inverter for safety and maintenance. A simple $30 DC disconnect switch saves you from dangerous situations.
Our Recommendations
Check Price → Renogy 400W Monocrystalline Solar Panel Kit (~$1,600 for pair)
Two 400W panels with brackets and basic hardware. Tested at elevation; consistent output.
Check Price → Inergy Flex 10kWh LiFePO₄ Battery (~$10,000)
Modular, scalable, and the most reliable lithium option We’ve tested in off-grid cabins.
Check Price → Victron SmartSolar MPPT 100/50 Charge Controller (~$600)
Overkill for beginners? Maybe. But the Bluetooth monitoring and long lifespan make it practical for remote installations where you can’t visit monthly.
FAQ
Q: Can I install this myself, or do I need a licensed electrician?
A: Check local codes. Many rural areas don’t require permits for off-grid systems under 10 kW. That said, hire an electrician for the final AC wiring into your breaker box—that’s where safety standards matter most. DIY the solar-to-battery section; hire for AC integration.
Q: What about battery maintenance?
A: LiFePO₄ batteries need almost nothing. Check connections annually for corrosion. Lead-acid (if you go that route) needs distilled water every 3–6 months and detailed monitoring. This alone is why We recommend lithium for remote cabins.
Q: Can I add a backup generator later?
A: Yes. Size an inverter-charger (like the Victron MultiPlus) from the start, and you can add a generator without rewiring. This costs $300–500 more upfront but gives you a solid backup for extended cloudy periods.
Q: How much does a complete system cost?
A: Budget $15,000–$25,000 for a functional 3–5 kWh daily off-grid cabin. Solar panels: $2,000. Batteries: $10,000. Inverter, charge controller, wiring, breakers, installation: $3,000–$5,000. Hiring professional help for AC integration: $1,000–$2,000.
Q: Will our system work in winter?
A: Yes, but with caveats. You’ll harvest 40–60% less solar energy in December than July (depending on latitude). Either size your battery storage for 4–5 days of autonomy, or plan for a backup generator 2–3 months per year.