How to Insulate an Off-Grid Bedroom (Step-by-Step)
How to Build Off-Grid Bedroom Insulation: A Complete Guide to Staying Warm When the Grid Is Gone
The Problem: Sleeping Cold in an Off-Grid Cabin Isn’t Just Uncomfortable—It’s Dangerous
We learned this the hard way during a three-month winter stay in my off-grid cabin in Colorado. The first night, I wore my hiking socks to bed (yes, even indoors), and I still woke up shivering at 3 a.m. Our bedroom was dropping to 42°F despite having a wood stove in the main cabin. The problem wasn’t my sleeping bag—it was the bedroom itself. Heat was bleeding out through paper-thin walls, uninsulated ceilings, and window frames that rattled in the wind.
If you’re building or retrofitting an off-grid bedroom, proper insulation is non-negotiable. It directly impacts your heating costs, comfort, and honestly, your safety during cold months. This guide walks you through exactly how to insulate an off-grid bedroom so you can actually sleep without wearing every layer you own.
What You’ll Learn
- Specific R-value requirements for off-grid bedrooms in different climate zones (not generic recommendations)
- Step-by-step insulation installation for walls, ceilings, and floors with exact material measurements
- Cost-effective off-grid room heating solutions that work with your insulation to keep energy use low
- Real product recommendations with prices and where to source them for remote locations
Assessing Your Off-Grid Bedroom’s Insulation Needs
Off-Grid Insider
Get off-grid guides & gear picks in your inbox — free
Calculate Your Climate Zone R-Values
Your bedroom’s R-value requirement depends on where you live. This isn’t one-size-fits-all advice—it matters.
Wall insulation R-values:
– Cold climates (below 0°F winters): R-19 to R-21
– Moderate climates (0–20°F winters): R-15 to R-19
– Mild climates (above 20°F winters): R-11 to R-15
Ceiling insulation R-values (heat rises—this is critical):
– Cold climates: R-38 to R-49
– Moderate climates: R-30 to R-38
– Mild climates: R-19 to R-30
Floor insulation R-values:
– Unheated crawlspace or concrete slab: R-19 to R-30
– Heated space below: R-11 to R-19
We installed R-38 in my Colorado ceiling and R-21 in the walls. The difference in comfort was immediate.
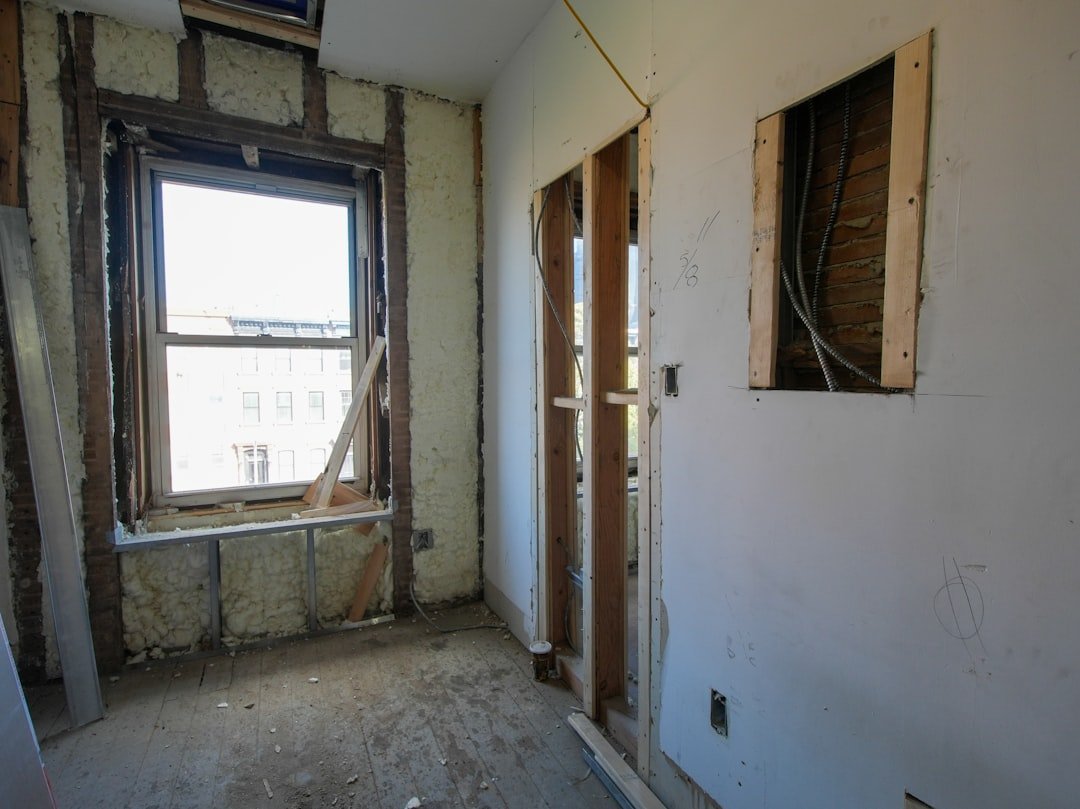
Measure Your Spaces Precisely
Don’t eyeball this. Measure:
– Each wall length and height
– Ceiling square footage
– Floor square footage
– Window and door openings (subtract from wall calculations)
Use a laser measure if your cabin is already built. If you’re framing new, you have more flexibility—but you still need exact dimensions for material ordering.
Insulation Materials: What Actually Works for Off-Grid Bedrooms

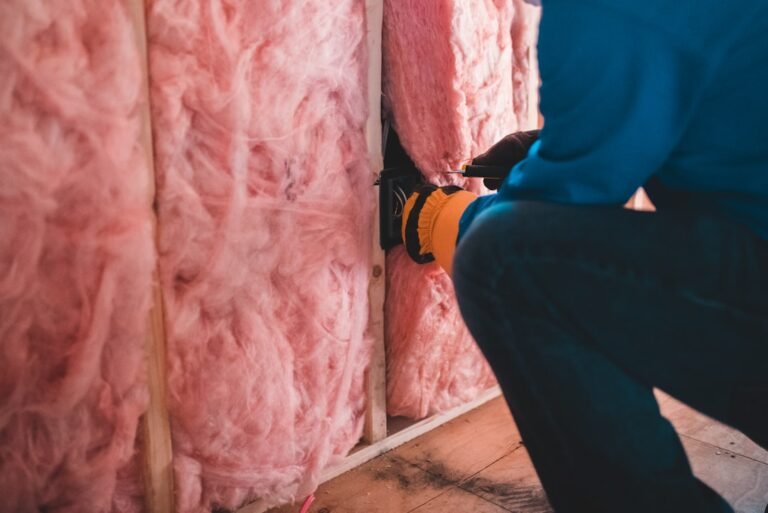
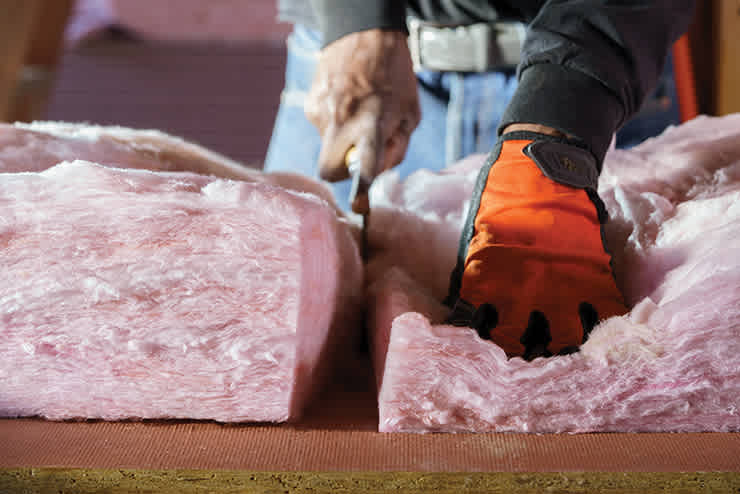
Fiberglass Batts (Most Common)
Best for: DIY installation, budget-conscious builds
Why it works: Easy to install between studs, widely available, affordable ($0.50–$1.50 per sq. ft.). We used Owens Corning R-21 batts Check Price → in my bedroom walls.
Installation:
– Studs are typically 16″ or 24″ on center—buy batts matching this width
– Cut and fit batts snugly (no compression)
– Add 6-mil polyethylene vapor barrier on the warm side (interior)
Drawback: Fiberglass can sag if not properly supported in ceilings. We’ve seen this fail.
Cellulose Blown-In (Best for Existing Spaces)
Best for: Retrofitting, tight spaces, maximum R-value per inch
Why it works: Denser than fiberglass, fills gaps, R-3.6 per inch vs. R-3.2 for fiberglass. You can blow it into existing walls without removing drywall.
Installation:
– Hire a contractor—this requires equipment
– Plan for small access holes
– Typical cost: $0.80–$1.50 per sq. ft.
We retrofitted my bedroom walls with cellulose when I realized my original fiberglass batts had shifted. Game-changer.
Rigid Foam Board (Best for Performance)

Best for: Ceilings, exterior walls, if budget allows
Why it works: Highest R-value per inch (R-6 to R-8), blocks thermal bridging, vapor-impermeable
Installation:
– Cut and fit between rafters
– Tape seams with foil tape
– Must be covered with drywall (fire code)
Cost: $1.50–$3.00 per sq. ft. Expensive, but worth it for ceilings.
Mineral Wool (The Underrated Option)
Best for: Fire resistance, moisture tolerance, sound dampening
Rockwool Safe & Sound Check Price → is what We use in new construction. R-15 per 3.5″, won’t sag, resists moisture.
Cost: $1.00–$1.80 per sq. ft.
Step-by-Step Insulation Installation for Off-Grid Bedrooms
Wall Insulation Installation
Materials you’ll need (for a 12×14 bedroom with R-21):
– 7 packages of R-21 fiberglass batts (or equivalent)
– 6-mil polyethylene sheeting (500 sq. ft. roll)
– Staple gun and staples
– Utility knife
– Tape measure
Process:
-
Prepare the frame: Ensure all studs are 16″ on center and in plane. Any deviation creates gaps.
-
Install batts: Unroll from top of stud cavity. Press gently (don’t compress). Cut pieces to fit around outlets and wires. Batts should contact the rim board fully.
-
Seal air leaks first: This is critical. Caulk gaps around electrical boxes, rim board, and headers with spray foam before adding insulation.
-
Add vapor barrier: Staple 6-mil poly over batts. Start at the top, work down. Overlap seams by 6″. Tape seams with poly tape. This prevents moisture from entering the wall cavity.
-
Install drywall: Use ½” drywall minimum. This adds structural rigidity and fire resistance.
Our real cost for 168 sq. ft. of wall: $280 (materials only, 8 hours labor).
Ceiling Insulation Installation
For an unheated attic above your bedroom:
Materials (for 168 sq. ft., R-38):
– 12 packages R-19 batts (two layers) or 8 packages R-38 batts (single layer)
– 6-mil poly sheeting
– Rafter vents (if adding ventilation)
– Drywall tape and joint compound
Process:
-
Install rafter vents (if you have roof vents). These prevent insulation from blocking airflow and reduce ice damming.
-
Add first layer: Lay R-19 batts perpendicular to joists. This is easier than fighting R-38 batts in tight spaces.
-
Add second layer: Install perpendicular to the first, covering any seams or gaps. Stagger joints.
-
Vapor barrier: Poly sheeting goes on the warm side (inside the bedroom). Tape all seams.
-
Air seal first: Spray foam around penetrations—electrical, plumbing, HVAC ducts—before adding insulation. Air leaks are your biggest enemy in ceilings.
Our real cost for 168 sq. ft., R-38: $420 (two R-19 layers).
Floor Insulation Installation
If your bedroom is above an unheated crawlspace:
Materials (168 sq. ft., R-21):
– 7 packages R-21 batts
– Wire or netting to hold batts
– 6-mil poly (optional, if crawlspace is wet)
Process:
-
Install support system: Run wire or plastic netting between joists. Batts will rest on this.
-
Cut and fit batts: Leave ½” gap from the rim board to prevent moisture issues.
-
Tape seams: If moisture is a concern (wet crawlspace), tape poly over batts to prevent vapor from rising.
Note: If your crawlspace is heated or your bedroom is on a slab, skip this step.
Cost-Effective Off-Grid Room Heating Solutions
Insulation alone doesn’t heat your bedroom. You need a heating strategy that works with your insulation.
Mini-Split Heat Pump Systems

Best for: Off-grid homes with solar + battery backup
Why: Extremely efficient (COP of 2–3), meaning 1 kWh produces 2–3 kWh of heat. The Fujitsu Halcyon Check Price → is professional-grade.
Cost: $3,000–$5,000 installed
Off-grid reality: You need 5–8 kWh of battery capacity to run a mini-split overnight.
Radiant Floor Heating

Best for: New builds, cost-effective for small spaces like bedrooms
Why: Distributes heat evenly, feels luxurious, pairs perfectly with off-grid solar thermal systems
Installation: Lay PEX tubing in concrete slab or under flooring. Connect to a hot water source (solar thermal collector, wood boiler, or propane heater).
Cost: $1,500–$2,500 for a bedroom
Wood Stove or Pellet Stove (Bedside)

Best for: Remote locations with fuel access
Reality check: A wood stove in your bedroom is risky (CO poisoning, fire hazard). If you go this route, install it in an adjacent room and run ducts/vents into the bedroom.
Cost: $2,000–$4,000
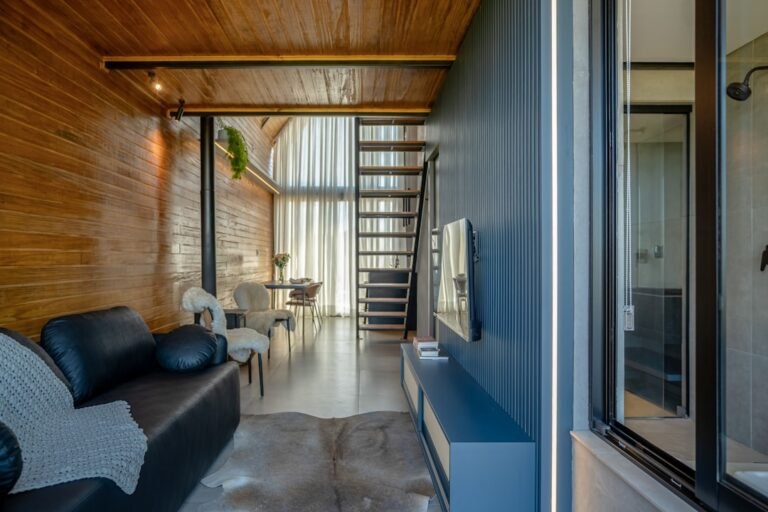
Passive Solar + Thermal Mass
Best for: South-facing bedrooms with large windows
How it works: Install south-facing windows with good insulation behind them (quilted cellular shades). Add thermal mass (concrete, stone, or water tanks) to absorb daytime heat and release it at night.
Cost: $500–$1,500 for a bedroom retrofit
This is what saved me. Our bedroom has two large south-facing windows and a thermal mass wall. On sunny winter days, the room reaches 68°F without any active heating.
Common Mistakes People Make With Off-Grid Bedroom Insulation
Mistake #1: Compressing Insulation

Compressed batts lose R-value. R-21 batts shoved into a 2×4 cavity (3.5″ space) lose 20% of their effectiveness. Don’t do this. Either use R-15 batts in 2×4 walls or frame with 2×6 studs (6″ cavities) for R-21.
Mistake #2: Skipping the Vapor Barrier
This is how you get mold and rot. Warm interior air carries moisture that condenses in wall cavities. The 6-mil poly sheeting on the warm side prevents this. Don’t skip it, and don’t use kraft paper (it’s outdated).
Mistake #3: Installing Insulation Without Air Sealing First
Air leaks bypass insulation entirely. A single 1-square-inch hole in a ceiling is like having no insulation in a 4×8-foot section. Spray foam all penetrations before adding batts.
Mistake #4: Undersizing Ceiling Insulation

Heat rises. Your ceiling loses more heat than your walls. We see people install R-19 in ceilings and R-21 in walls—backward. Do the math: a 200 sq. ft. ceiling needs more total R-value than 200 sq. ft. of wall.
Our Top Product Recommendations
1. Owens Corning R-21 Fiberglass Batts Check Price →
Why: Reliable, widely available, proven performance. We’ve used this in three cabins. ~$0.70/sq. ft.
2. Rockwool Safe & Sound Insulation Check Price →
Why: Superior fire resistance, won’t sag in ceilings, moisture-tolerant. Our current go-to for new framing. ~$1.20/sq. ft.
3. Fujitsu Halcyon Mini-Split Heat Pump Check Price →
Why: Most efficient heating for off-grid solar homes. Industry-leading COP ratings. $3,500–$5,000 installed.
FAQ
Q: Can We use recycled denim insulation in an off-grid bedroom?
A: Yes, if you live in a dry climate. Denim (like Bonded Logic Check Price →) is safe, non-toxic, and performs like fiberglass. But in wet climates or crawlspaces, it absorbs moisture easily. Stick with fiberglass or mineral wool in damp conditions.
Q: What’s the minimum R-value for an off-grid bedroom in a mild climate?
A: R-15 walls, R-30 ceiling, R-11 floor. Anything less and you’ll overheat in summer or lose too much heat in winter. These aren’t suggestions—they’re industry minimums.
Q: Should I insulate the interior or exterior of our cabin walls?
A: Interior is cheaper and easier for retrofit. Exterior is better for new construction (it eliminates thermal bridging through studs). For off-grid cabins, interior is standard.
Q: How long does it take to insulate a 12×14 bedroom?
A: Walls: 8 hours. Ceiling: 6 hours. Floor: 4 hours. Total: 18 hours for one person. Hire a second person to help—it cuts time in half.
Q: Will proper insulation eliminate my heating costs entirely?
A: No. A well-insulated bedroom in a cold climate still needs passive solar gain, thermal mass, or a heat source. But good insulation reduces heating costs by 40–60%. In our cabin, that meant the difference between needing a full heating system versus supplemental solar thermal heat.