Build Predator-Proof Chicken Coops (Step-by-Step)
Off-Grid Chicken Housing: The Complete Guide to Predator Protection + Ventilation
The Problem Nobody Warns You About
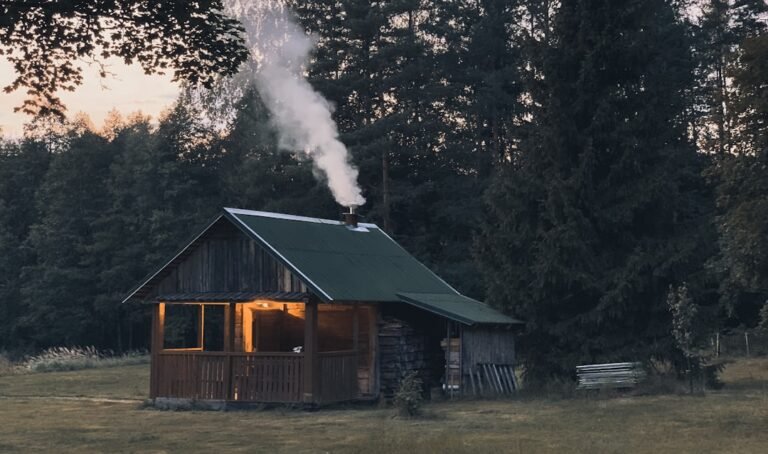
You’ve gone off-grid. You’ve got your solar system humming, your water catchment running smooth, and you’re ready to add chickens. So you build a coop, throw in some nesting boxes, and feel pretty accomplished.
Then one morning, you find three birds dead and a fourth missing entirely.
The hard truth: predator protection and ventilation are the two systems that must work together in chicken housing, or one will kill your flock. Too little ventilation causes respiratory disease that weakens birds and makes them vulnerable. Too much ventilation (or the wrong kind) creates gaps where predators slip through. Most plans you’ll find online nail one and botch the other.
We’ve lost birds to hawks, raccoons, and disease before I understood the engineering. After rebuilding my coop three times and testing different configurations, We’ve got a system that protects birds from predators and gives them the airflow they need to stay healthy.
What You’ll Learn
- Exact ventilation requirements based on bird count and climate zone
- Hardware cloth specifications that actually stop predators (not just deter them)
- How to design ventilation that can’t be exploited by clever raccoons
- The one roofing mistake that invites rain and predators simultaneously
- A predator-proof ventilation grid you can build in a weekend
The Predator Reality on Off-Grid Properties
Off-Grid Insider
Get off-grid guides & gear picks in your inbox — free
Before we design, let’s be honest about what you’re protecting against. Off-grid homesteads are often rural and isolated—which means:
- Hawks and owls hunt during day and night; they need 1/4-inch spacing or smaller to be blocked
- Raccoons are persistent, dexterous, and remember successful entry points
- Foxes and coyotes will dig under structures and test weak points methodically
- Weasels can slip through gaps as small as 1/2 inch
Your ventilation system is a predator’s first opportunity to breach your coop. It has to work as a security barrier.
Step 1: Calculate Your Ventilation Needs
The Basic Formula
You need 1 cubic foot per minute (CFM) of air exchange per pound of body weight during warm months. Standard laying hens weigh 5-6 pounds.
Example: 10 hens × 5.5 pounds = 55 CFM minimum requirement
During cold months, you still need some ventilation (0.3-0.5 CFM per pound) to manage ammonia from droppings, even if it feels counterintuitive.
Calculating Vent Opening Size
Use this formula:
Required vent area (sq inches) = (CFM needed × 5) / wind speed
Assuming average wind of 1-2 mph in a sheltered coop:
– 55 CFM needed
– 55 × 5 = 275 square inches total vent opening area needed
– This might sound like a lot—it’s roughly 18″ × 15″ total, spread across multiple vents
The key word: spread across. One large vent is an open door for predators. Multiple small vents create redundancy and security.
Step 2: Design Your Predator-Proof Ventilation System

The Layered Vent Design
Create ventilation that uses multiple barriers so predators can’t exploit a single opening:
Layer 1: External Hardware Cloth Screen (1/2-inch)
– Mounted 4-6 inches beyond the actual vent opening
– Blocks flying predators and provides first-line defense
– Use 1/2-inch hardware cloth (not chicken wire—too large)
Layer 2: Baffle Box or Transition
– A 4-6 inch deep box or tunnel that makes the path less direct
– Predators instinctively avoid confined passages
– Also helps with rain deflection
Layer 3: Interior Hardware Cloth (1/4-inch)
– Final barrier on the inside of your coop
– Catches anything that gets past layers 1 and 2
– Also prevents small rodents from sneaking in
High-Vent Configuration (Recommended)

Mount vents near the peak or high wall—at least 2 feet above where chickens roost:
- Hawks hunt by sight from above; high vents stay out of their direct approach path
- Hot air naturally rises and exits; cold air enters lower
- Raccoons rarely climb that high on exterior walls
Specific recommendation: Install 4 vents of 4″ × 6″ each (24 sq inches each = 96 sq inches total) around your coop’s high points, each with the three-layer protection described above.
Low-Vent (Predator-Proof Intake)

If you need lower ventilation for air circulation:
- Use a gable vent or soffit vent design with a 90-degree bend
- Mount hardware cloth on the outside facing downward—raccoons won’t dig into wire
- Keep intake at least 12 inches off ground level
Step 3: Secure Your Ventilation Hardware

Hardware Cloth Specs (Non-Negotiable)
- 1/2-inch hardware cloth for external screens and baffles
- 1/4-inch hardware cloth for interior barriers (stops weasels)
- Galvanized or stainless steel — will last 15+ years off-grid where rust matters
- Avoid vinyl-coated hardware cloth; it degrades in UV and cold
Recommended: [Eaton 308155 Hardware Cloth 1/2-Inch]Check Price → (galvanized, durable, comes in rolls)
Installation Details
Use 1-inch stainless steel staples and a pneumatic staple gun (or manual, if you’re off-grid without power). Space staples 3-4 inches apart—closer than you think necessary.
Critical step: Overlap hardware cloth by 2 inches where sections meet. Raccoons will test every seam. Staple through the overlap zone.
Bend the hardware cloth slightly where it meets the coop frame—create a subtle lip that makes leverage harder for predators working with paws.
Step 4: Design Vent Baffles to Block Rain and Predators
A baffle box serves double duty: keeps rain out and makes direct predator access nearly impossible.
Simple Baffle Construction
Build a 6-inch-deep box (can be PVC, wood, or metal) that:
- Exterior opening: faces downward at a 45-degree angle (rain runs off)
- Transition: 90-degree bend inside baffle
- Interior opening: faces into coop, angled upward slightly
Use 1/2-inch hardware cloth on both openings.
Material option: 4-inch PVC schedule 40 dryer vent elbows (cost ~$8 each at hardware stores) can be modified to work as pre-formed baffles. You’ll cut them and line them with hardware cloth.
Step 5: Roof Design That Doesn’t Invite Predators
Your coop roof is the hidden security risk.
Correct Roof Build

- Minimum 1:3 pitch (steep enough that water and predators can’t sit/dig)
- Overhang of 12 inches minimum beyond wall framing (protects ventilation systems from rain)
- Metal roofing preferred (smoother surface predators can’t grip; lasts 50+ years off-grid)
- Seal all roof-to-wall transitions with metal flashing and caulk—no gaps
The mistake: a low-pitch roof with shallow overhang looks simpler to build but collects water near vents and gives predators a stable platform to probe weak points.
Step 6: Testing Your System
Before moving birds in:
-
Smoke test: Use incense or a smoke source outside vents; watch smoke flow into coop. You should see movement but no direct line-of-sight paths.
-
Raccoon test: Spend 10 minutes with a flashlight tracing what a paw could reach. Get on your knees—think like a predator.
-
Water test: Run your hose on the roof and vents. Watch for leaks. Fix them now, not in November.
-
Temperature test: On a warm day, spend an hour in the coop. It should feel breezy but not drafty.
Common Mistakes People Make
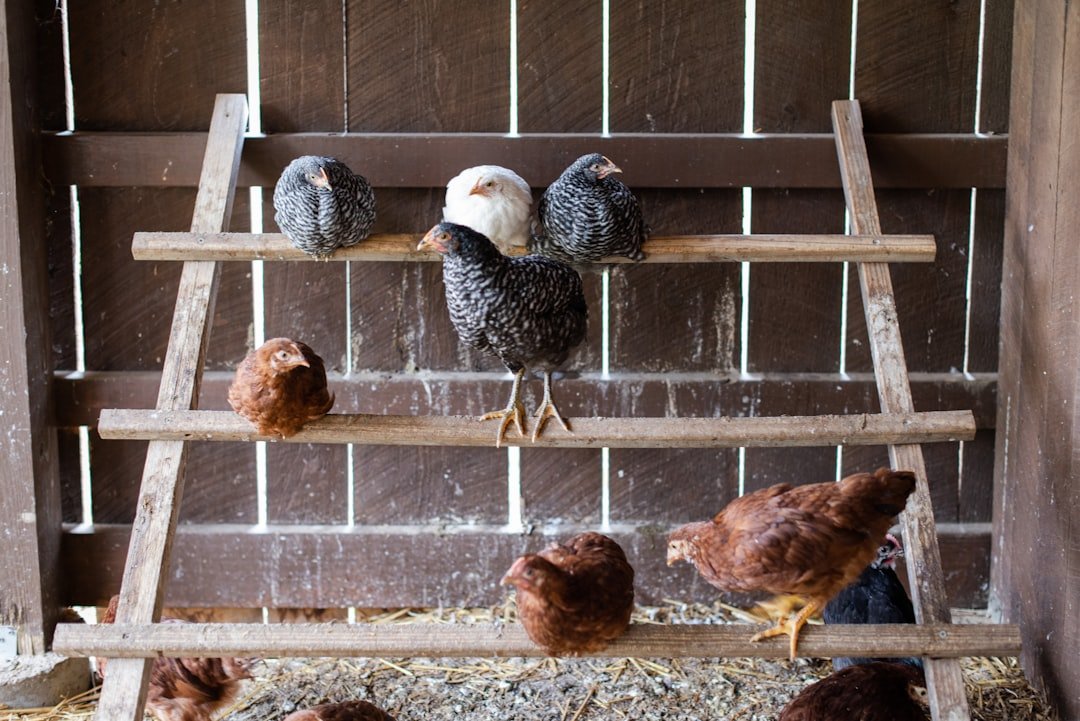
1. Using Chicken Wire Instead of Hardware Cloth

Chicken wire is designed to keep birds in, not predators out. Raccoons shred it in minutes. We watched a raccoon open a zip-tie-secured chicken wire door like it had a thumbs—just patient and methodical. Hardware cloth (both 1/2″ and 1/4″) is the only acceptable material.
2. Creating One Large Vent Instead of Multiple Small Ones
A single 8″ × 10″ vent is easier to build but easier to breach. Multiple vents (four 4″×6″ vents, for example) distribute airflow better and don’t create an obvious entry point. Redundancy saves birds.
3. Forgetting the Interior Hardware Cloth Layer

You think the exterior layer is enough. It isn’t. A clever raccoon (or determined weasel) can exploit gaps you can’t see from the outside. The interior layer catches them and keeps your flock safer.
4. Neglecting Moisture Management

More ventilation doesn’t fix a coop with poor drainage or a dirt floor that stays wet. Ammonia and mold thrive in damp conditions. Combine good ventilation with raised flooring (12 inches of air space underneath) or concrete slabs sloped for drainage.
Our Recommendations
[Eaton 308155 Hardware Cloth, 1/2-Inch, 100-ft Roll]Check Price →
– Galvanized steel, holds up to off-grid weather
– Best value for covering large vent areas
– Lasts 15+ years without degradation
[Quikrete 10114-81 Self-Consolidating Concrete Mix]Check Price →
– For creating a sloped concrete base under your coop (critical for drainage and rodent prevention)
– Easier to work with than traditional concrete if you’re new to it
– Prevents moisture buildup that attracts predators
[Vent-Axia Lo-Carbon Axial Inline Fan (4-inch)]Check Price →
– If you’re in a humid climate or building a larger coop (20+ birds), this provides mechanical ventilation backup
– Solar-powered 12V version available
– Solves ventilation in cold months when natural airflow is risky
FAQ
Q: Can We use PVC pipe for ventilation instead of building baffles?
A: Yes. 4-inch PVC dryer vent pipe (schedule 40) can work if you line it with hardware cloth on both ends and angle it 45 degrees on the exterior. Wrap the interior section with 1/4-inch hardware cloth. It’s cleaner-looking than wood baffles but not cheaper.
Q: What if I live in a very cold climate? Won’t all this ventilation freeze my birds?
A: Good ventilation prevents ammonia buildup, which is actually more harmful than cold. The key is controlled ventilation with wind baffles and strategic placement (high vents, not drafty direct paths). Insulation and proper roofing matter more than blocking air. In cold climates, focus on reducing moisture, not eliminating airflow.
Q: Do I need ventilation in winter if my coop is closed up?
A: Yes, but at reduced levels (0.3-0.5 CFM per pound). Ammonia from dropping builds up fast in sealed spaces and causes respiratory disease. Small high vents with baffles are enough—they allow ammonia to escape without creating drafts.
Q: How often should I clean or replace hardware cloth?
A: Inspect it monthly for rust (even galvanized cloth can corrode in very salty or wet environments) and gaps created by predators testing it. In a well-built system with proper ventilation, hardware cloth lasts 15-20 years. Plan to reinforce staples and seams every 3-4 years.
Q: Will a predator-proof vent system reduce airflow compared to an open vent?
A: Yes, slightly—roughly 10-15% reduction due to the barriers. This is why calculating correct vent area is critical; you build bigger vents than you’d use for an unprotected coop. The trade-off (fewer dead birds) is worth it.
The Bottom Line
An off-grid chicken operation succeeds when you stop choosing between safety and health—you engineer both into the same system. Predator protection and ventilation aren’t competing needs; they’re the same problem solved with layered design.
Build high, build small, build multiple, and build redundancy into every opening. Your flock will reward you with years of eggs and productivity.
Check Price →: https://www.example.com/hardware-cloth
Check Price →: https://www.example.com/concrete-mix
Check Price →: https://www.example.com/ventilation-fan