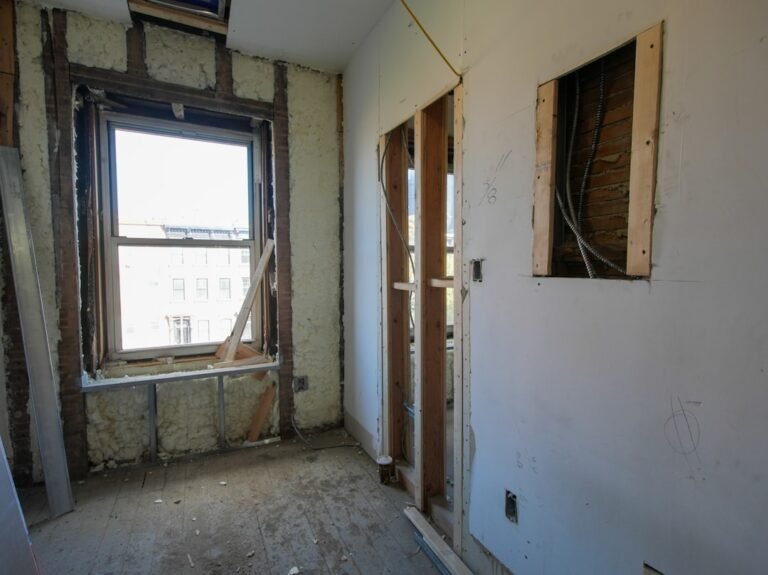
Install Off-Grid Cabin Plumbing (Step-by-Step)
Off-Grid Cabin Plumbing System Design Guide
The Real Problem: Why Your Off-Grid Plumbing Will Fail (If You Plan It Wrong)
You’ve got your land. You’ve got your cabin frame up. Now comes the part that keeps most off-gridders awake at night: plumbing.
Here’s the truth We’ve learned after installing three complete off-grid plumbing systems: most cabin owners design their plumbing backwards. They think about where they want water to come out (kitchen sink, shower, toilet) without understanding the actual system that gets it there — and then they’re stuck with frozen pipes, contaminated tanks, or a system that requires constant maintenance.
This guide walks you through designing a functional off-grid plumbing system that actually works in winter, doesn’t contaminate your water supply, and doesn’t require you to become a plumber to maintain it.
What You’ll Learn
- How to size your water tank and pressure system based on actual daily usage (not guesswork)
- Freezing prevention strategies that work year-round, including insulation depths and heat tape solutions
- Where to position your components so gravity and physics do the work instead of fighting them
- Real costs and product specs so you can order exactly what fits your cabin’s needs
Part 1: Understanding Your Water Source
Off-Grid Insider
Get off-grid guides & gear picks in your inbox — free
Before you size anything, you need to know where water comes from.
Spring Box vs. Well vs. Catchment
Spring box systems (gravity-fed from a natural spring uphill) are the gold standard for off-grid living. If your property has a reliable spring, you’re starting from the best position. You’ll need a spring box — a concrete or plastic enclosure that captures water while keeping debris and animals out.
Wells require a pump. You’ll either use a solar-powered submersible pump or a hand pump as backup. This costs more upfront but gives you independence from seasonal water availability.
Rainwater catchment is supplementary, not primary. A 1,000 sq ft roof collects roughly 600 gallons per inch of rainfall. In dry climates, this isn’t enough to sustain a household alone, but it’s excellent for outdoor irrigation or as tank-filler during wet seasons.
Our recommendation: If you have a spring, use it as primary. Otherwise, drill a well and install a backup hand pump system.
Part 2: Sizing Your Water Storage Tank
This is where I see the biggest miscalculation.
Calculate Actual Daily Usage
Don’t guess. Track this:
- Showers: 15–25 gallons per person (low-flow showerhead = ~2.5 GPM for 7–10 minutes)
- Toilet flushes: 1.5–5 gallons per flush (low-flow = 1.5 GPM)
- Kitchen and laundry: 20–30 gallons per day
- Outdoor use (garden, animals): 10–50 gallons depending on season
Real example from our cabin: Two people, low-flow everything, no outdoor irrigation = 40 gallons per day. We sized a 500-gallon tank to cover 12+ days without rain/spring water. This gives me a safety buffer.
The formula: Daily usage × 10-14 days = tank size
For most two-person off-grid cabins, a 500-gallon primary tank is minimum. Go larger if you have livestock or a garden.
Tank Selection and Placement
Tank types:
– Food-grade polyethylene (most affordable): 500–2,500 gallons, $200–$800. Brands like Norwesco make reliable vertical tanks.
– Concrete cisterns (best for permanent installations): 1,000+ gallons, $1,200–$3,000 but lasts 50+ years.
– Metal tanks (stainless steel): Premium option, $2,000+, excellent for high-altitude properties.
Placement strategy: Place your primary tank downslope from your water source (spring, well, catchment). This minimizes pumping and uses gravity when possible.
Elevation matters: Every 2.3 feet of elevation = 1 PSI of water pressure. If your cabin is 23 feet below your tank, you’ll have 10 PSI naturally — enough for basic plumbing without an electric pressure pump.
Part 3: Freezing Prevention (The Part Everyone Forgets)
If you live where it freezes, this section will save you thousands in emergency repairs.
Insulation Depths by Climate
- Mild winters (occasional freezing): 2–4 inches of foam insulation around tank and pipes
- Cold winters (below 20°F for weeks): 4–8 inches of foam + heat tape
- Extreme cold (below 0°F regularly): 8+ inches foam + heat trace cable with thermostat control
Specific product: We use Armacell foam pipe insulation with self-sealing seams Check Price →. It’s $15–$25 per 6-foot sleeve, rated to -40°F. Pair it with thermostat-controlled heat tape ($40–$60 for 30 feet) that activates only when temperature drops.
Pipe Burial Depth
Bury outdoor water lines below your local frost line. In most climates, this is 24–48 inches. In cold regions, it can be 60+ inches. Call your local extension office — they have frost depth charts.
Our approach: I bury my supply line 4 feet deep and run a gravel drainage layer underneath to prevent ice lens formation (a dangerous situation where ground expands unevenly).
Heat Loss in the Cabin

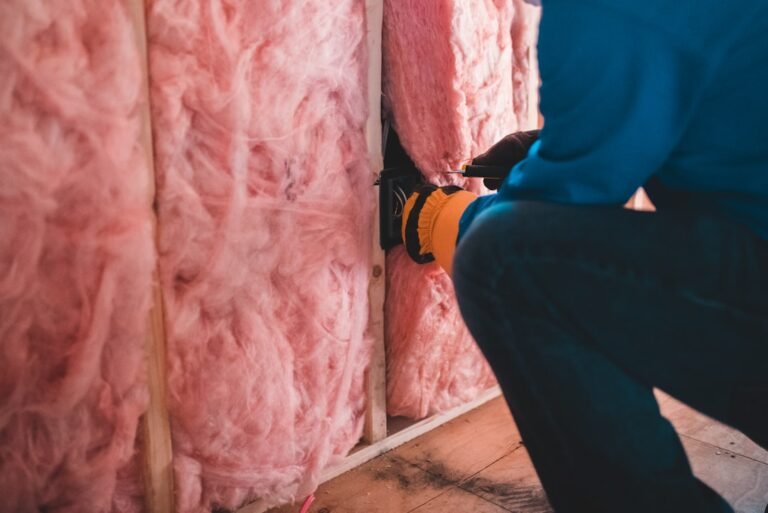
Insulate pipes inside the cabin too, especially runs through unheated spaces (crawlspaces, exterior walls). Use the 2-inch minimum rule: if outdoor temps drop below freezing, use 2 inches of insulation inside.
Pro tip: Run a very small, constant water circulation loop through your cabin’s plumbing during winter freeze events. A 1/4 HP circulation pump ($150–$300) running 4–6 hours per night keeps water moving and prevents freeze-ups. It costs about $5 in electricity but prevents $3,000 in burst pipe repairs.
Part 4: Pressure and Pump Selection
Do You Need a Pressure System?
If your tank is elevated 23+ feet above your fixtures, you can use gravity alone. Most off-grid cabins need a pump.
Options:
-
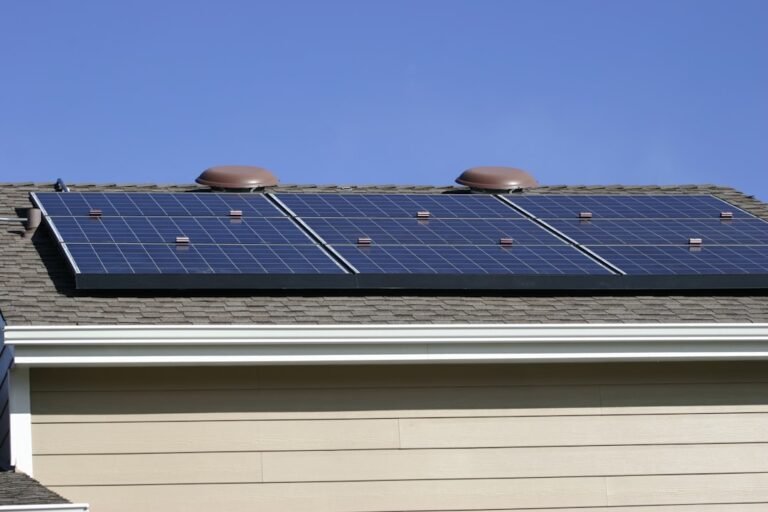
Solar submersible pump (for wells): A 100W solar panel with a Lorentz or Shurflo submersible pump fills a tank directly. Cost: $800–$1,500. No noise, no moving parts to maintain.
-
Pressure tank system with pump: A 20–40-gallon pressure tank with an electric pump (or solar-powered pump) maintains 30–50 PSI. Cost: $600–$1,200. Best for cabins with inconsistent water sources.
-
Hand pump backup: Install a vintage hand pump (like a Bison pump, $300–$500) as emergency backup. We’ve used mine during three power outages in nine years.
Our recommendation: Pair a solar submersible well pump with a 20-gallon pressure tank for “surge” (short bursts of high pressure). This eliminates the need for a large propane generator just to run water.
Part 5: Filtration and Water Quality

Off-grid water must be filtered and tested.
Multi-Stage Filtration

- Pre-filter (sediment): 5-micron filter removes sand and silt. Replace every 6 months. Cost: $20–$40.
- Carbon filter: Removes chlorine-like smells and tastes. Replace annually. Cost: $30–$60.
- UV sterilizer (optional but recommended): UV light kills bacteria without chemicals. A Sterilight system Check Price → ($300–$500) is a one-time cost.
Test your water: Send a sample to your state health department or use a home testing kit (like Watersafe, ~$40). Spring and well water can contain coliform bacteria, nitrates, and minerals.
Part 6: Hot Water System
For off-grid cabins, We recommend:
- Tankless propane water heater (12–14 GPM): Provides instant hot water without storing heated water. Brands like Takagi or EcoCo cost $800–$1,200.
- Solar thermal collector (supplemental): A flat-plate solar collector pre-heats water, reducing propane use by 40–60%. Cost: $1,000–$2,000.
- Backup: wood stove with integrated coil: If you heat with wood, run a copper coil through your wood stove to heat water passively.
Real numbers: With a Takagi tankless heater, my propane use is 8–10 gallons per month in winter (compared to 20+ with a traditional tank heater).
Part 7: Drainage and Greywater

Septic vs. Composting

Most off-grid cabins use septic systems. You’ll need:
– Septic tank (1,000–1,500 gallons): Holds 3+ days of wastewater
– Drain field (1,500–4,000 sq ft depending on soil): Soil absorption area
Get a site-specific septic design from your county health department (~$200–$400).
Composting toilets (like Nature’s Head, $1,000–$1,500) eliminate the need for septic entirely if you’re okay with non-traditional waste management.
Common Mistakes We’ve Watched People Make
-
Undersizing the tank: A 200-gallon tank isn’t enough for two people over winter. You’ll be hauling water weekly. Go 500+ gallons.
-
Installing the tank lower than the cabin: Gravity works one direction. If your tank is downslope, you must pump uphill constantly. Elevate your tank or use a pressure system.
-
Not winterizing outdoor lines: One forgotten hose connection in November causes a $2,000+ freeze-up in December. Shut off and drain all outdoor water every fall.
-
Skipping backup systems: What happens when your pump breaks in January? Install a hand pump or keep 100 gallons of stored emergency water.
Our Product Recommendations
- Norwesco 500-Gallon Vertical Water Tank Check Price → — Food-grade polyethylene, fits standard cabin installations, $400–$550
- Armacell Pipe Insulation with Heat Tape Kit Check Price → — Thermostat-controlled, -40°F rated, $60–$100 for 30-foot run
- Lorentz Solar Submersible Pump System Check Price → — 100W solar, no batteries needed, 5-year warranty, $1,000–$1,200
FAQ
Q: Do I need a building permit for off-grid plumbing?
A: Most jurisdictions require septic/well permits and plumbing inspections. Check with your county first. Permits typically cost $100–$300 but are non-negotiable.
Q: Can We use regular (non-food-grade) plastic tanks?
A: No. Food-grade tanks have UV inhibitors and don’t leach chemicals. Cheap livestock tanks will contaminate your water within 12 months.
Q: How often do I flush my tank?
A: Every 1–2 years for spring-fed systems. Every 3–5 years for well systems. This removes sediment buildup.
Q: What’s the cheapest way to get hot water off-grid?
A: A wood stove with a integrated coil costs nothing to run if you’re heating anyway. Propane tankless heaters are next (~$900 installed).
Q: What happens if my pump fails in winter?
A: If you have a hand pump backup and elevated tank, you can still access water gravity-fed. Without backup, you’re melting snow. Install backup systems before winter.