Save $400+ on DIY Solar (7 Mistakes)
Budget Off-Grid Solar Panel Installation: DIY Mistakes to Avoid
The Real Cost of Cutting Corners on Solar
You’ve made the decision to go off-grid. Your budget is tight—maybe you’ve allocated $3,000 to $5,000 for a starter solar array. That’s absolutely doable, but We’ve seen too many homesteaders learn expensive lessons the hard way. A miscalculated wire gauge costs $400 to replace. A poorly-positioned panel array loses 30% of its potential output. A missing breaker creates a genuine fire hazard.
This guide walks through the specific mistakes I see repeatedly in DIY off-grid solar installations, and more importantly, exactly how to avoid them.
What You’ll Learn
- Wire sizing calculations that actually match your system (with real formulas you can use today)
- Structural mounting mistakes that lead to panel damage or roof leaks
- Electrical configuration errors that reduce efficiency or create safety hazards
- Inspection and testing procedures to verify your installation before you flip the switch
Understanding System Voltage & Wire Sizing (The #1 Cost Multiplier)
Off-Grid Insider
Get off-grid guides & gear picks in your inbox — free
Why This Matters First
Wire gauge is where I see the most expensive mistakes. Undersized wire causes voltage drop, which means your batteries don’t charge fully and your inverter works harder. Oversized wire wastes money on copper you don’t need. Get this wrong, and you’re either replacing wire or losing 15–20% of your system’s output.
The Actual Calculation Method
Here’s the real-world process We use:
Step 1: Find your system amperage
– Take your total solar array wattage ÷ system voltage = amperage
– Example: 2,400W array ÷ 48V system = 50 amps
Step 2: Add 25% safety margin (this is NEC code for solar)
– 50 amps × 1.25 = 62.5 amps (round up to 65 amps)
Step 3: Calculate distance and acceptable voltage drop
– Measure the actual wire run from panels to charge controller
– Allow only 3% voltage drop on DC circuits (the 2% rule is too loose for off-grid)
– For a 48V system: 48V × 0.03 = 1.44V maximum acceptable drop
Step 4: Use the wire sizing table or formula
For most residential off-grid systems, here’s what I actually use:
- 48V system, under 50 feet: 6 AWG copper (approximately $1.50/foot)
- 48V system, 50–100 feet: 4 AWG copper (approximately $2.10/foot)
- 24V system, under 50 feet: 10 AWG copper
- 24V system, 50–100 feet: 6 AWG copper
Real example from my own system:
Our array sits 120 feet from my battery bank. At 48V and 65 amps, We ran 2 AWG copper ($4.20/foot × 240 feet = $1,008 in wire alone). Yes, it’s expensive. No, I can’t skip it. Undersizing would have cost me $15,000+ in lost battery life and inefficiency.
Common Sizing Mistakes
- Treating 24V and 48V systems the same — they’re not. At 24V, voltage drop is worse, so you need thicker wire
- Forgetting the 25% safety margin — code requires it; your insurance may deny claims if you skip it
- Using aluminum wire for solar — it corrodes. Use copper only
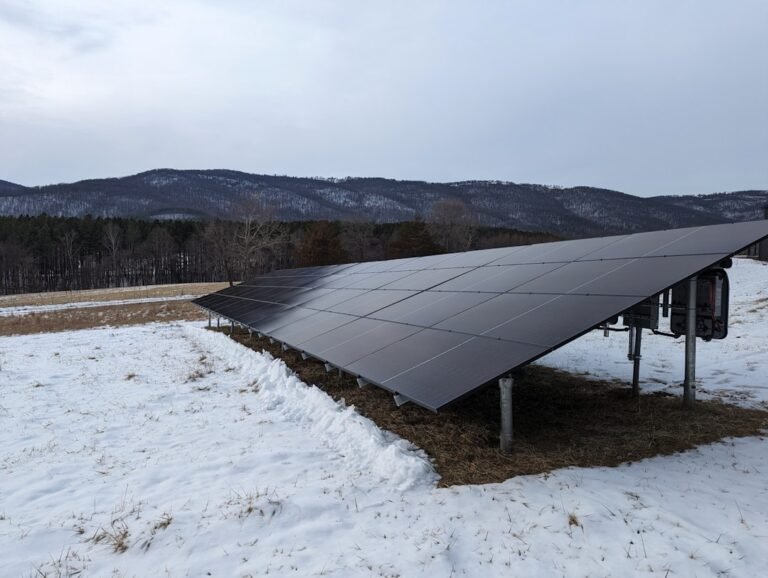
Mounting & Structural Mistakes That Void Warranties
Roof Penetration Issues

The single biggest structural mistake: improper flashing. Water damage from a leaking roof mount costs thousands and voids most equipment warranties.
The right approach:
– Use a roof flashing kit designed for your roof pitch and material (not a generic one)
– For asphalt shingle roofs, use L-brackets with rubber seals and galvanized fasteners
– For metal roofs, use clamps that don’t penetrate the surface
– Seal all penetrations with silicone or polyurethane caulk rated for outdoor use (use Sikaflex Check Price →, not basic caulk)
– Install flashing under the shingles if your roof allows; above the shingles if not
I learned this the hard way: Our first installation used basic L-brackets. After two years, We found water damage in the attic. Replacement cost: $1,200 for new insulation and drywall, plus lost production time. New flashing kit cost $300.
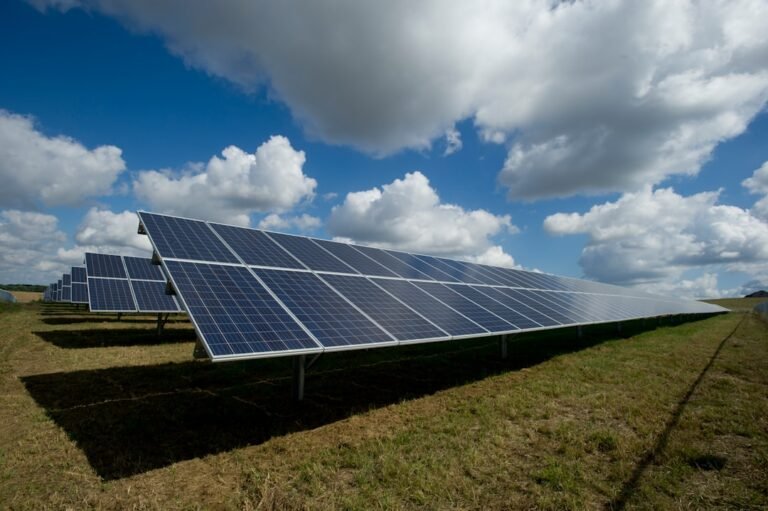
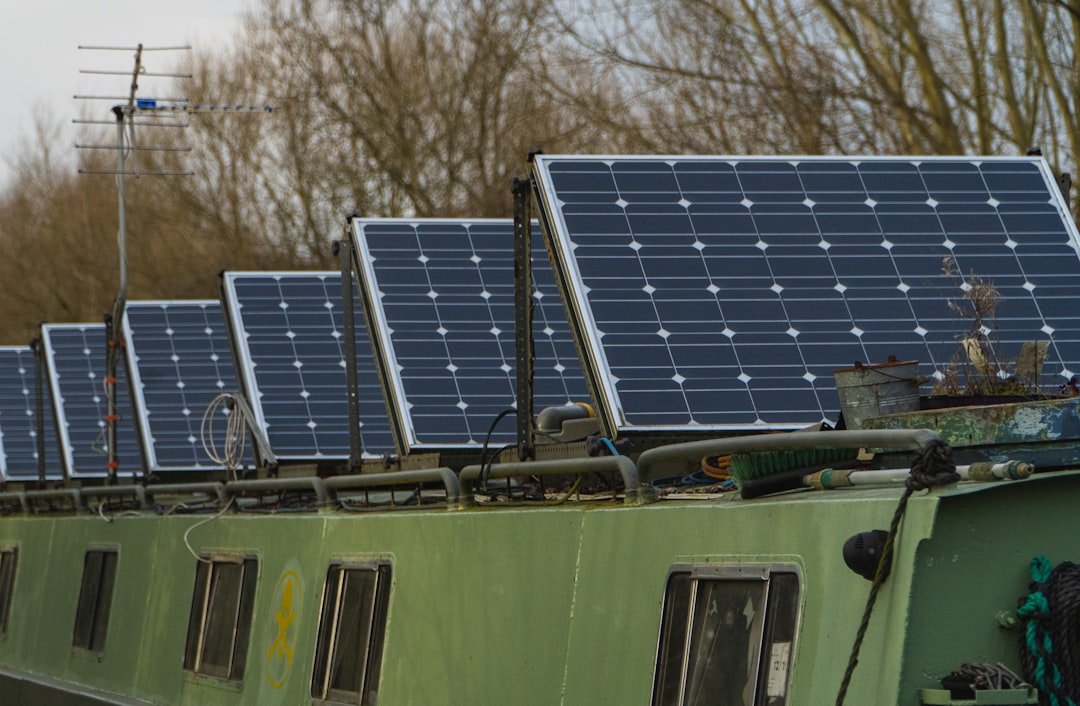
Incorrect Panel Angle & Orientation
- South-facing is mandatory (in Northern Hemisphere). East or west-facing loses 20–30% of output
- Tilt angle matters: Ideally 30–40° in temperate climates, adjusted seasonally if possible
- Common mistake: Installing panels flat on the roof to avoid visible frames. This reduces winter output by up to 40% and traps heat, reducing panel lifespan
Practical solution:
Use adjustable tilt mounts (even simple ones) if budget allows. Renogy 4-in-1 Tilt Mount Check Price → costs ~$120 and increases winter output by 25–35%.
Wind Loading & Securing Panels
Off-grid systems often sit on older structures or in remote locations with real wind exposure.
- Use bolts, not screws (screws creep loose; bolts don’t)
- Secure to rafters, not just roof decking
- In wind zones above 100 mph, use engineering calculations (most DIYers skip this)
- Space panels 2–3 inches for airflow (reduces heat, increases efficiency)
Electrical Configuration Mistakes
Combiner Box Oversights
Mistake: Skipping the combiner box and wiring panels directly to the charge controller.
Why this fails:
– Creates a fire hazard if one panel shorts
– Overloads the controller’s internal breakers
– Violates code
The correct setup:
– Use a dedicated combiner box with individual breakers/fuses for each string
– Each breaker should be rated at 125% of the string’s maximum current
– Example: 2 strings of 25 amps = 25 × 1.25 = 31.25A breaker per string (use 40A rating to be safe)
Missing Disconnects
Code requires three separate disconnects in an off-grid system:
1. Array disconnect — between panels and controller
2. Controller disconnect — between controller and batteries
3. Inverter disconnect — between batteries and inverter
Skipping these means you can’t safely maintain or troubleshoot. Plus, inspectors will fail you.
Improper Grounding

This isn’t sexy, but it’s critical.
- Use a dedicated ground rod (8–10 feet, copper-bonded steel)
- Bond all metal frames, conduit, and equipment to this rod
- Use #6 or thicker bare copper wire for grounds
- Poor grounding doesn’t always cause immediate failure—it just waits for a lightning strike or fault condition
Testing Before You Energize the System
Voltage & Continuity Checks

Before connecting batteries:
1. Measure open-circuit voltage (OCV) on the array in full sun. Each panel should match its nameplate rating (e.g., 48V panel = 48–52V OCV depending on temperature)
2. Test continuity on all DC wiring with a multimeter
3. Use an infrared thermometer on each panel; compare readings. A panel 10°C hotter than others may be failing
Load Testing
Don’t just flip the inverter on and hope.
- Start with small loads (lights, phone charger)
- Observe inverter output voltage (should stay within 240V ±10%)
- Gradually increase loads over 2–3 days
- Watch battery voltage under load—it should not drop more than 5% from resting voltage
Common Mistakes Summary
Mistake #1: Undersizing the Battery Bank to Save Money

You’ll run out of stored energy by day 3 of cloudy weather and destroy battery lifespan through deep discharge. A $2,000 battery bank won’t help if you kill it in 18 months. Budget for 3–5 days of autonomy minimum.
Mistake #2: Mixing Old and New Batteries

Even if three batteries are the same model, if they’re different ages, the older ones drag down the newer ones. Replace as a set.
Mistake #3: Forgetting About Maintenance Access

Mount everything so you can actually reach it for cleaning, repairs, and monitoring. We’ve seen panels installed in unreachable spots—they never get cleaned, and nobody checks voltage.
Mistake #4: Ignoring Local Electrical Code

“Nobody’s going to inspect it” is how house fires start. Check with your county. Many jurisdictions require permits and inspections for off-grid systems over 5kW.
Our Recommendations
-
Renogy 400W Monocrystalline Panel Bundle Check Price → — Best budget option for starter arrays. These panels are tested to -40°C and come with MC4 connectors pre-installed, saving wiring mistakes.
-
Blue Sea Systems Battery Switch Check Price → — Reliable, well-sealed disconnect for battery bank. Used in marine and RV applications for a reason. Around $60 and eliminates one of the most common wiring errors.
-
Fluke 115 Digital Multimeter Check Price → — If you’re testing your own system, don’t use a cheap meter. This one costs $100 and gives accurate readings on DC voltage and resistance. A $15 meter will mislead you and cost money in troubleshooting.
FAQ
Q: Can We use speaker wire or regular electrical wire from the house for solar?
A: No. Solar wire (specifically PV-rated) is UV-resistant and rated for outdoor exposure. Regular Romex will degrade in sunlight within a year. It’s a $50–100 difference; don’t skip it.
Q: What if my array and batteries are far apart?
A: Distance kills you in voltage drop. For every 100 feet, you need thicker wire (as calculated above). If they’re 200+ feet apart, consider moving one or installing a second smaller battery bank near the array. Running thin wire and losing 20% isn’t “budget-friendly.”
Q: Do I need a permit for a small off-grid system?
A: Check with your county. Many require permits over 5kW or in certain fire zones. A permit costs $100–300 and takes 2–4 weeks. Skipping it isn’t worth the risk if you ever sell or file an insurance claim.
Q: Should I hire an electrician instead of DIY?
A: If you’re uncomfortable with high-voltage DC work, yes. A licensed electrician costs $150–200/hour but catches code violations and gets you insured. For a $4,000 system, hiring a pro for final inspection ($500–800) is cheap insurance.
Q: Can I upgrade our system later?
A: Yes, but design for it now. Oversize your combiner box, conduit, and disconnect ratings so you can add panels without rewiring everything. Future-proofing costs $100 now and saves $800 later.
The Bottom Line:
Budget off-grid solar is absolutely achievable. But the mistakes that cost the most money aren’t expensive components—they’re free oversights. Take the time to calculate wire gauge correctly, mount panels structurally sound, and test before you energize. Your system will run reliably for 25+ years instead of becoming an expensive reminder in year two.