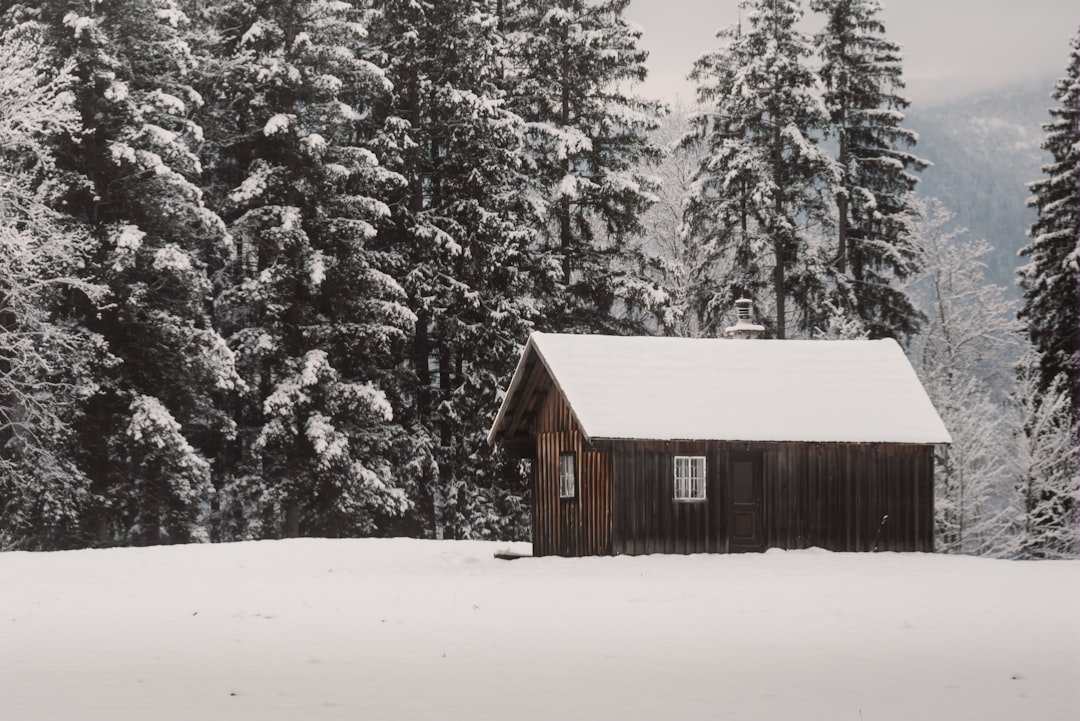
Convert Storage Shed to Off-Grid Cabin (Step-by-Step)
Turning a basic storage shed into a livable off-grid cabin is one of the most practical paths to affordable, self-sufficient shelter — but only if you get the building science right. A poorly converted shed becomes a mold box in winter and an oven in summer. Done correctly, a shed-to-cabin conversion can give you a weathertight, code-compliant dwelling for a fraction of new construction costs, often under $15,000 all-in if you’re willing to do the labor yourself.
We’ve dug through dozens of owner-documented builds, manufacturer spec sheets, and building inspector feedback to put together a conversion guide that covers what actually matters: structural integrity, insulation, moisture management, and off-grid systems integration.
What You’ll Learn
- How to evaluate whether a shed is structurally worth converting — and the deal-breakers that mean walking away
- The insulation and vapor barrier approach that prevents moisture disasters in unheated-origin structures
- Practical electrical, water, and heating system options sized for 120–400 sq ft cabins
- Permit and code realities most YouTube builds conveniently skip over
Step 1: Evaluate Your Shed’s Bones

Not every shed is worth converting. Before you spend a dollar, inspect these fundamentals:
Floor Structure
Off-Grid Insider
Get off-grid guides & gear picks in your inbox — free
Flip the shed or crawl underneath. You need floor joists that are at minimum 2×6 on 16-inch centers for a habitable structure. Many prefab sheds use 2×4 floor joists on 24-inch centers — fine for storing lawnmowers, not for bearing furniture, appliances, and foot traffic. If the joists are undersized, you can sister additional lumber alongside them, but factor that cost in.
Check for ground contact and rot. Sheds sitting directly on soil or on landscape timbers in contact with the ground are rot candidates. You want the structure elevated on concrete blocks, pier footings, or a gravel pad with pressure-treated skids. A minimum of 6 inches of clearance between the ground and the floor framing allows airflow and inspection access.
Wall Framing and Roof
Most shed walls are framed with 2×4s, which is acceptable for a small cabin. What matters more is stud spacing — 16-inch centers give you standard insulation batt widths and better structural capacity than 24-inch centers. Check that the roof has at least a 4/12 pitch for reliable water shedding, and inspect the sheathing from inside for any water staining or delamination.
The Deal-Breakers
Walk away if you find:
– Extensive rot in sill plates or more than two floor joists
– A roof pitch below 3/12 with no realistic way to add a steeper structure
– Wall studs that are 2×3 or smaller (common in cheap kit sheds)
– No way to get the structure onto a proper foundation without disassembly
Step 2: Foundation and Weatherproofing

Upgrade the Foundation

If the shed is on a gravel pad with skids, that can work — but the skids must be pressure-treated (ground contact rated, look for UC4A or higher stamps). For a more permanent installation, concrete pier blocks at each corner and every 6 feet along the perimeter give you a stable, frost-resistant base. In cold climates, piers should extend below the frost line, which varies from 12 inches in the South to 48+ inches in northern states.
Exterior Weather Barrier
Most sheds ship with T1-11 siding or basic OSB sheathing with no house wrap underneath. You need a weather-resistant barrier (WRB). The most practical retrofit approach:
- Remove existing siding panels
- Install house wrap — Tyvek HomeWrap is the standard — lapped shingle-style from bottom to top
- Reinstall siding or upgrade to LP SmartSide or board-and-batten
Seal around all window and door openings with flashing tape. This single step eliminates the majority of water intrusion problems we see reported in shed conversion communities.
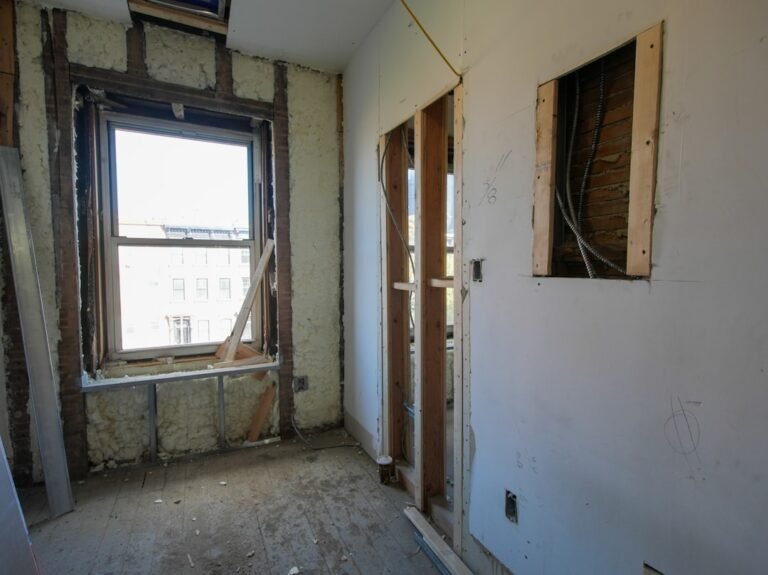
Step 3: Insulation — The Make-or-Break Detail

This is where most shed conversions fail. The wrong insulation strategy in a small, tight structure leads to condensation, mold, and structural decay within a couple of years.
Wall Insulation
For 2×4 walls, you have about 3.5 inches of cavity depth. Your best options:
- Closed-cell spray foam (R-6.5 per inch, ~R-21 in 3.5 inches): The gold standard for shed conversions because it acts as both insulation and vapor barrier. It also adds structural rigidity to thin-walled sheds. Professional installation runs $1.50–$2.50 per board foot. DIY kits like FROTH-PAK work for small areas but get expensive past 200 sq ft of wall space.
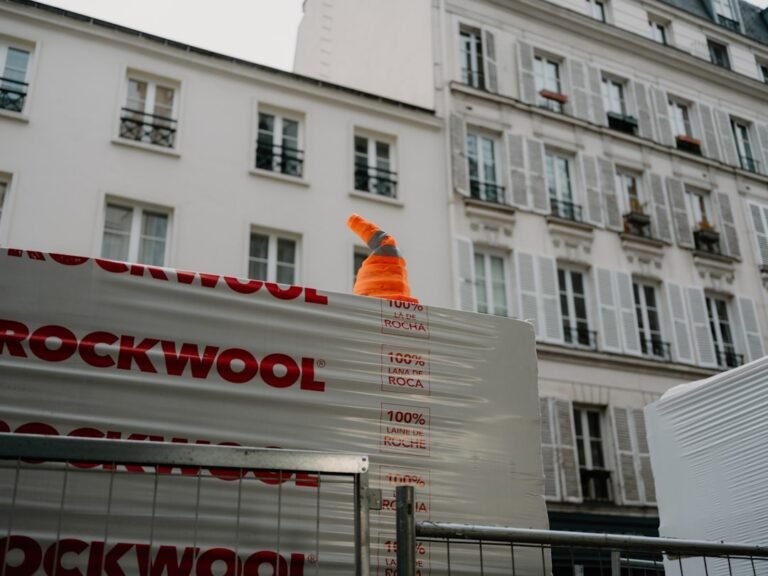
- Mineral wool batts (R-15 for 3.5-inch): Rockwool ComfortBatt is moisture-resistant, doesn’t lose R-value when damp, and friction-fits into stud bays without fasteners. Pair with a smart vapor retarder like Intello Plus on the interior side — not standard 6-mil poly, which traps moisture in climates with both heating and cooling seasons.
Floor Insulation
Insulate between the floor joists from below with rigid foam boards (XPS or polyiso) cut to friction-fit between joists, then seal edges with canned spray foam. Aim for R-15 minimum. Cover the underside with treated plywood or hardware cloth to protect from rodents and weather.
Roof/Ceiling Insulation

If you have rafter access, mineral wool batts between rafters plus a ventilation channel above (maintained by foam ventilation baffles) prevents ice dams and moisture buildup. You need at least 1 inch of airspace between insulation and roof sheathing. For cathedral-ceiling sheds without accessible attic space, closed-cell spray foam directly on the underside of the roof deck is the most reliable option — it eliminates the need for a separate ventilation channel.
Step 4: Windows, Doors, and Ventilation

Replace any single-pane shed windows with double-pane units. For a cabin under 400 sq ft, two operable windows on opposite walls provide cross-ventilation. Size matters — egress code in most jurisdictions requires at least one window with a minimum 5.7 sq ft opening for emergency exit from a sleeping area.
Install a proper exterior door. Shed doors are typically lightweight and poorly sealed. A pre-hung insulated steel exterior door runs $200–$400 and dramatically improves both security and thermal performance.
For moisture control in a tight space, add a small exhaust fan in the cooking/bathroom area. A 50–80 CFM bath fan vented through the wall (not into the attic space) handles cooking moisture and occupant humidity.
Step 5: Off-Grid Systems Integration
Electrical

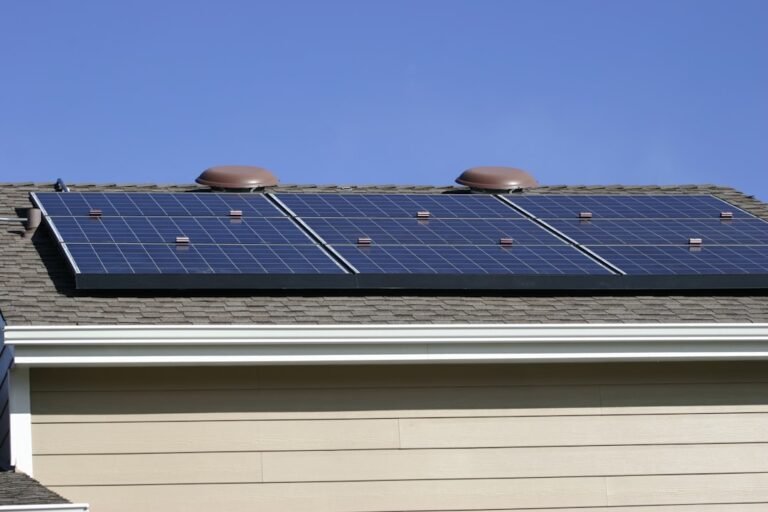
A 200–400 sq ft cabin typically needs a 2,000–3,000 watt solar system for basic lighting, phone charging, laptop use, and a small fridge. A practical starter setup:
- 4× 100W solar panels (400W total)
- A 30A MPPT charge controller
- 200Ah of LiFePO4 battery storage (about 2.5 kWh usable)
- A 2,000W pure sine wave inverter
Wire the cabin interior with standard Romex (14/2 for 15A circuits) to a small breaker panel even if you’re off-grid. This keeps things safe, inspectable, and upgradeable.
Heating

For a well-insulated cabin under 400 sq ft, a small wood stove rated for 500–1,000 sq ft is sufficient. The Dickinson Newport is popular in the tiny-cabin community for spaces under 250 sq ft. For larger conversions, a cubic mini wood stove or a small traditional stove like the Drolet Pyropak handles the job. Ensure your stove installation meets NFPA 211 clearances — typically 36 inches from combustible walls without a heat shield, 18 inches with a proper shield.
Water
A gravity-fed system from an elevated rain catchment tank is the simplest approach. A 275-gallon IBC tote elevated 8–10 feet provides usable pressure (about 3–4 PSI) for a kitchen sink. For shower pressure, a small 12V RV water pump like the SHURflo 4008 draws under 8 amps and provides consistent 3 GPM flow.
Common Mistakes
-
Skipping the vapor management plan. Insulating a shed without addressing vapor drive creates a moisture trap. Interior moisture from cooking and breathing condenses inside cold wall cavities. Every insulation choice needs a corresponding vapor strategy — closed-cell foam handles it inherently; batt insulation needs a smart retarder.
-
Ignoring local codes and permits. Many jurisdictions require permits for converting an accessory structure to habitable space. Some zones prohibit it entirely. Check before you invest. The consequences range from fines to forced demolition.
-
Undersizing the foundation for the added load. A finished cabin with furniture, appliances, books, and occupants weighs substantially more than an empty shed. Those landscape-timber skids that held a riding mower may not support a 4,000+ lb finished structure.
-
No ventilation plan for the roof assembly. Unvented roof assemblies in cold climates lead to ice dams and sheathing rot unless you use closed-cell foam. If you’re using batts, you must maintain a continuous ventilation channel from soffit to ridge.
Our Recommendations
Best Insulation for Shed Conversions
Rockwool ComfortBatt — R-15 in 3.5 inches, moisture-resistant, easy to cut and install. Pair with Intello Plus smart vapor retarder for a belt-and-suspenders moisture strategy. About $1.10 per sq ft for the batts alone.
Best Small Wood Stove for Converted Cabins
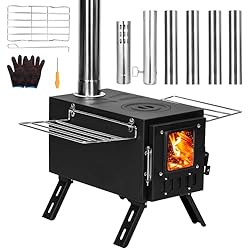
Dickinson Newport Solid Fuel Heater — rated for spaces up to 250 sq ft, compact enough for a converted shed, and takes standard 3-inch stovepipe. Well-documented in the van-life and tiny-cabin communities with consistently positive long-term reports.
Best Budget Water Pump for Off-Grid Cabin Plumbing

SHURflo 4008 Revolution — 3.0 GPM, self-priming, runs on 12V, and has a built-in pressure switch that shuts off at 55 PSI. Proven reliability across thousands of RV and off-grid installations. Usually under $100.
FAQ
How much does a full shed-to-cabin conversion cost?
Budget $5,000–$15,000 for a DIY conversion of an existing shed in good condition, depending on the systems you install. The shed itself (if you’re buying new) adds $3,000–$8,000 for a 12×20 or 12×24 model. Insulation and weatherproofing typically run $1,500–$3,000, electrical/solar $2,000–$4,000, and interior finishing $1,000–$3,000.
Do I need a permit to convert a shed into a cabin?
In most jurisdictions, yes — especially if it includes electrical, plumbing, or will be used as a dwelling. Zoning laws vary significantly by county. Some rural areas are more permissive; many suburban zones restrict accessory dwelling units. Contact your local building department before starting work.
Can I convert a shed in a cold climate?
Absolutely, but insulation and heating design become critical. You need a minimum of R-15 walls, R-30 ceiling, and R-15 floor to stay comfortable in USDA zones 4–6. In zones 7 and above (northern Minnesota, Montana, etc.), bump ceiling insulation to R-38 or higher and plan for a wood stove or propane heater rated for your square footage.
How long does a shed conversion take?
Most owner-builders report 4–8 weekends for a basic conversion (insulation, interior wall finish, basic electrical, and a wood stove). Adding plumbing, solar, and custom interior work extends the timeline to 2–4 months of weekend work. Having the shell already standing is the main time advantage over building from scratch.
What size shed should I start with for a livable cabin?
A 12×16 (192 sq ft) is the minimum we’d recommend for a single occupant who wants a separate sleeping area and small kitchen. A 12×24 (288 sq ft) gives you a comfortable one-room cabin with defined zones. Anything under 120 sq ft starts to feel like camping rather than living, especially in winter when you’re spending more time indoors.