Build a Root Cellar: Keep Harvest Fresh 8 Months
If you’re growing food off-grid but losing a third of your harvest to spoilage, you don’t have a production problem — you have a storage problem. A properly built root cellar keeps vegetables, canned goods, and fermented foods viable for 4–8 months without a single watt of electricity. We’ve dug into building science, USDA food storage guidelines, and decades of homesteader feedback to put together the most actionable build guide we could.
What You’ll Learn
- How to choose the right location, depth, and cellar type for your climate and soil
- Exact dimensions, materials, and ventilation specs for a functional root cellar
- The critical temperature and humidity ranges that prevent spoilage
- Which common build mistakes lead to flooded, moldy, or useless cellars
Why a Root Cellar Still Makes Sense Off-Grid
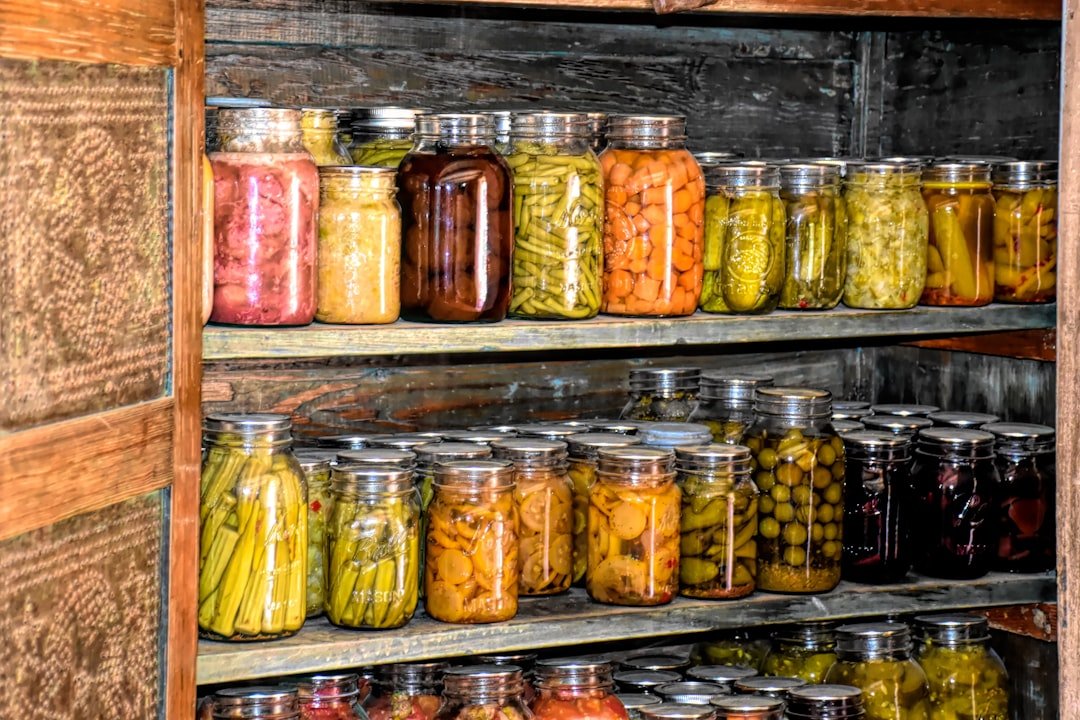
Refrigeration is the single biggest energy draw in most off-grid setups — a standard fridge pulls 1–2 kWh per day, which means 300–600 Wh of solar capacity dedicated just to keeping carrots cold. A root cellar maintains 32–40°F and 85–95% relative humidity passively, using the thermal mass of the earth. That’s the ideal window for storing root vegetables, apples, cabbage, canned preserves, and fermented foods like sauerkraut.
The concept isn’t nostalgic — it’s thermodynamically efficient. Below the frost line (typically 36–72 inches depending on your USDA zone), soil temperature stabilizes year-round between 45–55°F. With proper insulation and ventilation, you can push a well-built cellar down into the mid-30s during winter and keep it below 50°F even in summer.
Choosing Your Location
Off-Grid Insider
Get off-grid guides & gear picks in your inbox — free
Hillside vs. Underground vs. Basement
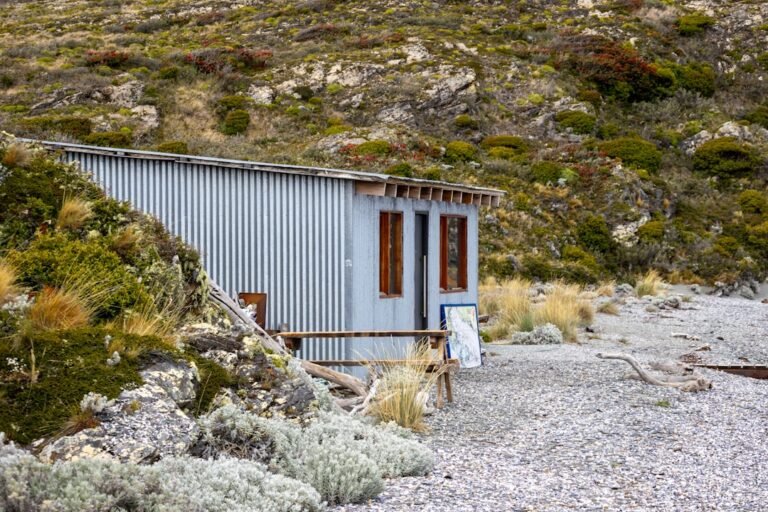
Hillside (bank) cellars are the gold standard. If your property has a north-facing slope, you can dig horizontally into the hill, which solves drainage naturally — water flows away from the entrance. This is the easiest type to build and the most forgiving of mistakes.
Fully underground cellars work on flat land but require serious waterproofing and a sump or French drain system. You’re digging a hole 8–10 feet deep and essentially building a buried room.
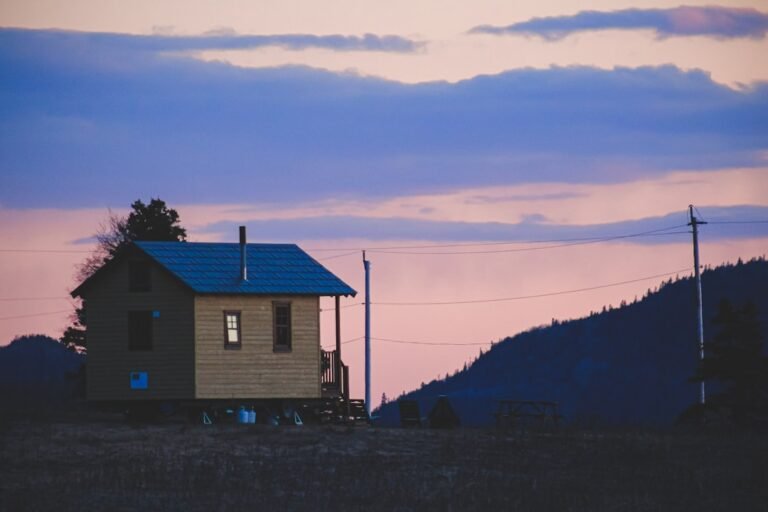
Basement corner cellars are the budget option if you already have a structure. You partition an unheated northeast corner of a basement, insulate the interior walls, and add ventilation. Less effective in warm climates, but viable in USDA zones 3–6.
Site Selection Checklist
- North-facing exposure — minimizes solar heat gain on the entrance and exposed walls
- Well-drained soil — sandy loam or gravel-heavy soil is ideal; heavy clay holds water and creates hydrostatic pressure against walls
- Above the water table — dig a test hole 8 feet deep in spring (when the water table peaks) and check for standing water after 48 hours
- At least 10 feet from septic systems, animal pens, or fuel storage
- Accessible year-round — don’t put it somewhere you can’t reach in February
The Build: Step by Step
Dimensions and Excavation

For a household of 2–4 people, an interior space of 8 × 10 feet with 7-foot ceilings provides roughly 500 cubic feet of storage — enough for 40–60 bushels of produce plus shelving for canned goods. Scale up to 10 × 12 if you’re feeding more or preserving heavily.
Excavate 2 feet wider and 1 foot deeper than your final interior dimensions. This gives you room for drainage gravel below and waterproofing membrane on the sides. For a hillside cellar, you’re cutting horizontally into the slope and then building a retaining structure.
Rent or buy a quality excavation tool — hand-digging is realistic for a hillside cellar but brutal for a fully underground build. A compact excavator rental runs $250–400/day and saves weeks of labor.
Foundation and Floor
Lay 4–6 inches of clean crushed gravel (#57 stone) across the entire floor area. Do not pour a solid concrete slab — this is the most common mistake we see in root cellar forums. A gravel floor lets moisture wick up naturally from the soil, maintaining the 85–95% humidity that prevents produce from shriveling. If you need a firmer walking surface, set flagstones or concrete pavers on top of the gravel with gaps between them.
Install a 4-inch perforated drain pipe around the interior perimeter, sloped at 1/8 inch per foot toward a sump pit or daylight outlet (for hillside builds). This is your insurance policy against flooding.
Walls
Three proven approaches, ranked by durability:
-
Concrete block (CMU) — 8-inch standard block, cores filled with concrete and rebar every 4 feet. Most durable. Apply two coats of waterproofing membrane (we recommend products like Drylok Extreme) on the exterior face before backfilling.
-
Poured concrete — 6–8 inch walls using plywood forms. Strongest option but requires mixing or ordering ready-mix. For off-grid sites without utility access, consider renting a portable mixer.
-
Stone or urbanite (recycled broken concrete) — laid with Type S mortar. This is the most labor-intensive but uses free or salvaged materials. Walls need to be 12–16 inches thick for structural integrity.
Exterior waterproofing is non-negotiable regardless of wall type. Apply a rubberized asphalt membrane like Henry Blueskin over the exterior surface, then install dimple board drainage mat before backfilling. This creates an air gap that channels water down to your perimeter drain.
Ceiling and Roof
The ceiling needs to support the weight of the earth above it — typically 12–24 inches of soil for thermal mass. Options:
- Reinforced poured concrete slab (6 inches with rebar grid) — most reliable
- Heavy timber beams (6×8 or 8×8 pressure-treated or naturally rot-resistant species like locust or cedar) with tongue-and-groove decking and a waterproof membrane on top
Over the ceiling structure, layer: waterproof membrane → 2 inches rigid foam insulation (XPS, not EPS — it doesn’t absorb water) → 6-mil poly vapor barrier → 12–24 inches of soil. The insulation goes above the concrete, not below, so the thermal mass of the ceiling stays connected to the cool earth temperature.
Ventilation — The Detail Most Builds Get Wrong
A root cellar needs two vents: one intake low on the back wall (6–12 inches above floor level) and one exhaust high on the front wall or ceiling (within 12 inches of the ceiling). This creates passive convective airflow — cool air enters low, warm air exits high.
Specs:
– Minimum 4-inch diameter PVC for cellars under 100 sq ft; 6-inch for larger builds
– Intake pipe should extend outside and curve downward (goose-neck) to prevent rain entry
– Install screen mesh on both ends to keep rodents out
– Add a blast gate or damper on each pipe so you can throttle airflow seasonally — more airflow in fall to cool down, less in deep winter to prevent freezing
A 4-inch inline duct damper costs under $15 and gives you precise control.
The Door and Entrance
For hillside cellars, build an entryway (vestibule) 3–4 feet deep with two doors — an outer weather door and an inner insulated door. This airlock effect dramatically reduces temperature swings when you enter. Use a solid-core exterior door with weatherstripping, or build an insulated door from 2× framing and 2-inch rigid foam.
For underground cellars with hatch-style access, insulate the hatch with at least R-15 and ensure it seals tightly. A poorly sealed hatch is functionally the same as no hatch.
Interior Setup and Shelving

Use rot-resistant wood shelving — cedar, locust, or pressure-treated lumber rated for ground contact. Metal shelving works but rusts in high humidity unless it’s stainless steel or powder-coated. Wire shelving units like heavy-duty chrome wire racks hold up well and allow air circulation around stored goods.
Keep produce off the floor. Store root vegetables (carrots, beets, turnips) in bins layered with damp sand or sawdust. Potatoes go in open crates in the darkest area. Apples store separately — they off-gas ethylene, which accelerates ripening in everything nearby.
Hang a min/max thermometer and hygrometer at shelf height and check it weekly until you understand your cellar’s seasonal behavior.
Common Mistakes
1. Pouring a sealed concrete floor. This kills the humidity regulation that makes a root cellar work. Produce shrivels in dry air. Stick with gravel.
2. Skipping exterior waterproofing. Interior sealers like Drylok help, but they can’t hold back hydrostatic pressure from saturated soil. Waterproof the outside of the walls before you backfill — you won’t get another chance without major excavation.
3. Single-vent or no-vent designs. Without two vents at different heights, you get stagnant air, CO₂ buildup from respiring produce, and mold. Two vents with dampers is the minimum.
4. South-facing entrances. A south-facing door turns your cellar into a solar oven every afternoon. Orient the entrance north or northeast, or build a shaded entryway.
Our Recommendations
Best thermometer/hygrometer for monitoring: The ThermoPro TP65A has a wireless remote sensor you can leave inside the cellar and read from your house up to 200 feet away. It logs min/max readings so you catch overnight temperature dips.
Best waterproofing membrane: Henry Blueskin VP100 is a self-adhered rubberized asphalt sheet that sticks directly to concrete block or poured walls. It’s the same product used in commercial foundation waterproofing and handles burial well.
Best shelving for high-humidity environments: Trinity 5-Tier NSF-rated wire shelving — chrome-plated, rated for 800 lbs per shelf, and the open wire design promotes airflow around stored goods. Comes with adjustable feet for uneven gravel floors.
FAQ
How deep does a root cellar need to be?
The floor should sit at least 6–8 feet below the finished ground surface in most climates. The key benchmark is getting below your local frost line with at least 2–3 feet of earth above the ceiling. Check your county extension office for frost depth data.
Can I build a root cellar in a warm climate (zones 8–10)?
It’s harder. Ground temperatures in zone 9 stabilize around 65–70°F, which is too warm for long-term vegetable storage. You can still build one for canned goods and fermented foods, but fresh produce storage will be limited to the coolest 3–4 months. Adding a small earth-tube cooling intake can help drop temperatures a few more degrees.
How much does a DIY root cellar cost?
A basic hillside cellar using concrete block, gravel, and salvaged materials runs $1,500–3,500. A fully underground poured-concrete build with proper waterproofing and drainage is $4,000–8,000. The biggest variable is whether you’re hand-digging or renting equipment.
Will a root cellar attract pests?
Not if you screen your vents, seal your doors with weatherstripping, and store produce in closed bins or crates rather than open piles. Mice are the primary concern — 1/4-inch hardware cloth over every opening keeps them out. Never store grain or flour in a root cellar without airtight containers.
How long can I store food in a root cellar?
At 32–40°F and 90–95% humidity: potatoes last 4–6 months, carrots in damp sand last 4–5 months, apples last 2–4 months, cabbage lasts 3–4 months, and canned goods are viable for 12+ months. These numbers drop significantly if your temperature or humidity is outside the optimal range, which is why monitoring matters.