Start a Homestead Garden in 30 Days (Step-by-Step)
Starting a homestead garden sounds straightforward until you’re standing on a patch of raw land with no infrastructure, no irrigation, and no idea whether your soil can actually grow anything. The difference between a productive first-season garden and a frustrating money pit comes down to a handful of decisions you make before a single seed goes in the ground.
We’ve compiled research from extension services, experienced homesteaders, and soil science data to build a practical, step-by-step plan that works whether you’re on a quarter acre or forty.
What you’ll learn:
- How to assess your land, sunlight, and soil before you plant anything
- The exact layout and sizing strategy that maximizes yield without overwhelming a beginner
- Which crops to plant first for the fastest return on effort
- How to build soil fertility from scratch without expensive amendments
Evaluate Your Site Before You Break Ground
Skip this step and you’ll waste an entire growing season. Before you buy seeds, tools, or raised bed kits, you need three pieces of information.
Sunlight Mapping
Most vegetables need a minimum of 6–8 hours of direct sunlight per day. Fruiting crops like tomatoes, peppers, and squash need the full 8. Leafy greens and root vegetables can tolerate 4–6 hours.
Spend 2–3 days observing your intended garden area. Note where shadows fall at 9 AM, noon, and 3 PM. Trees that are bare in early spring will cast heavy shade by June — account for full leaf canopy. If you want precision, a solar pathfinder tool or even the Sun Surveyor phone app will map your solar window accurately.
Soil Testing
Off-Grid Insider
Get off-grid guides & gear picks in your inbox — free

Don’t guess. A basic soil test through your county extension office typically costs $10–$25 and tells you pH, nitrogen, phosphorus, potassium levels, and organic matter percentage. Most vegetables thrive in soil with a pH between 6.0 and 7.0.
If your soil pH is below 5.5, you’ll need agricultural lime. Above 7.5, elemental sulfur brings it down. These adjustments take 3–6 months to fully take effect, which is why testing before your first season matters so much.
Drainage and Water Access
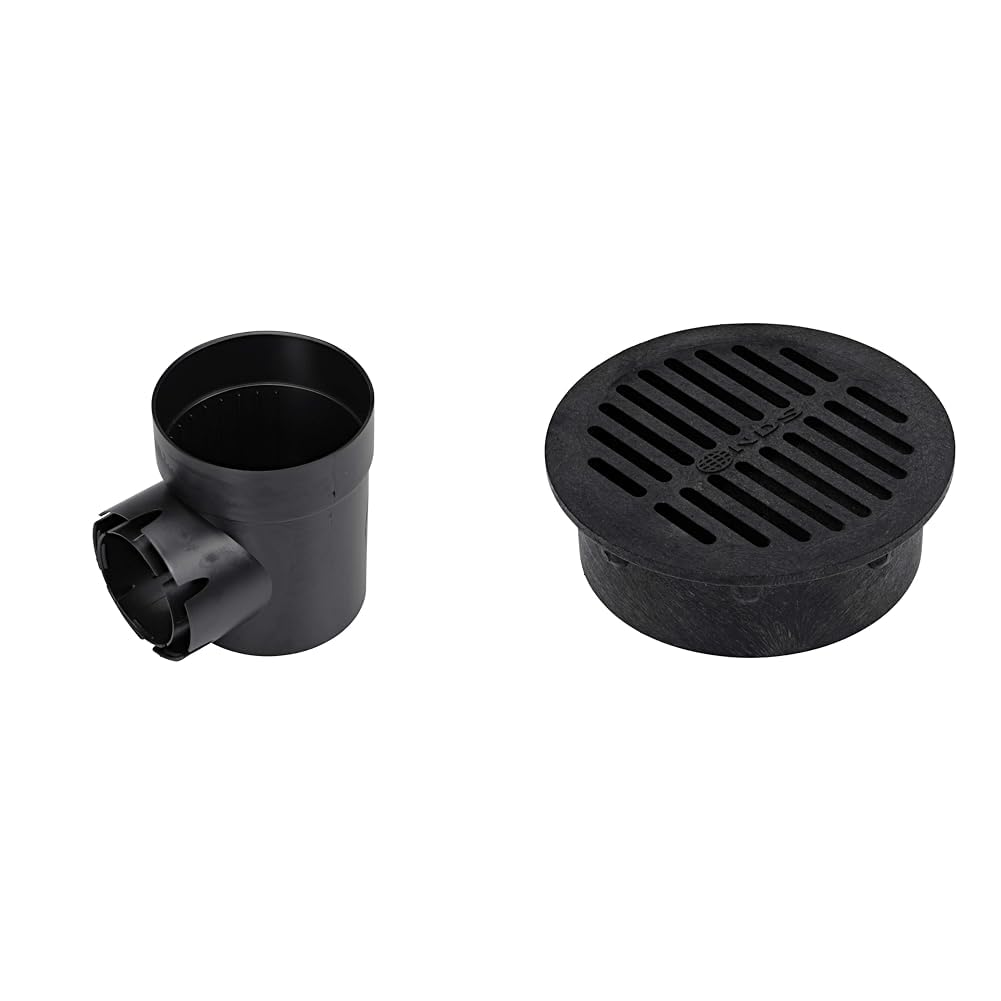
Dig a hole 12 inches deep and fill it with water. If it drains within 1–4 hours, your drainage is adequate. If water sits for 8+ hours, you’re dealing with heavy clay or a high water table — raised beds become essential rather than optional.
Measure the distance from your nearest water source to your garden site. Every 100 feet of hose run reduces water pressure noticeably. For off-grid properties relying on gravity-fed or solar-pumped water, keep the garden within 150 feet of your storage tank if possible.
Size Your Garden Realistically

The number-one beginner mistake is going too big. A 200-square-foot garden (roughly 10×20 feet) can feed two people a meaningful amount of fresh produce through the growing season. A 400-square-foot garden can supply a family of four with summer vegetables and enough surplus to preserve.
Start with 200 square feet your first year. You can always expand once you understand your soil, pest pressure, and actual time commitment.
Layout Options
In-ground beds work best if you have decent native soil (loamy, well-drained, pH in range). Amend the top 8–12 inches with 2–3 inches of compost and you’re ready to plant. Cost: minimal.
Raised beds are the better choice for rocky ground, heavy clay, contaminated soil, or properties where you haven’t verified soil safety. A 4×8-foot raised bed filled 12 inches deep requires roughly 32 cubic feet of soil mix. A good starting blend is 60% topsoil, 30% compost, and 10% perlite or coarse vermiculite.
Cedar and Douglas fir are the go-to lumber choices — they resist rot without chemical treatment. Avoid pressure-treated wood for food gardens. For a durable, ready-to-assemble option, the Greenes Fence raised bed kits are widely used by homesteaders and come in multiple sizes.
Choose First-Season Crops That Actually Produce
Your first garden should prioritize crops that are hard to kill, produce heavily, and give you a fast feedback loop. Save the finicky heirlooms for year two.
High-Yield Beginner Crops
| Crop | Days to Harvest | Yield per Plant | Notes |
|---|---|---|---|
| Zucchini | 45–55 | 6–10 lbs | 2–3 plants feed a family; don’t overplant |
| Bush beans | 50–60 | 0.5 lb | Succession plant every 2–3 weeks |
| Tomatoes (determinate) | 65–80 | 8–12 lbs | Cage or stake at planting time |
| Lettuce / greens | 30–45 | Continuous cut | Grows in partial shade; bolt-resistant varieties for summer |
| Radishes | 25–30 | Quick turnaround | Great for filling gaps between slower crops |
| Kale | 55–65 | Harvest all season | Cold-hardy; often survives light frost |
What to Skip Year One
Corn requires large blocks for pollination and heavy feeding — not efficient for small gardens. Melons and winter squash need significant space and long seasons. Asparagus doesn’t produce usable harvests until year three. These are all fine crops, but they demand experience and acreage that first-year gardeners typically don’t have.
Build Your Soil From Scratch

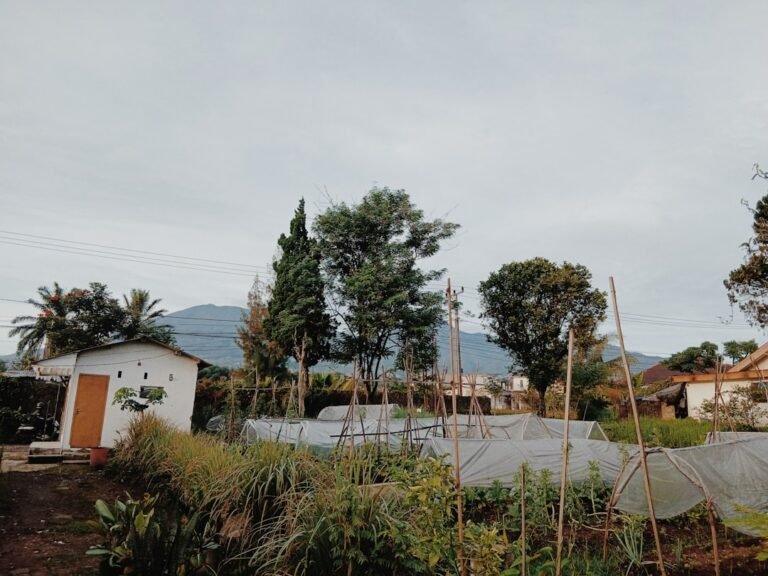
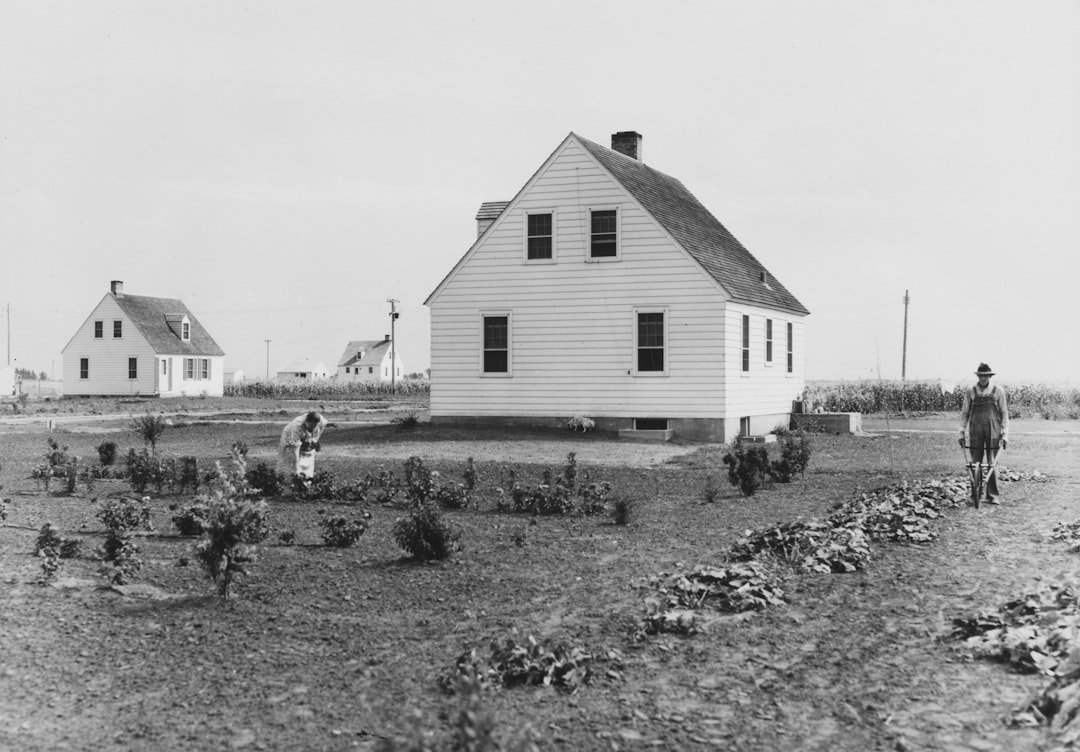
If you’re starting on raw land — compacted subsoil, cleared forest floor, or old pasture — you need to build topsoil, not just amend it.
The Lasagna Method (Sheet Mulching)
This is the most effective no-till approach for converting raw ground into garden soil:
- Mow or cut existing vegetation as short as possible
- Lay down a single layer of plain cardboard (remove tape and staples), overlapping edges by 4–6 inches
- Add 2–3 inches of nitrogen-rich material: fresh grass clippings, kitchen scraps, or composted manure
- Top with 4–6 inches of carbon-rich material: straw, shredded leaves, or wood chips
- Add another 2 inches of finished compost on top
- Water thoroughly and let it sit for 4–8 weeks before planting
If you start this process in fall, you’ll have plantable beds by spring. Starting in spring means you may need to cut holes through the layers and fill them with finished compost to transplant into while the lower layers decompose.
Ongoing Fertility

Avoid the trap of buying expensive bagged fertilizers every season. Long-term soil building relies on:
- Composting — a simple two-bin system handles kitchen and garden waste. Expect usable compost in 3–6 months with regular turning.
- Cover cropping — plant crimson clover or winter rye in fall after harvest. These fix nitrogen and prevent erosion. Till or crimp them in spring.
- Mulching — 3–4 inches of straw or shredded leaves around plants suppresses weeds, retains moisture, and feeds soil biology as it breaks down.
Set Up Irrigation That Doesn’t Waste Water

Hand watering works for a 4×8 raised bed. It doesn’t scale beyond that, and it’s unreliable — you’ll skip days, underwater, and lose plants.
Drip irrigation is the standard for homestead gardens. It delivers water directly to root zones, reduces disease pressure from wet foliage, and uses 30–50% less water than overhead sprinklers. A basic drip kit with a timer, mainline tubing, and emitter lines for a 200-square-foot garden runs $40–$80.
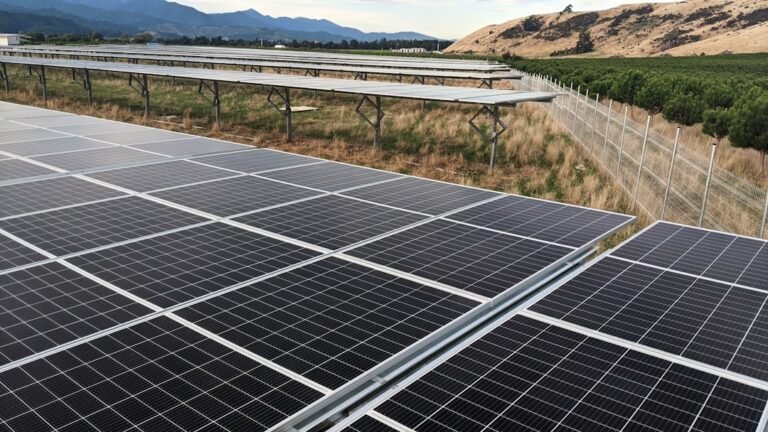
The Rain Bird drip irrigation kit covers up to 75 feet of bed space and includes everything you need for a first setup. For off-grid properties without municipal pressure, pair drip lines with a gravity-fed system — a water tank elevated 3–4 feet provides roughly 1.5 PSI per foot of elevation, enough for most drip emitters rated at 5–10 PSI.
Essential Tools — What You Actually Need
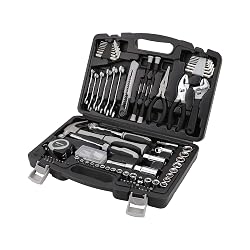
You don’t need a shed full of equipment. For a first-season garden under 400 square feet, here’s the real list:
- Digging fork — better than a shovel for loosening compacted soil without destroying structure
- Hoe (stirrup/hula style) — the fastest manual weeding tool that exists
- Garden rake — for leveling beds and working in amendments
- Hand pruners — for harvesting and light pruning
- Wheelbarrow or garden cart — moving compost, soil, and harvest
- Watering can or hose with adjustable nozzle — for seedlings and spot watering
A quality digging fork like the Radius Garden root slayer handles rocky homestead soil significantly better than budget options that bend at the tines.
Common Mistakes That Wreck First-Year Gardens
Starting too large. A 1,000-square-foot garden sounds productive until you’re spending 2+ hours a day weeding in July. Start at 200 square feet. Master it. Expand next year.
Ignoring soil prep. Planting directly into unamended clay or sandy subsoil produces stunted, nutrient-deficient plants. Even one season of composting and mulching transforms productivity.
Skipping succession planting. Planting all your lettuce and beans on the same day gives you a glut followed by nothing. Stagger plantings every 2–3 weeks for continuous harvests through the season.
Underestimating pest and weed pressure. Mulch heavily from day one. Inspect plants twice a week. Hand-pick pests early before populations explode. Row cover fabric prevents 90% of insect damage on brassicas and greens without chemicals.
Our Recommendations
Best raised bed kit for beginners: Greenes Fence 4×8 Cedar Raised Bed — untreated cedar, easy assembly, stackable for deeper beds. Community feedback consistently rates these as the best value for food gardens.
Best drip irrigation starter kit: Rain Bird Drip Irrigation Garden Kit — reliable emitters, includes timer, and compatible with gravity-fed setups for off-grid use.
Best digging tool for raw land: Radius Garden Root Slayer Fork — reinforced tines handle rocky and root-filled homestead soil where standard forks fail.
FAQ
How much does it cost to start a homestead garden from scratch?
An in-ground garden under 200 square feet can be started for $50–$100 — soil test, seeds, basic amendments, and mulch. Raised beds add $100–$200 per 4×8 bed including soil. Drip irrigation adds $40–$80. Total realistic first-year budget: $150–$400 depending on your approach.
When should I start preparing my garden site?
Ideally 3–6 months before your planting date. Fall preparation for a spring garden is the gold standard — it gives soil amendments time to integrate and sheet mulch layers time to decompose. If you’re starting in spring, you can still plant, but focus on raised beds with purchased soil mix rather than trying to rehabilitate native soil on a compressed timeline.
Can I start a homestead garden without tilling?
Yes. No-till methods like sheet mulching and deep mulch gardening are actually better for long-term soil health. Tilling breaks up soil structure, kills beneficial organisms, and brings weed seeds to the surface. The only scenario where initial tilling makes sense is breaking through severely compacted subsoil for the very first time — after that, no-till maintenance with compost and mulch is more productive.
How much water does a homestead garden need?
Most vegetable gardens need 1–1.5 inches of water per week during the growing season. For a 200-square-foot garden, that’s roughly 125–185 gallons per week. Drip irrigation and heavy mulching can reduce actual water use by 30–50% compared to overhead watering. On off-grid properties, plan your water storage and delivery capacity around peak summer demand.
What’s the fastest way to get food growing on raw land?
Container gardening and straw bale gardening produce food within weeks while your in-ground beds develop. Five-gallon buckets with drainage holes grow excellent tomatoes and peppers. Straw bales, conditioned with nitrogen fertilizer for two weeks, serve as self-contained growing media that don’t require any soil prep at all. Use these as bridge strategies while your permanent beds mature.