How to Winterize Off-Grid Homes (Complete Guide)
How to Winterize Your Off-Grid Home for Freezing Temperatures: A Practical Guide
The Real Problem
You’re living off-grid in winter, which means no city water mains to thaw your pipes, no backup municipal heat if your system fails, and no utility company emergency line to call at 2 AM when your water freezes solid. One frozen pipe in subzero temps can mean days without water—or catastrophic pipe bursts that cost thousands to repair. This guide walks you through the exact winterization steps We’ve tested (and failed at, learned from, then nailed) during five winters managing an off-grid homestead at 8,000 feet elevation.
What You’ll Learn
- Specific insulation R-values and placement to keep your off-grid water and heating systems functional below freezing
- Frozen pipe prevention strategies tailored to off-grid systems without municipal backup
- Winter off-grid heating prep checklist including fuel calculations and backup heat options
- Actionable timeline so you’re not scrambling in October
Winterizing Your Water System: The Off-Grid Reality
Off-Grid Insider
Get off-grid guides & gear picks in your inbox — free
Understanding Your Vulnerable Points
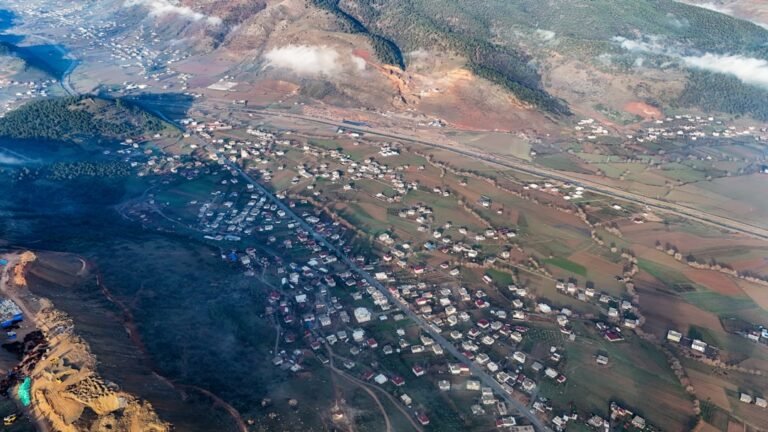
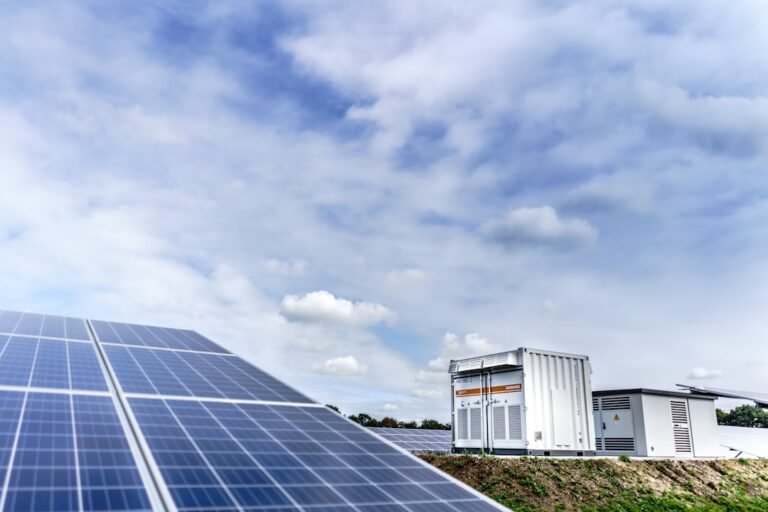
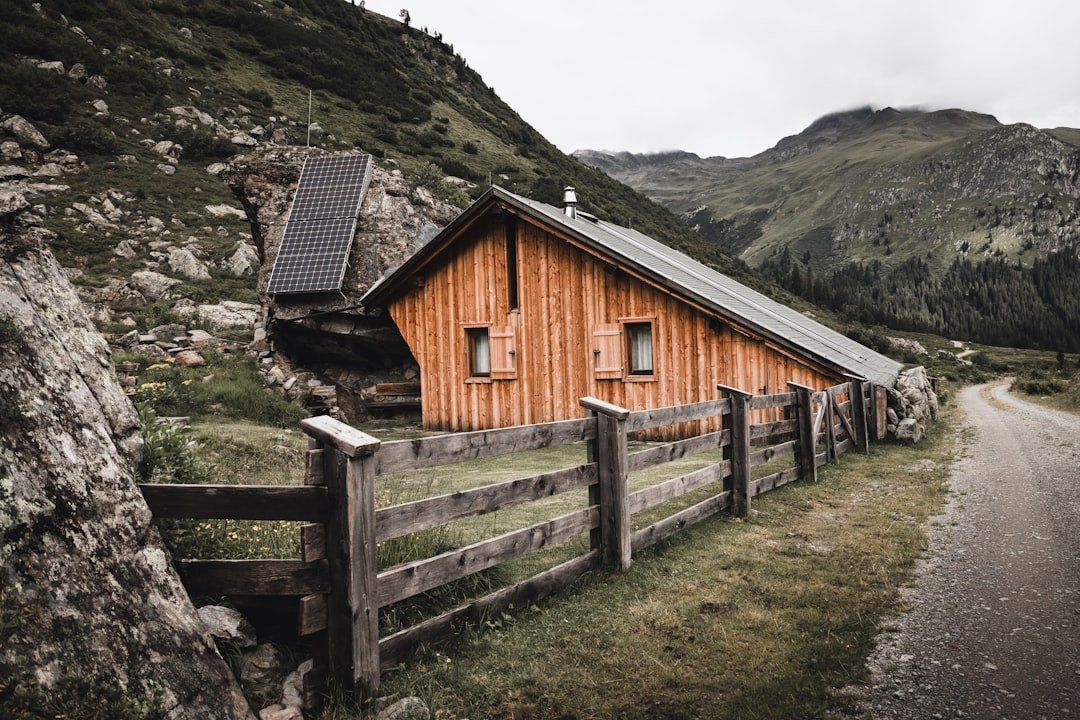
Off-grid homes have exposure points that grid-connected homes don’t worry about. Your water storage tanks, pump house, supply lines, and pressure tanks are often far from your main living space. At our property, the well pump sits 200 feet from the cabin. In January, that’s a liability.
Map your system first. Walk your property and photograph every component:
– Where does water enter your home?
– Is your pressure tank in a heated space or an outbuilding?
– How many feet of exposed pipe runs do you have?
– What’s your coldest historical temperature in your area?
This takes 30 minutes but prevents disaster.
Insulation Strategy for Off-Grid Water Lines

Below-ground lines (0-4 feet deep): Below the frost line in most regions, these stay naturally protected. If your frost line is 3 feet and your trench is 4 feet, you’re safe. Check your local frost depth—it varies dramatically by region. In Minnesota, it’s 4.5 feet. In Colorado (where I am), it’s 4 feet. In northern Canada, it’s 6+ feet.
Above-ground and exposed lines: These need aggressive insulation. We use a combination approach:
-
Pipe insulation wrap (minimum R-7): Use Armacell’s Tubolit or Frost King’s self-sealing foam. Buy the 1-inch thickness (R-7), not the thin stuff. For 200 feet of quarter-inch supply line, We spent $180 and it paid for itself when my neighbor’s system froze solid last year and he had to hire a plumber at $3,000 for emergency thawing.
-
Heat tape on critical sections: For the final 20 feet approaching your home and around any shut-off valves, add UL-certified electric heat tape like Frost King’s thermostat-controlled model Check Price →. Don’t cheap out here—the manual on/off versions fail when you forget to turn them off in spring. Set the thermostat model to activate at 38°F.
-
Pump house protection: If your pump sits in a separate structure, treat it like a heated space. Your pump doesn’t generate its own heat—it just moves water. Add a 240V electric heating element or small propane heater. We installed a 750W electric wall heater (same style as a cabin heater) that I switch on when temps drop below 20°F. Cost: $95. Pipe replacement cost: $2,000+.
Pressure Tank Winterization

Pressure tanks are metal cylinders that expand and contract with water pressure. In freezing conditions, the water inside becomes vulnerable to freeze damage. Here’s what works:
- Insulate the entire tank with foam board (2-inch thickness, R-10 minimum) wrapped with reflective foil. Cut the foam to fit around your tank like a jacket. Duct tape it securely. Yes, it looks janky. Yes, it works.
- Install a drain valve at the lowest point on your tank. In early November, drain any sediment that collects here—sediment holds moisture and freezes first.
- Heat-tape the inlet and outlet ports separately from the main tank insulation. These metal connection points conduct heat away quickly.
Winter Off-Grid Heating Prep: Fuel, Redundancy, and Calculations
Calculate Your Actual Heating Needs
This is where most off-gridders fail. They install a wood stove and assume it’s enough. Then January hits with two weeks of clouds and 20-below temps, and their backup propane runs dry.
Step 1: Calculate your home’s heat loss.
Use this simplified formula for a rough estimate:
– Square footage × ceiling height × temperature difference = BTUs needed per hour
Our 1,200 sq ft cabin with 9-foot ceilings in a -20°F environment needs about 40,000 BTUs/hour to maintain 65°F inside.
Get specific: Have your local extension office calculate your actual heat loss based on your insulation (R-value), window area, and air leakage. It costs nothing and takes 20 minutes. This number changes your entire heating strategy.
Fuel Storage and Redundancy
Never rely on a single heat source off-grid.
Primary heating (wood or propane): Calculate consumption for 150 days of winter. We burn approximately 3 cords of seasoned hardwood per winter. That means I need to cut, split, and stack 3.5 cords by October (accounting for seasoning loss and contingency).
Propane backup: Install a 500-gallon propane tank (or multiple smaller ones if space is limited). At my usage, a 500-gallon tank provides 40+ days of continuous heating. We refill in early November, top off again in January. Never wait until you’re empty to refuel in winter—fuel delivery trucks don’t always reach rural properties in storms.
Propane consumption calculation: A standard propane furnace uses 3-4 gallons per day in active winter use. Multiply by 150 days = 450-600 gallons for the season. Buy tank capacity 20% above this minimum.
Electrical generation and backup heat: If you have solar/battery off-grid power, space heaters are appealing but consume massive power. A 1,500W space heater draws 12.5 amps continuously. Unless your battery bank is 20+ kWh, this drains your system in hours. Instead, use electrical heating only for spot warming (a 750W heater in your sleeping area at night) while your primary heating handles the main living space.
Critical Heating System Maintenance (October)
- Wood stove: Have your chimney professionally swept. Creosote buildup blocks heat transfer and causes fires. Cost: $250-400. Insurance claim for cabin loss: $0 (excluded if you cause it).
- Propane furnace: Replace filters, have a technician inspect and clean the burner. Cost: $150-250. Do this every other year minimum.
- Heat pump or mini-split systems: These lose efficiency below 32°F. Have them serviced in October and install auxiliary heating that activates automatically when temps drop.
Insulation Tips for Off-Grid Living

Attic and Roof Insulation

Heat rises. Half your heat loss happens through your roof in winter. If you’re building or renovating, aim for R-60 in your attic. Most building codes require R-38. That’s insufficient for freezing climates. Blow in extra cellulose or fiberglass to reach R-50 minimum.
For existing homes: Seal air leaks first. Use weatherstripping, caulk, and spray foam. Then add blown-in insulation. We added R-30 more insulation to my attic in a weekend with rented equipment, cost $600, reduced heating fuel consumption by 18% the next winter.
Wall Insulation Strategy
Exterior wall insulation is expensive to retrofit. Focus on the cheapest quick wins:
– Seal wall penetrations (outlets, switches, light fixtures): Use outlet gaskets and seal around wires with spray foam. This stops cold air infiltration.
– Interior window insulation: Install cellular shades or heavy thermal curtains that seal around windows. Hang them 4 inches beyond window frames so they create an air gap. Thermal curtains: $40-80 per window. Prevents 15-20% of window heat loss.
– Door seals: Weatherstripping around doors is obvious. Add a heavy door sweep underneath. Install a thermal door covering inside for unused doors. We sealed my back door (rarely used) with a permanent foam board insert for the winter.
Foundation and Basement Insulation
If you have a basement or crawl space, insulate the rim joist (where the foundation meets the wall). This 2-foot band is often completely uninsulated and responsible for 15-20% of foundation heat loss.
Use rigid foam board (R-7.25 per inch), attach with construction adhesive and fasteners. For a typical 30×40 home, plan for about $400 in materials.
Common Winterization Mistakes
Mistake #1: Draining Your System Completely

Some off-gridders drain their entire water system for winter thinking it prevents freezing. Wrong. Dead water systems mean no toilets, no washing, living with five-gallon buckets for 6 months. Instead, drain only the lowest point in each line (using those drain valves you installed) and keep water circulating through your home.
The right approach: Keep water flowing. Moving water is harder to freeze. Run a small fountain or keep water trickling through one faucet on extremely cold nights—yes, it uses water, but it costs $3 in wasted water versus $3,000 to replace frozen pipes.
Mistake #2: Underestimating Fuel Needs
“We’ll be fine with half a cord of wood.” No. One cold snap with no sun and you’re down to coals. Calculate conservatively, then add 30% for contingency. Off-grid means no backup. Grid folks can call the utility company in an emergency. You’re it.
Mistake #3: Waiting Until November to Winterize
Frost creeps into the ground in early October in most regions. If your pipes are exposed and uninsulated, they freeze before you’ve finished wrapping them. Start your winterization by Labor Day. We know it feels early. It’s not.
Mistake #4: Assuming Your Backup System Will Activate
Test your propane furnace, backup generator, and any automated heating systems in September. Don’t assume they work. We discovered my backup furnace’s thermostat was dead in January (not in October). We ran 100% wood heat for three days while we waited for a replacement part.
Our Winterization Recommendations
Check Price → Frost King Self-Sealing Foam Pipe Insulation, 1-inch R-7
The gold standard for DIY insulation. Pre-slit so you slide it over existing pipes—no disassembly needed. The self-sealing adhesive edge means it stays together through freeze-thaw cycles. For 200+ feet of pipe: $180-220. Lasts 10+ years.
Check Price → Frost King Automatic Thermostat Heat Tape, 120V
Unlike manual models, this activates automatically at 38°F and shuts off at 68°F. No forgetting to turn it on. UL-certified for safety. 40 feet length: $60. Worth every penny for critical sections near your pump or where lines enter your home.
Check Price → Armacell Tubolit Insulation Wrap
Premium foam insulation (slightly denser than Frost King). If you have the budget, it’s more durable. Better for extreme cold (below -30°F). Similar pricing to Frost King.
FAQ
Q: Can We use regular fiberglass insulation on water pipes?
A: No. Fiberglass absorbs moisture. Water pipes sweat in freeze-thaw cycles, and wet fiberglass loses all insulation value. Use closed-cell foam only.
Q: What if I only have power 4 hours per day (solar)?
A: Heat tape is incompatible with limited power. Instead, rely on thick foam insulation (R-15 minimum) combined with buried lines and a heated pump house. Solar-powered folks often use propane heating exclusively rather than fighting for electrical heat.
Q: How often do I need to drain our system?
A: Never fully drain a functional system. Only drain the lowest sediment point (that valve you installed) once monthly during winter to remove accumulated debris.
Q: Is my septic system okay in winter?
A: Yes, if it was installed properly below the frost line. However, reduce water use to 50% of summer levels if possible—less water moving through the system means slower drainage and potential freezing of the outflow line. This is less critical than your water supply, but worth monitoring.
Q: Should I heat my entire home or zone heating?
A: Zone heating. Heat only occupied spaces, shut off heat to unused rooms. We close off my guest bedroom, office, and unfinished basement in winter—this concentrates heat where I live and reduces fuel consumption by 30%. Use heavy plastic and tape to seal off vents to unused rooms.