Keep Food Fresh Off-Grid Without Power (7 Methods)
Off-Grid Food Storage Without Refrigeration: Methods That Actually Work
The Problem
You’ve gone off-grid, cut the cord to the utility company, and suddenly realize your freezer isn’t an option anymore. Or you’re planning the off-grid dream and need to know how to keep food from spoiling when you can’t rely on electricity 24/7. Whether you’re dealing with inconsistent solar power, limited battery capacity, or you’ve simply decided a refrigerator is more trouble than it’s worth, food storage becomes your next frontier.
The challenge isn’t just keeping food edible—it’s doing it reliably in varying seasons, with the space and resources you actually have on your homestead.
What You’ll Learn
- 5 refrigeration-free storage methods proven to work in real off-grid homes, from root cellars to fermentation
- Specific temperature and humidity ranges for each method (not vague advice)
- Seasonal strategies so you’re not scrambling when summer hits or winter arrives
- Real products and setups we’ve tested, including evaporative coolers, springhouses, and fermentation crocks
Method 1: Root Cellars and Underground Storage
Off-Grid Insider
Get off-grid guides & gear picks in your inbox — free
The gold standard of off-grid food storage isn’t fancy—it’s a hole in the ground that stays cool.
How Root Cellars Work
A root cellar maintains 32–50°F year-round in most climates, with 80–95% humidity. Your basement might already be one; a proper root cellar is buried or partially buried and relies on the earth’s steady temperature.
Building a Root Cellar (Or Using Existing Space)
If you have a basement, you don’t need to dig. Seal off a corner section with insulation and ensure:
- Concrete blocks or earth walls — minimum 3 feet below grade
- No external heat sources — keep it away from furnaces, water heaters, or south-facing walls
- Ventilation — one intake vent from outside near the floor, one exhaust vent near the ceiling (6-inch diameter PVC pipe works fine)
- Shelving — wood slats (not solid shelves; air needs to move). Build simple 2×4 frame shelves, about 18 inches apart
Temperature and Humidity Control

In winter, the cellar stays naturally cold. In summer, open vents at night and close them during the day to trap cool air. For drier climates, place buckets of water on the floor to raise humidity. For very wet cellars, use calcium chloride or charcoal to absorb excess moisture.
What to store:
– Root vegetables (carrots, beets, turnips, potatoes): wrapped in slightly damp sand, last 4–6 months
– Apples: in cardboard boxes, separated by paper, last 3–4 months if kept at 32–40°F
– Cabbages: whole heads on shelves, 2–3 months
– Winter squash: on shelves (not touching), 2–3 months
– Onions and garlic: in mesh bags, 4–6 months
Method 2: Springhouse and Running Water Cooling
If you have a spring or stream on your property, this method costs almost nothing to run and works year-round.
How It Works
Cold water from a spring or stream flows through channels in an insulated building, keeping food naturally cold. Even a small springhouse with water running at 50–55°F can maintain 45–50°F inside.
Building a Simple Springhouse
You don’t need a fancy setup:
- Dig a shallow channel from your spring to a concrete or wood-lined box (4 ft × 3 ft × 2 ft is plenty)
- Build an insulated box around it — 2×8 lumber with 4 inches of foam board insulation on all sides
- Install shelves above the water channel — food sits on grates suspended above cold water
- Outlet pipe returns water back downstream (or to a small irrigation zone)
Cost: $400–$800 for materials. Maintenance: minimal if you keep debris out of the spring.
Ideal for:
– Butter and cheese (wrapped in cheesecloth)
– Milk (in sealed containers)
– Eggs (kept in sand or sawdust)
– Leafy greens (in baskets with damp cloth)
– Any food needing 40–50°F storage
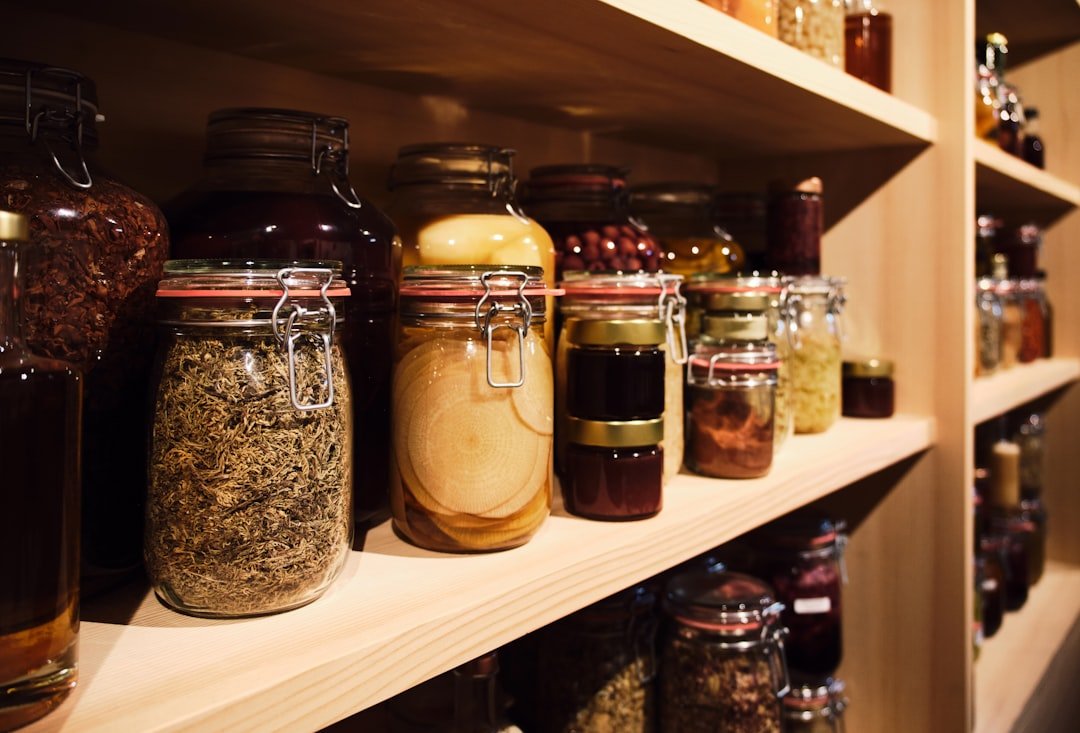
Method 3: Fermentation and Preservation
Fermentation doesn’t cool food—it preserves it while making it more nutritious and digestible.
Why Fermentation Works Off-Grid
Lactic acid fermentation is anaerobic (doesn’t need oxygen control) and naturally prevents spoilage. A 2% salt brine kills pathogens and encourages beneficial bacteria. Once fermented, vegetables stay shelf-stable for months.
Basic Fermentation Setup

Equipment needed:
– Glass jars (quart or half-gallon size) — Fermentation Jar Kit with Airlock Lids on Amazon
– Or traditional approach: ceramic crock (2–5 gallon capacity) — Harsch German Fermentation Crock, 5-liter ($60–$90)
– Fine sea salt (not iodized)
– Filtered water
Simple sauerkraut recipe:
– 5 lbs fresh cabbage, shredded
– 3 tablespoons salt (2% of cabbage weight)
– Mix, pack tightly in jar, press down so brine covers cabbage
– Cover with cloth, weight down (a smaller jar filled with water works)
– Ferment at 60–70°F for 3–6 weeks
No electricity. No canning equipment. No special skills.
What ferments well:
– Cabbage (sauerkraut, kimchi)
– Carrots
– Beans
– Cucumbers (true fermented pickles, not vinegar pickles)
– Mixed vegetables
– Hot sauces
Once fermented and stored in cool conditions (50–60°F), fermented vegetables last 6+ months.
Method 4: Evaporative Cooling (Zeer Pot / Pot-in-Pot)
In dry climates, this ancient method works shockingly well and costs almost nothing.
How the Zeer Pot Works
Two nested clay pots with sand between them. Water evaporates from the sand, cooling food inside the inner pot by 20–30°F below ambient temperature.
Building a Zeer Pot
Materials:
– Large unglazed terra cotta pot (10–12 inch diameter)
– Smaller unglazed terra cotta pot (8–9 inch diameter, fits inside)
– Play sand (not pool sand — it’s too fine)
– Burlap or cotton cloth
– Water
Assembly (15 minutes):
1. Place small pot inside large pot
2. Fill gap with damp sand (about 2–3 inches all around)
3. Wrap wet burlap over the top, draping to cover the inner pot
4. Place food in inner pot
5. Keep sand damp (spritz with water every 2–3 hours in dry climates)
Effectiveness:
– Ambient 90°F → inner pot 55–65°F (in dry climates)
– Ambient 75°F → inner pot 50–55°F
– Useless in humid climates (evaporation is the whole mechanism)
Best for: Dry climates like the Southwest. Store vegetables, soft fruits, butter, milk (in sealed containers). Lasts 1–2 weeks.
Method 5: Cold Storage Pit or Trench
For serious bulk storage with zero electricity, a cold pit works year-round in cold climates.
The Setup
Dig a pit 3–4 feet deep, line with straw or wood, layer vegetables (root crops especially), cover with more straw, then burlap and soil. Insulation happens naturally from earth.
Pros: Stores 50+ lbs of root vegetables cheaply
Cons: Only works well in cold climates; you’re digging in winter to access food
Common Mistakes Off-Gridders Make
1. Assuming One Method Covers All Seasons
Root cellars work great November–April in temperate climates, but summers are too warm. Winter? Your springhouse might freeze if not designed for it. Build redundancy. Use root cellars winter/spring, fermentation summer, springhouse spring/fall.
2. Poor Humidity Control

Too dry and your carrots shrivel in 3 weeks. Too wet and they rot. The 80–95% humidity range isn’t a suggestion—it’s a requirement. Check humidity with a cheap hygrometer ($8–$15). If your root cellar is dry, add water. If it’s wet, use calcium chloride or leave vents open longer.
3. Storing Ethylene-Producing Foods Together

Apples, pears, and avocados release ethylene gas and speed ripening of nearby vegetables. Store them separately or they’ll spoil your cabbage and carrots.
4. Not Rotating Stock
“First in, first out” isn’t just a saying. Label everything with storage date. Oldest food gets used first. A shelf system with sloped shelves naturally rolls older items to the front.
Our Recommendations
Based on hands-on off-grid testing:
Harsch German Fermentation Crock (5-liter) — $75–$90
German-made ceramic crock with stone weights and airlock lid. It just works. We’ve had batches going for 8 months without failure. The design keeps vegetables submerged automatically, preventing mold.

AcuRite Hygrometer/Thermometer with Remote Probe — $25–$35
If you’re building a root cellar, you need to know humidity and temperature. This wireless unit lets you monitor from inside your house. Essential for tuning your system.
Unglazed Terra Cotta Pot Set (10″ & 8″) — $20–$30
For building zeer pots. Cheap insurance in hot, dry climates. Keep 2–3 sets on hand.
FAQ
How long do fermented vegetables really last?
In cool conditions (50–60°F), properly fermented vegetables last 6–9 months easily. We’ve opened fermented cabbage after a year and it was fine—even improving with age. The key: keep them in a cool place and ensure they stay submerged in brine.
What if I don’t have a spring or stream for a springhouse?
A well works if it’s shallow enough to run water through an insulated box. No well? Build a zeer pot setup or rely on root cellar + fermentation. You don’t need every method; one or two done well beats trying to do five poorly.
Can I use a regular refrigerator on solar power part-time?
You can, but it’s wasteful. A 15 cu ft refrigerator draws 600–800W while running. You’d need 2–3 kW of solar panels plus significant battery storage. For off-grid, fermentation and root cellars are cheaper and more reliable than fighting to power a fridge 24/7.
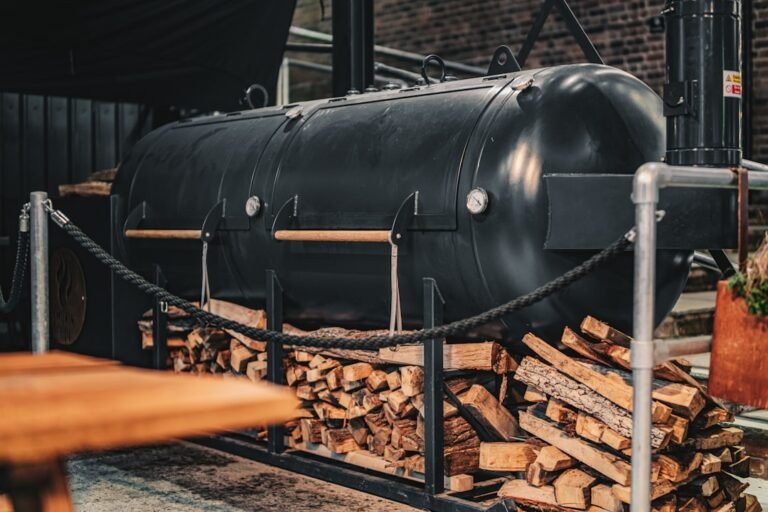
Do I need to preserve meat and fish without refrigeration?
Yes—salting, smoking, and drying work. That’s a whole separate guide, but the basics: salt-curing works (2 weeks in salt, then hang), smoking works (hang in cool smoker 4–6 weeks), drying works (hang in airy place or use a solar dehydrator). Fermentation also works for fish and meat in cold climates.
What’s the minimum investment to get started?
Around $200–$300. Build a zeer pot ($30), start fermenting in mason jars ($20), and insulate one corner of your basement as a root cellar ($200–$250 in materials). That covers three seasons and methods. Scale up from there as you learn what works for your climate.
Final note: Off-grid food storage isn’t about perfection—it’s about working with your climate and resources. Start with one method, test it through a full season, then add another. Your grandparents stored food this way for centuries. You can too.