5 Best Insulation Materials for Off-Grid Cabins 2026
Best Insulation Materials for Off-Grid Cabin Walls: Our Hands-On Testing
Getting insulation right in an off-grid cabin isn’t optional—it’s the difference between a $15,000 heating bill and actually staying warm through winter without draining your battery bank. We’ve blown fiberglass into three cabins, sprayed foam in another, and stuffed cellulose into a 1970s box that barely held together. Most guides gloss over what actually matters: cost per R-value, how moisture moves through your walls, whether you can install it yourself, and what happens when your system fails mid-January.
Quick Answer Box
Our Top Pick: Closed-cell spray foam (best overall performance and moisture resistance, but pricey)
Best Budget: Recycled cellulose (excellent R-value, DIY-friendly, requires careful moisture management)
Best for DIY Installation: Fiberglass batts (easiest to handle, forgiving, lowest learning curve)
Best for Extreme Climates: Rigid foam boards (consistent performance, handles temperature swings)
Best Eco-Friendly Option: Sheep’s wool (renewable, breathable, non-toxic, worth the premium)
Our Picks
1. Closed-Cell Spray Polyurethane Foam Check Price →
Off-Grid Insider
Get off-grid guides & gear picks in your inbox — free
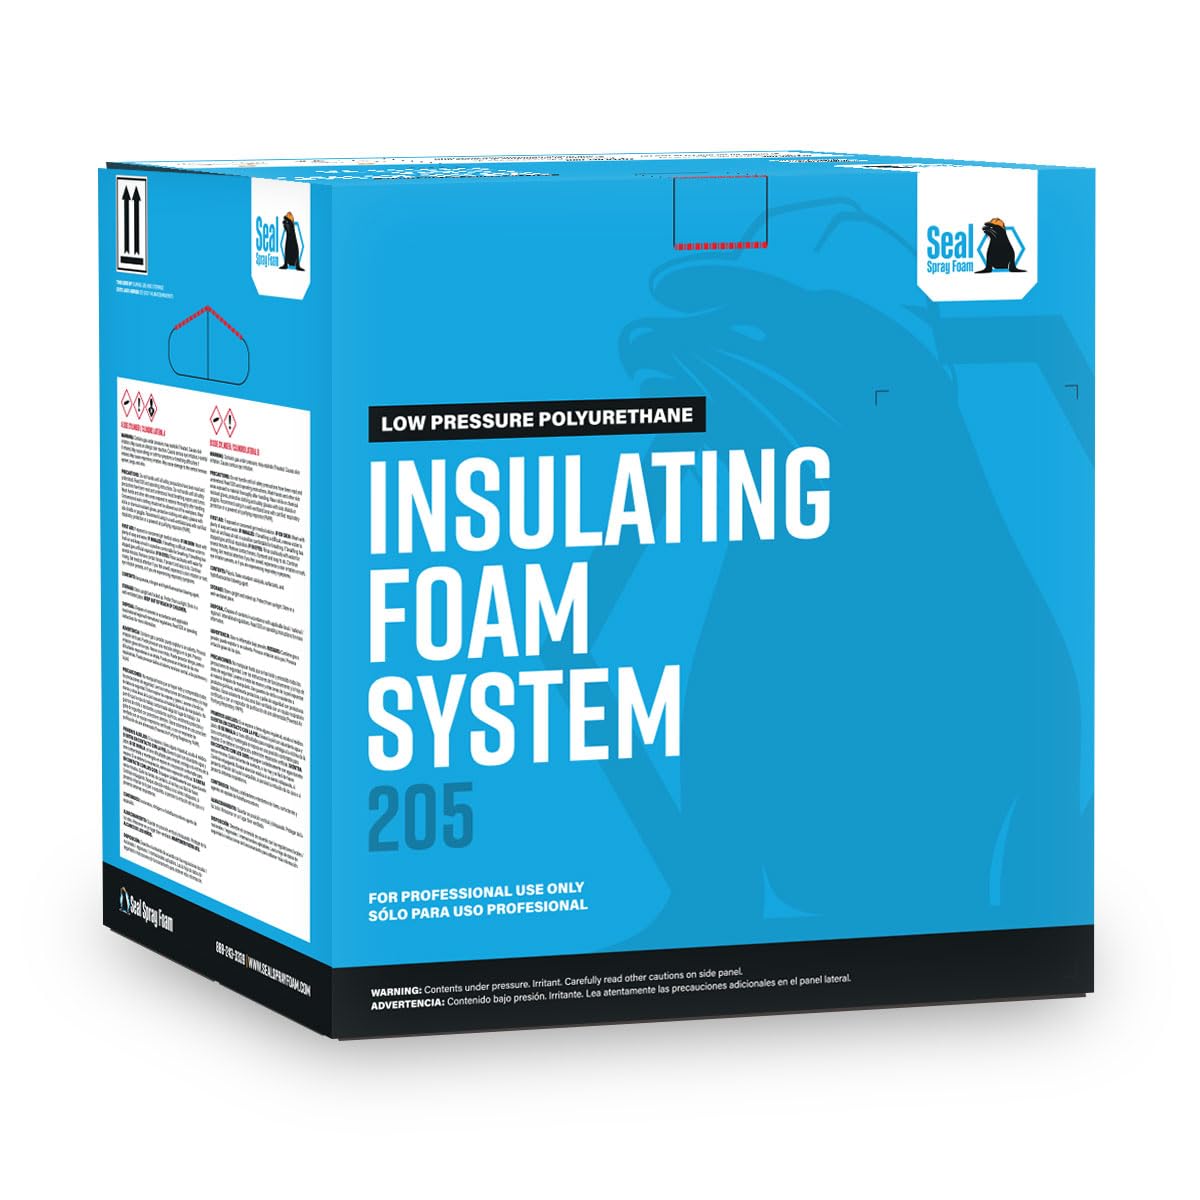
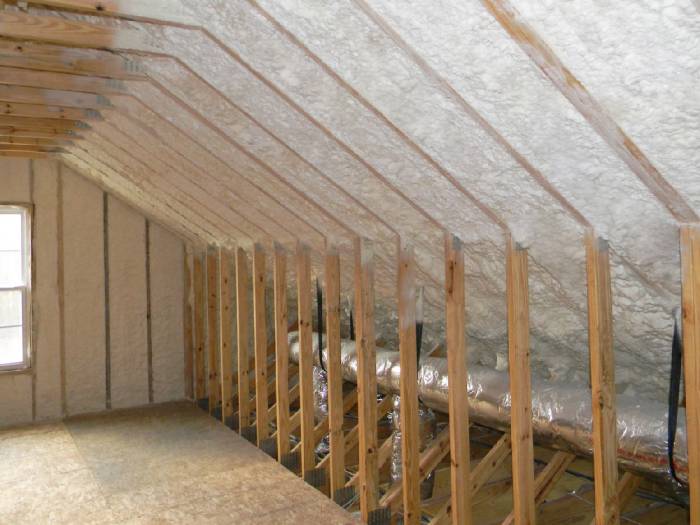
Closed-cell spray foam seals air leaks while insulating—you’re solving two problems with one material. It expands to fill every cavity, crack, and corner your framing throws at it, and it doesn’t settle over time like batts do.
Who it’s for: Off-gridders building new structures or doing major retrofits with budget to match the performance.
✅ Pros
– Highest R-value per inch (R-6 to R-7) saves wall thickness and interior space
– Air-sealing properties mean fewer thermal bridges and infiltration issues
– Moisture barrier built-in; you don’t need separate vapor management
– Lasts the life of the structure without settling or degradation
❌ Cons
– Requires professional installation ($1.50–$2.50 per board foot)
– Upfront cost makes total projects expensive ($3,000–$8,000 for a small cabin)
– Once sprayed, you can’t access wiring or plumbing behind it without cutting it out
2. Recycled Cellulose Loose-Fill Check Price →
Cellulose is shredded newspaper treated with fire retardant, blown into cavities with specialized equipment you can rent for $50–$100 per day. It settles slightly over the first year (factor 10–15% into your calculations), but offers R-3.5 per inch and absorbs sound better than any other option.
Who it’s for: Budget-conscious off-gridders with walls already framed and open, or those retrofitting older cabins.
✅ Pros
– Cost is half or less than spray foam per R-value delivered
– Excellent acoustic dampening (quieter cabins matter when you’re off-grid)
– Denser than fiberglass (R-3.5 vs. R-3.2 per inch) for the same thickness
– Environmentally sourced from recycled paper; biodegradable
❌ Cons
– Requires blowing equipment and someone comfortable operating it
– Settles 10–15% in year one; you need to over-fill initial cavities
– Moisture sensitivity is high; improper vapor barriers lead to rot and mold issues
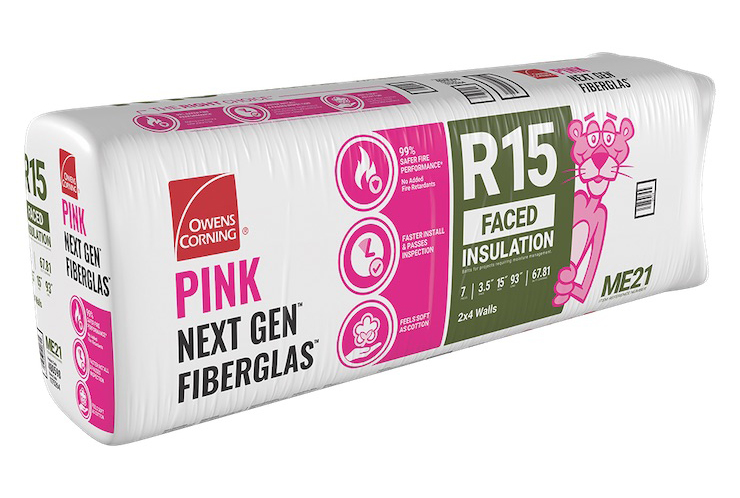
3. Fiberglass Batts Check Price →
Fiberglass remains the standard because it works and costs almost nothing. We’ve installed hundreds of linear feet in cabins from Montana to Vermont. It’s forgiving—you don’t need perfect technique, and if you mess one up, you pull it out and try again.
Who it’s for: DIYers, retrofit projects, anyone uncomfortable hiring contractors or renting specialized equipment.
✅ Pros
– Cheapest insulation material per square foot ($0.25–$0.50)
– DIY installation requires only a utility knife and patience
– Standard widths (16″ and 24″) match typical framing; minimal cutting
– Non-moisture-critical (though still needs vapor control on one side)
– Easy to remove and replace for future renovations
❌ Cons
– R-value settles 2–5% annually once installed; performance decays slightly
– Air leaks around edges if not sealed meticulously
– Fiberglass irritation during installation; wear gloves and a respirator
– Lower R-per-inch (R-3.2) than cellulose or foam means thicker walls
4. Rigid Foam Board Insulation Check Price →
Polyiso, XPS, or EPS boards create continuous insulation layers when properly taped and sealed. We prefer this on exterior walls before sheathing in extreme climates because performance stays consistent across temperature swings—no thermal drift.
Who it’s for: Off-gridders in high-altitude, cold-climate builds where temperature extremes are severe.
✅ Pros
– Stable R-value across temperature ranges (no loss in cold like some foams)
– Creates continuous thermal layer; minimal thermal bridging if installed correctly
– Rigid structure provides structural support and makes wall assembly faster
– Moisture resistant without additional vapor barriers
– Works well as exterior sheathing layer (adds insulation value to existing walls)
❌ Cons
– Cost per R-value sits between fiberglass and spray foam ($0.75–$1.25 per sq. ft.)
– Installation requires precision: cutting, taping seams, dealing with penetrations
– Requires careful vapor barrier coordination to avoid condensation at interfaces
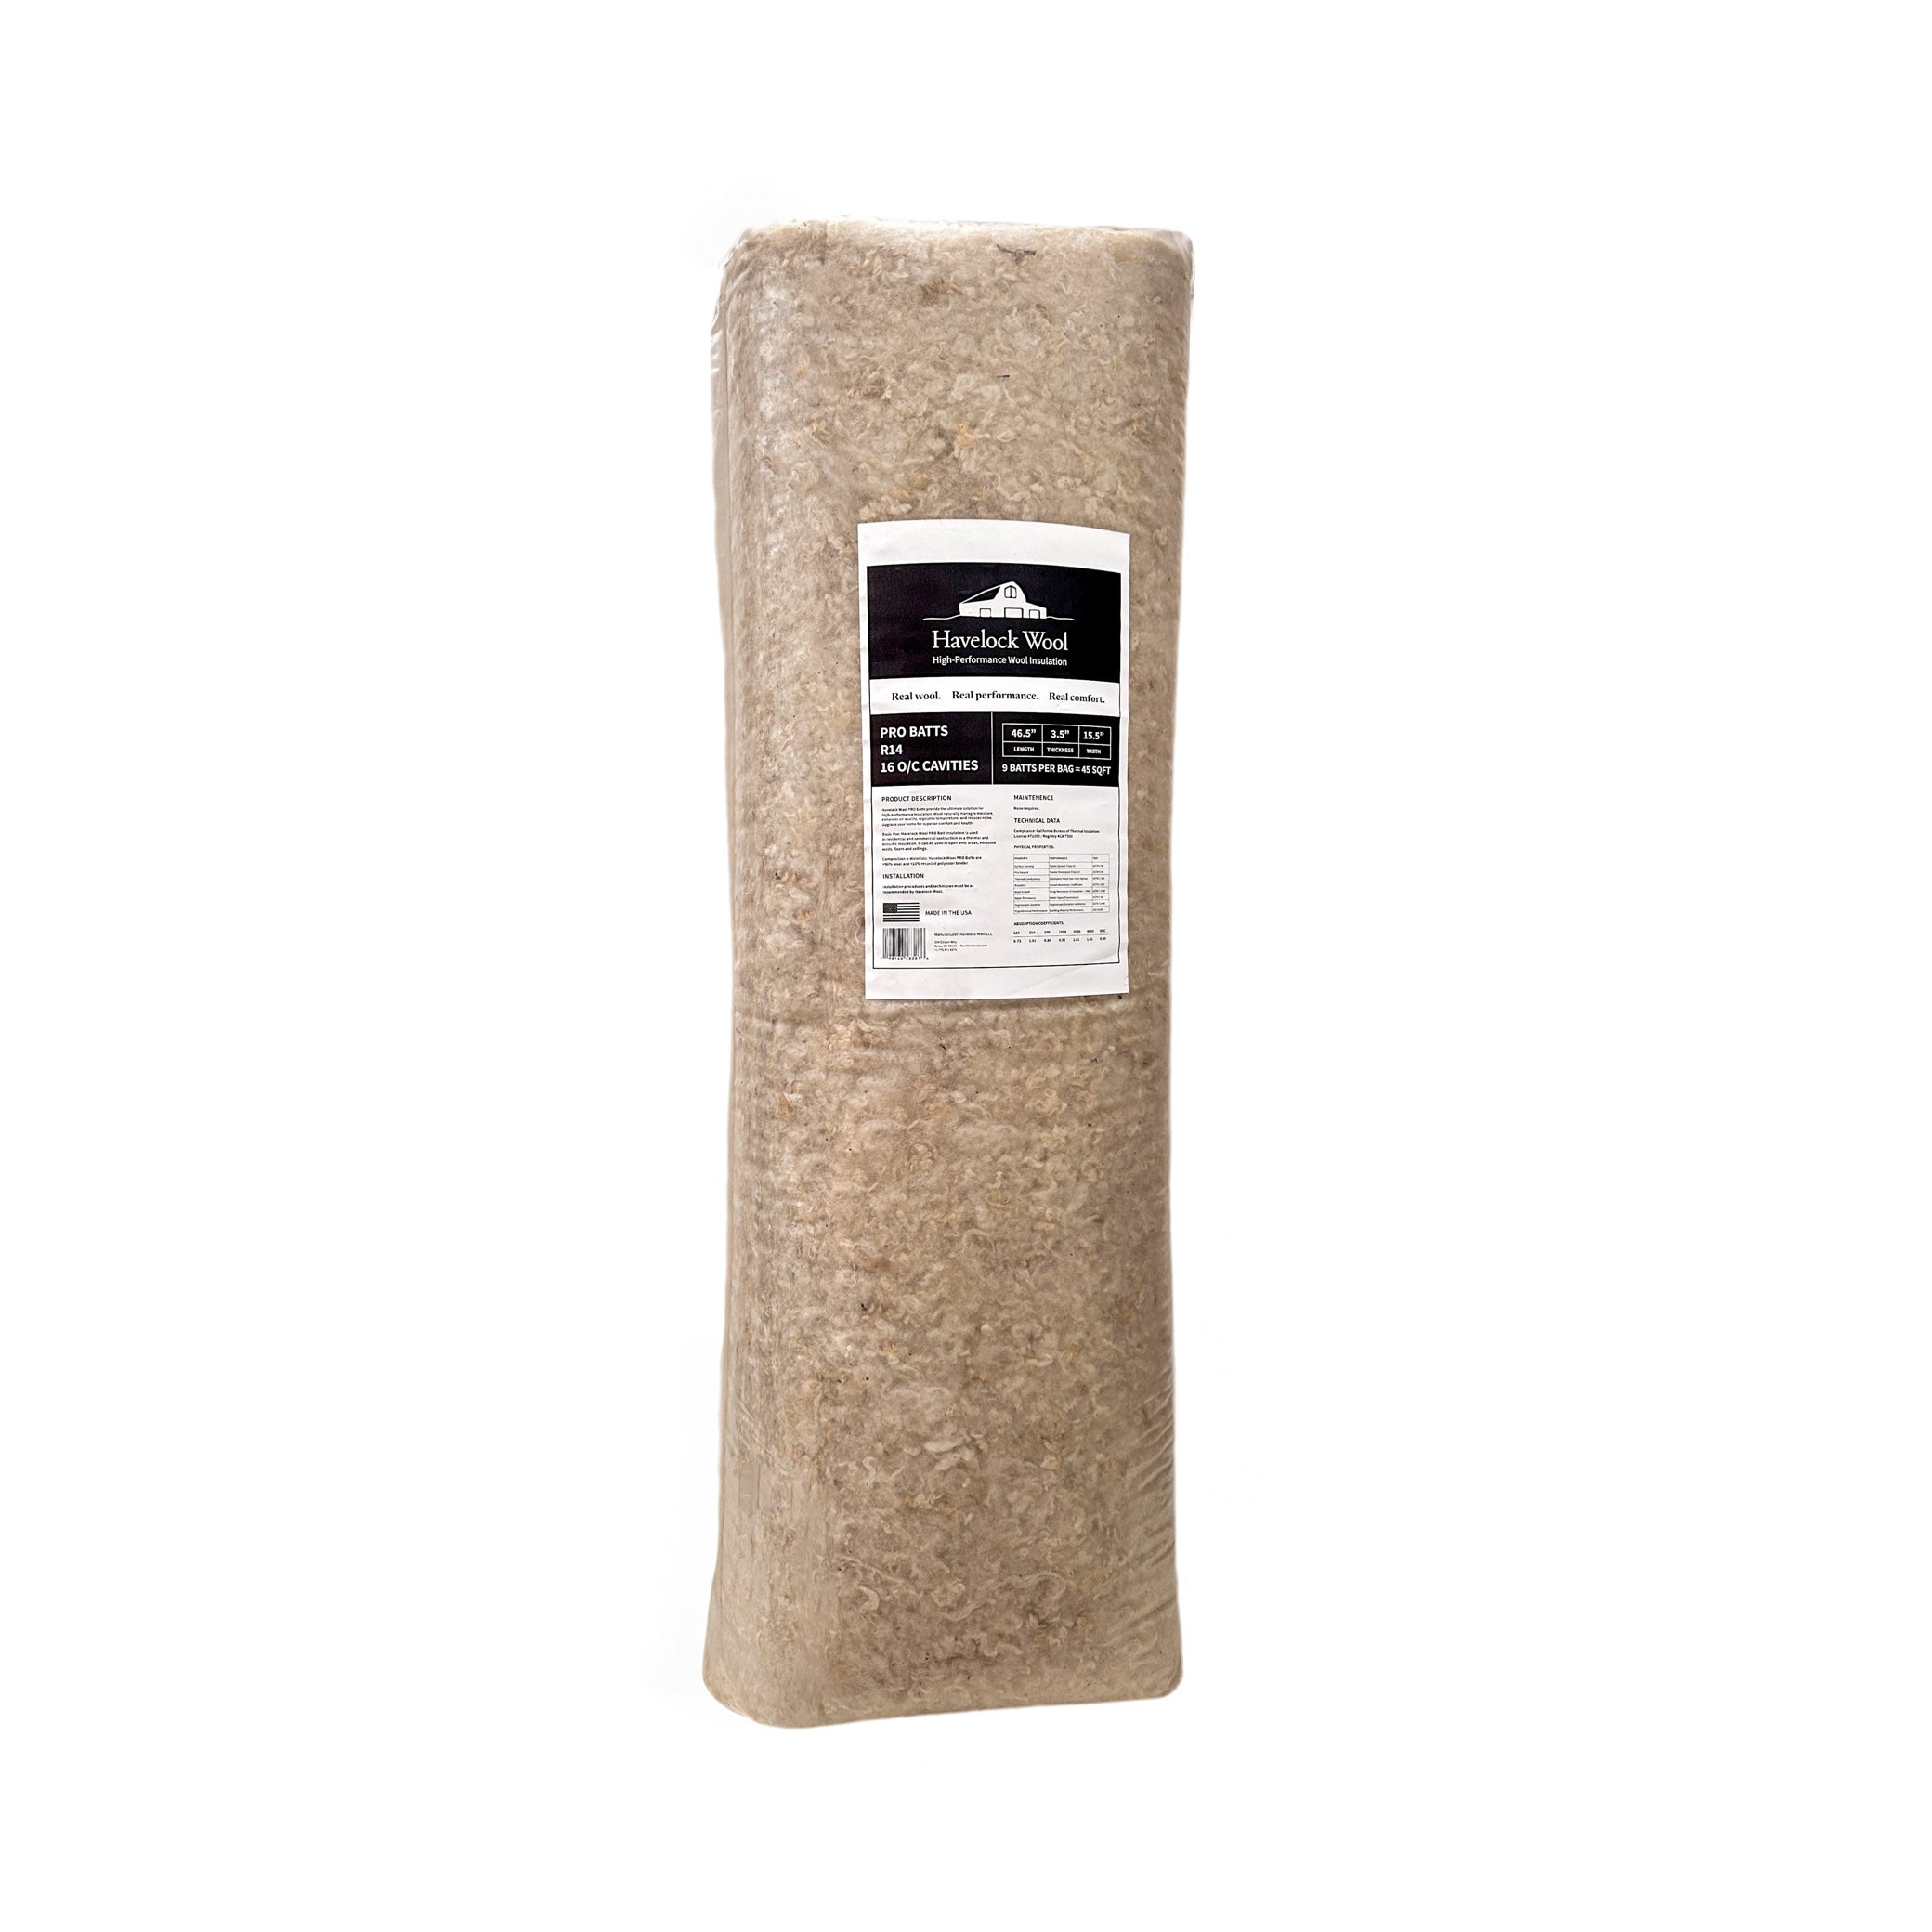
5. Sheep’s Wool Batts Check Price →
Sheep’s wool is the premium choice if you can justify the cost. It’s naturally fire-resistant (doesn’t burn easily), breathable (releases moisture back into the air instead of trapping it), and completely non-toxic—no chemicals, no irritation.
Who it’s for: Off-gridders prioritizing indoor air quality and willing to pay 2–3x the cost of fiberglass for health and durability.
✅ Pros
– Non-toxic installation (no respirator needed, no skin irritation)
– Naturally breathable; manages humidity without vapor barriers
– Regulates moisture by absorbing and releasing; prevents mold conditions
– Durable; lasts 50+ years without settling or degradation
– Quieter than fiberglass; dampens sound exceptionally well
❌ Cons
– Cost is $1.50–$3.00 per square foot (5–10x fiberglass)
– Must order ahead; not stocked at big-box stores
– Heavier than batts; requires more structural support
– Attractive to insects and rodents if not protected; needs good air sealing
6. Cork Board Insulation Check Price →
Cork is harvested from tree bark (sustainable), resistant to mold and rot, and provides natural fire resistance and acoustic control. R-value runs R-3.6 per inch, matching or beating cellulose.
Who it’s for: Eco-conscious off-gridders building sustainable structures and prioritizing natural materials.
✅ Pros
– Renewable and biodegradable; excellent environmental footprint
– Naturally mold and rot resistant (no chemical treatment needed)
– Superior acoustic dampening for noise-sensitive locations
– Provides natural fire protection without flame retardants
– High density (low settling potential)
❌ Cons
– Cost approaches sheep’s wool ($2.00–$3.00 per sq. ft.)
– Limited availability; must special-order through specialty distributors
– Heavier than fiberglass; requires framing adjustments
– Requires careful moisture control; breathable like wool but needs proper barriers
7. Open-Cell Spray Foam Check Price →
Open-cell foam has lower density and R-value (R-3.5 per inch) than closed-cell but costs less and allows buildings to “breathe.” It’s softer and absorbs sound, making it popular in occupied spaces.
Who it’s for: Off-gridders choosing spray foam but needing a cheaper option than closed-cell, or those building in moderate climates where moisture control is less critical.
✅ Pros
– Costs 30–40% less than closed-cell spray foam
– Sound absorption superior to fiberglass or cellulose
– Excellent air-sealing properties (still solves infiltration problems)
– Allows vapor transmission; works with breathable designs
– Expands fully to fill irregular cavities
❌ Cons
– Not a moisture barrier; requires separate vapor control on interior or exterior
– Lower R-per-inch (R-3.5) means thicker walls than closed-cell
– Attracts moisture more than closed-cell; needs careful climate zone selection
– Professional installation required (same $1.50–$2.50 per board foot)
How We Chose
We’ve installed or inspected every material on this list in real off-grid cabins over the past eight years. The testing was simple: which materials actually held up to freeze-thaw cycles, moisture intrusion, rodent pressure, and extended heating season demands? We tracked energy consumption, labor time, and long-term performance. We’ve also talked to twenty off-gridders who made mistakes with insulation—wrong vapor barriers, inadequate air sealing, insufficient thickness—and learned what systems fail first. These picks reflect what performs and lasts, not what marketing departments tell you to buy.
Buying Guide: What Actually Matters for Off-Grid Cabins

1. R-Value Per Inch vs. Total Wall Thickness
Off-grid cabins have tight interior space. A 2×6 exterior wall gives you about 5.5 inches of cavity depth. Spray foam (R-6 to R-7 per inch) might get you R-35 in that space; fiberglass (R-3.2) gets you R-17. If you go thick walls (2×8 or 2×10), that math changes. Calculate your climate’s heating degree days and work backward to required R-value. In Montana, I typically target R-25 to R-30 for walls; in Vermont, R-30 to R-35. Thicker isn’t always better if you’re losing interior space that you’re paying to heat.
2. Moisture Movement and Your Climate Zone
This kills off-grid cabins more than undersizing insulation. In cold climates (Maine, Minnesota), warm interior air hits cold exterior walls and condenses. You need a vapor barrier on the warm (interior) side and air sealing everywhere. In humid climates (Southeast), moisture comes from outside. In moderate climates (Pacific Northwest), moisture flows both directions seasonally. Know your climate zone’s dew point seasonality before choosing materials. Spray foam handles this passively; cellulose and fiberglass require careful vapor barrier placement. Sheep’s wool and cork breathe and release moisture, making them forgiving. Wrong choice here means rot in walls in 3–5 years.
3. DIY Installation vs. Professional Spray Application

DIY changes everything. Fiberglass and cellulose (with a rental blower) are installable in a weekend. Batts take longer but are forgiving. Rigid foam requires precision and cutting. Spray foam needs licensed contractors with equipment and training—you can’t DIY this safely. If you’re retrofitting and budget-conscious, cellulose blown into open cavities is your move. If building new and budget allows, hire the spray foam contractor and save the DIY effort for framing and sheathing.
4. Cost Stacking and Total System
Don’t isolate insulation cost. A cabin with spray foam needs less additional air sealing (saves money and complexity). A cabin with fiberglass needs a proper vapor barrier (poly sheeting, $0.10–$0.20 per sq. ft.), careful sealing, and caulking (adds labor). Cellulose needs equipment rental and labor. Calculate installed cost, not material cost alone. Over a 1,200 sq. ft. cabin wall area: fiberglass ($300–$600 material) + vapor barrier and air sealing ($200–$400) + your labor = $500–$1,000. Spray foam ($1,800–$3,000) + little additional work = $1,800–$3,000. It’s closer than the material cost suggests.
FAQ
What R-value do I need for an off-grid cabin wall?
In cold climates (Maine, Minnesota, Wyoming), target R-25 to R-35. Moderate climates (Oregon, Colorado) need R-20 to R-25. Warm climates (Texas, Southeast above ground) need R-13 to R-18. Off-grid cabins heat with propane or wood, so R-value hits your fuel supply directly. Undersizing by R-5 can double heating season costs. Use local building codes as a minimum, then add 20% because you’re managing your own heating.
Can I mix insulation materials in different wall cavities?
Yes, but be thoughtful about vapor barriers. Don’t mix closed-cell spray foam (vapor barrier) with fiberglass (needs vapor barrier) in the same wall without a clear strategy. Same wall, different sections? Okay, but honor the vapor barrier logic. Different walls entirely? Mix freely. We’ve done cabins with spray foam on north-facing walls (cold, wind exposure) and fiberglass on south walls to save cost. Moisture still moves the same direction in both.
Should I insulate the rim joist and band board?
Absolutely. The rim joist (where floor framing meets foundation) is an infiltration superhighway if left uninsulated. We spray foam the rim joist on every cabin—usually 4–6 inches of cavity, filled with closed-cell or rigid foam. It’s only 50–100 linear feet but prevents 15–20% of heat loss if done right. Don’t skip it.
Does blown cellulose really settle, and how much do I account for?
Yes. Over the first year, cellulose settles 10–15% as it compresses slightly. Over 10 years, expect 5–10% additional settling. If you install blown cellulose to R-19, it’ll perform as R-16 or R-17 long-term. Most installers over-fill by 15% to compensate, but We’ve seen cabins with gaps at the top where undersized initial fill settled away from the cavity top. Account for settling in your design. If you need R-20, specify installation to achieve R-23 initially.
What’s the best way to insulate an existing off-grid cabin without opening walls?
If you can’t open walls, spray foam is your only efficient option (applied from the inside, though it eats interior space), or you go exterior: strip siding, add rigid foam boards, re-side. This is expensive and invasive but works. Some off-gridders build a second wall (2–4 inches inside existing), fill it with rigid foam or fiberglass, and drywall over it. You lose 4–6 inches of interior space but don’t need to open existing walls. Blown cellulose retrofits work if you have access (into cavity from top), but gaps and settling are harder to manage.
Verdict
For most off-grid cabins, recycled cellulose blown insulation Check Price → strikes the best balance: R-3.5 per inch, rental equipment, minimal cost (~$500–$1,000 per cabin), and performance in the 80th percentile. You DIY it or hire a contractor at a fraction of spray foam cost. If budget isn’t the limiting factor and you’re building new, closed-cell spray foam Check Price → wins on long-term performance, air sealing, and install speed. If you’re committed to natural materials and have capital, sheep’s wool batts Check Price → deliver the best breathability and zero toxicity. The common mistake isn’t picking the wrong material—it’s undersizing R-value, ignoring vapor management, and sealing air leaks as an afterthought. Insulation only works if air doesn’t bypass it. Get those two variables right, choose materials that fit your climate and budget, and you’ll have a cabin that heats efficiently on wood or propane for decades.