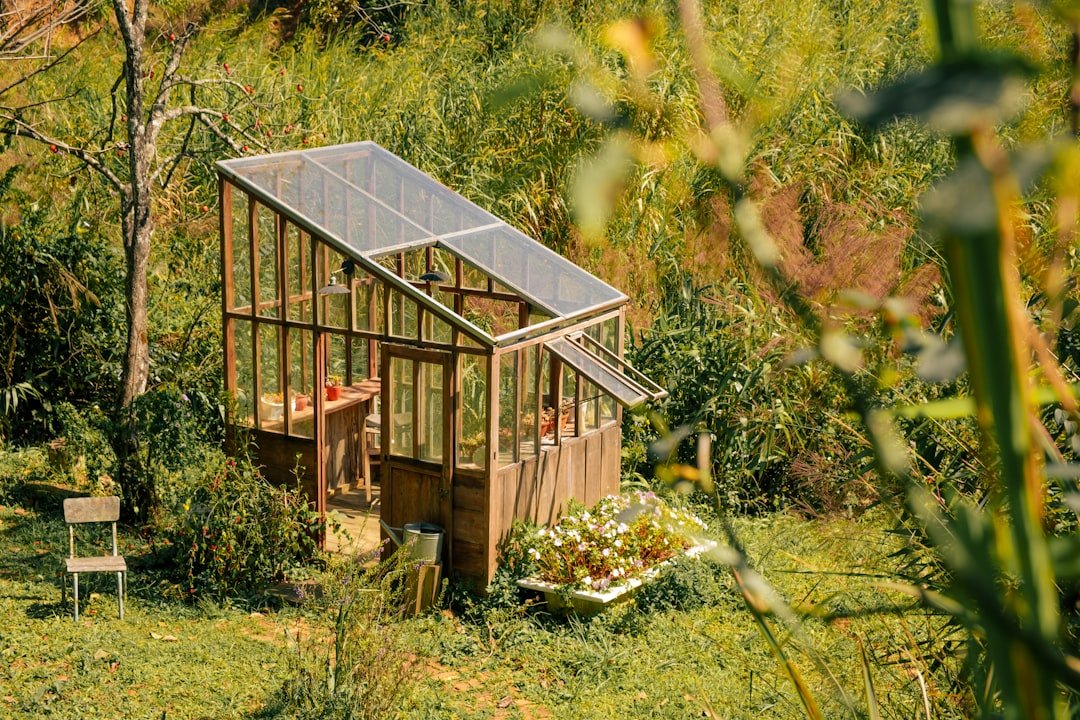
Extend Growing Season 3-4 Months (Passive Design)
Most off-grid greenhouse builds fail for the same reason: they rely on active heating systems that drain batteries, burn propane, or demand constant attention. A passive greenhouse — one that captures, stores, and regulates heat without powered systems — can extend your growing season by 3–4 months (or year-round in zones 5+) using nothing but smart design. The difference between a passive greenhouse that holds 45°F on a 10°F night and one that freezes solid comes down to orientation, thermal mass, insulation, and airflow decisions you make before pouring a single footer.
What You’ll Learn
- How to orient, size, and angle a passive greenhouse for maximum solar gain in your climate zone
- Which thermal mass materials actually work — and how much you need per square foot of glazing
- Insulation and glazing combinations that hit the sweet spot between light transmission and heat retention
- Ventilation strategies that prevent overheating without losing your stored BTUs
Orientation and Siting: Get This Wrong and Nothing Else Matters

Your greenhouse’s long axis must run east-to-west. This maximizes the south-facing glazing area, which is where 80–90% of your winter solar gain comes from. A 12×24-foot greenhouse with its 24-foot wall facing true south will capture roughly twice the winter BTUs of the same structure oriented north-to-south.
True south vs. magnetic south matters. Depending on your location, magnetic declination can be 10–20° off. Use the NOAA declination calculator or a smartphone compass app corrected for your area. Being 15° off true south costs you about 5–7% of peak winter solar gain — not catastrophic, but worth getting right when it’s free to do so.
Site Selection Checklist
Off-Grid Insider
Get off-grid guides & gear picks in your inbox — free
- No shading from 9 AM to 3 PM, November through February. That’s your critical solar window. A single large deciduous tree to the south, even without leaves, can block 15–20% of low-angle winter sun through branch density alone.
- Wind protection on the north and northwest sides. A windbreak (fence, berm, evergreen hedge) 15–25 feet from the greenhouse reduces convective heat loss significantly. Wind at 15 mph can double the heat loss through glazing.
- Slight south-facing slope is ideal — 5–10% grade improves drainage and angles the structure toward the winter sun.
- Proximity to your home or kitchen. You’ll check it daily. A greenhouse 200 feet from your back door gets neglected in January.
The South Wall: Glazing Angle and Material
Glazing Angle
The optimal south-wall angle equals your latitude plus 15–20° for winter-biased heating. At 40°N latitude, that means a glazed wall angled at 55–60° from horizontal. This puts the glass perpendicular to the low winter sun (altitude ~27° at solstice), maximizing transmission when you need heat most.
Vertical south walls (90°) are simpler to build and still perform well — they capture about 75–80% of the energy an optimally angled wall gets in winter, while naturally rejecting more summer sun. For most DIY builders, vertical south glazing is the practical sweet spot.
Glazing Materials Compared
| Material | Light Transmission | R-Value | Lifespan | Best For |
|---|---|---|---|---|
| Single-layer glass | 90% | ~0.9 | 25+ years | Mild climates (zone 7+) |
| Double-wall polycarbonate (8mm) | 80% | 1.5–1.7 | 10–15 years | Zones 5–7, best all-around |
| Triple-wall polycarbonate (16mm) | 70% | 2.5 | 10–15 years | Zones 3–5, extreme cold |
| Double-layer polyethylene film | 78% | ~1.5 | 3–4 years | Budget builds |
For most off-grid builders in zones 4–7, 8mm twin-wall polycarbonate is the go-to. It’s light, shatter-resistant, easy to cut with a circular saw, and the twin-wall air gap provides meaningful insulation without sacrificing too much light. Brands like Palram/Canopia and VIVOSUN sell full sheets in 4×8 and 4×12-foot panels.
8mm Twin-Wall Polycarbonate Panels on Amazon
The North Wall: Your Insulation and Reflector
This is what separates a passive greenhouse from a regular greenhouse. The north wall should be fully insulated and opaque — no glazing. Glazing the north wall is a net energy loser in every zone north of about 32°N latitude.
Build It Like a House Wall

- Frame with 2×6 studs, 24″ on center
- Fill cavities with R-19 mineral wool or fiberglass batts
- Sheath the exterior with OSB or plywood, then a weather barrier
- Interior face: install rigid foam insulation (1–2″ XPS or polyiso), then cover with reflective material
The Reflective Interior
Paint the interior north wall flat white (reflectance ~85%) or attach Mylar-faced bubble wrap insulation. White paint is more durable and nearly as effective. The reflected light bounces back to your growing beds, boosting effective light levels 10–15% on the north side of the greenhouse where plants otherwise struggle.
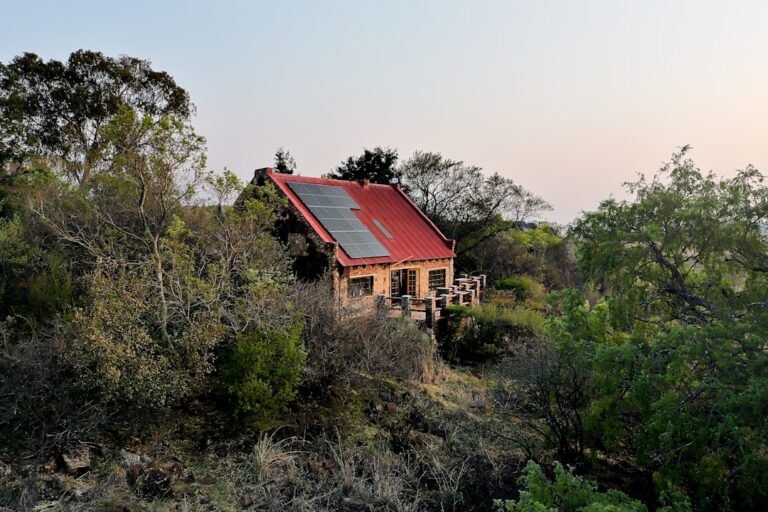
The east, west, and roof (north half) should also be insulated. A common and effective design is the shed-style or lean-to — fully glazed south wall, insulated on all other sides, with a single-slope roof pitching down from south (high) to north (low).
Thermal Mass: The Battery That Runs on Sunlight
Thermal mass absorbs heat during the day and releases it at night. Without it, your passive greenhouse overheats by noon and freezes by midnight. The math is straightforward:
- Water stores ~62 BTUs per cubic foot per °F — the most cost-effective thermal mass
- Concrete/stone stores ~22 BTUs per cubic foot per °F
- Soil stores ~20 BTUs per cubic foot per °F
How Much Water Thermal Mass Do You Need?
The rule of thumb from solar greenhouse designers (including the team at Ceres Greenhouse Solutions and Marc Plinke’s research): 2–3 gallons of water per square foot of south-facing glazing.
For a greenhouse with 200 sq ft of south glazing, that’s 400–600 gallons of water. That sounds like a lot, but it’s just 8–12 standard 55-gallon drums, which fit neatly along the north wall.
Paint the drums flat black on the sun-facing side to maximize absorption. Stack them if ceiling height allows — vertical surface area matters more than floor footprint.
Black 55-Gallon Water Storage Drums on Amazon
Water Tube Alternatives

If drums feel bulky, vertical water tubes (sold specifically for greenhouse thermal mass) hold 40–55 gallons each and take up less floor space. Suppliers like Solar Components Corporation make purpose-built fiberglass water tubes, but translucent black poly tubes from agricultural suppliers work fine at a fraction of the cost.
Insulated Foundation: Stop Losing Heat to the Ground
An uninsulated foundation bleeds heat into the earth all winter. Install 2-inch rigid XPS foam around the perimeter foundation, extending 2 feet down vertically and 2 feet out horizontally (a “frost skirt”). This creates a bubble of warm soil beneath your greenhouse that itself becomes thermal mass over time.
2-Inch XPS Rigid Foam Insulation Boards on Amazon
For earth-sheltered or walipini-style greenhouses (dug 3–4 feet into the ground), the surrounding soil temperature at that depth stays 45–55°F year-round in most of the continental US — free baseline heating.
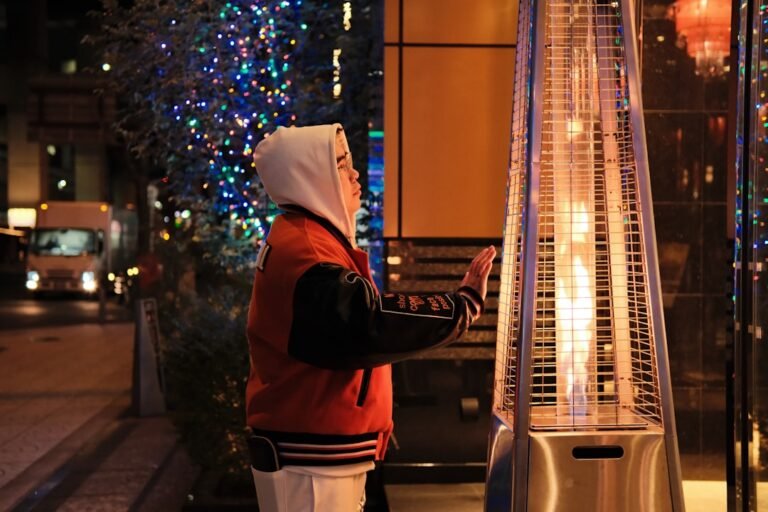
Ventilation: The Part Most Builders Forget
A sealed passive greenhouse will hit 110°F+ on a sunny 40°F day. You need ventilation, but passive ventilation so you’re not running fans on battery power.
Ridge Vents and Low Intakes
Hot air rises. Place operable vents at the highest point of the south-facing roof and low intake vents near ground level on the side walls. The stack effect pulls cool air in low and pushes hot air out high. Size your ridge vent opening at roughly 1 sq ft per 50 sq ft of floor area.
Automatic Vent Openers
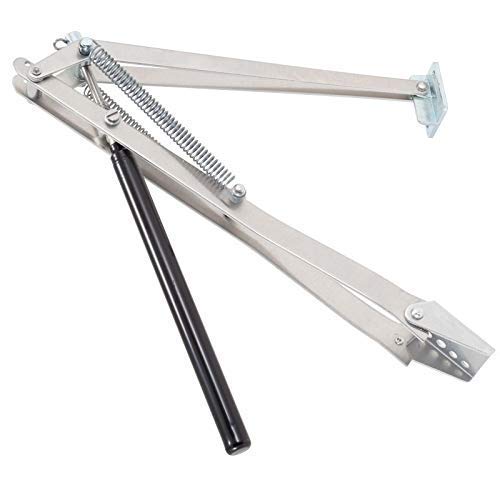
Wax-cylinder vent openers (like the Univent or Gigavent by Bayliss) are completely unpowered — the wax expands when heated, pushing the vent open. They start opening around 55–68°F (adjustable) and fully open by 85°F. At roughly $30–40 each, they’re one of the best investments in any passive greenhouse.
Automatic Greenhouse Vent Opener on Amazon
Install at least two — one is a single point of failure. Community feedback consistently flags single-opener setups as a top frustration when the one unit sticks or fails.
Common Mistakes
Glazing all four walls. We see this constantly. A greenhouse glazed on all sides looks impressive but loses heat through every surface at night. North, east, and west glazing are net energy losers in cold months. Insulate them.
Not enough thermal mass. Five-gallon buckets of water scattered around the floor aren’t going to stabilize temperatures in a 200 sq ft greenhouse. You need hundreds of gallons, concentrated where sun hits directly, to create a meaningful thermal flywheel.
Skipping the perimeter insulation. Builders spend $1,500 on polycarbonate panels, then pour a concrete slab with zero insulation underneath. The ground conducts heat away 24/7. A $150 investment in perimeter XPS foam pays for itself the first winter.
Oversizing for your actual needs. A 12×16 passive greenhouse is enough to supply year-round greens and start spring seedlings for a family of four. Going bigger means more thermal mass required, more glazing to maintain, and more volume to heat. Start smaller than you think you need.
Our Recommendations
Best All-Around Polycarbonate Panels
Palram SunTuf or VIVOSUN Twin-Wall 8mm Panels — Available in 4×8 foot sheets, easy to cut and install on wood or aluminum framing. The 8mm twin-wall provides R-1.6 and 80% light transmission — the best balance for zones 5–7.
VIVOSUN 8mm Twin-Wall Polycarbonate Panels on Amazon
Best Automatic Vent Openers
Bayliss Univent Standard — Opens at ~55°F, fully open by ~85°F, lifts up to 15 lbs. No wiring, no batteries, no maintenance beyond occasional cleaning. Trusted in commercial greenhouse applications for decades.
Bayliss Univent Automatic Vent Opener on Amazon
Best Budget Thermal Mass

55-Gallon Poly Drums (food-grade, closed-top) — Fill with water, paint the sun-facing side flat black, line them along your north wall. Eight drums give you 440 gallons of thermal mass for under $200 total. Nothing beats the cost-per-BTU of stored water.
55-Gallon Food Grade Water Storage Drums on Amazon
FAQ
How cold can a passive greenhouse stay above freezing?
A well-designed passive greenhouse with adequate thermal mass (2.5+ gallons of water per sq ft of glazing) and insulated on three sides typically stays 20–30°F warmer than outside temps overnight. In zone 5, that means holding above freezing on most nights down to about 10°F outside, without any supplemental heat.
Can I convert an existing greenhouse to passive design?
Yes, and the north wall is where to start. Insulating and adding reflective material to the north wall is the single highest-impact retrofit. Adding water barrels along that wall is step two. These two changes alone can shift overnight lows by 10–15°F.
Does a passive greenhouse work in cloudy climates like the Pacific Northwest?
It works but with reduced performance. With fewer direct-sun hours, your thermal mass charges less during the day. Builders in the PNW typically add 30–50% more thermal mass than the standard rule of thumb and lean toward triple-wall polycarbonate (16mm) for better insulation. You’re managing a smaller energy budget, so reducing losses matters even more.
What’s the minimum size for effective passive heating?
Below about 80 sq ft of floor area, the surface-to-volume ratio works against you — too much wall area relative to the enclosed air volume. A 10×8-foot footprint is a practical minimum. Larger volumes (up to about 12×24 feet for a home-scale build) hold heat better overnight because the thermal mass-to-surface ratio improves.
Do I need a building permit for a passive greenhouse?
In most US jurisdictions, structures under 120–200 sq ft (varies by county) on a non-permanent foundation don’t require a permit. A 12×16 greenhouse on poured piers may or may not trigger one. Check your local building department — a five-minute phone call can save you a headache and a fine.