How to Build a Root Cellar (Store 200+ lbs Produce)
If you’re growing more food than you can eat fresh — or buying in bulk to avoid trips to town — you need somewhere cool, dark, and humid to store it. A refrigerator won’t cut it for 200 pounds of potatoes, 50 pounds of carrots, and a winter’s worth of canned goods. A properly built root cellar keeps produce viable for months without a single watt of electricity, and it’s one of the most practical investments you can make on a homestead.
The problem is that most “root cellar guides” online are either Pinterest fantasy builds or vague instructions that skip the details that actually matter — drainage, ventilation sizing, and vapor barriers. We dug into building science, USDA food storage guidelines, and feedback from dozens of homesteaders who’ve built their own to put together a guide you can actually break ground with.
What You’ll Learn
- Site selection and excavation basics — where to dig, how deep, and what soil conditions to watch for
- Materials, structure, and waterproofing — concrete block vs. culvert vs. earth-sheltered designs with real product specs
- Ventilation and temperature control — how to maintain 32–40°F and 85–95% humidity year-round
- Shelving, organization, and what to store — maximizing capacity and preventing spoilage
Choosing Your Site
Location matters more than construction method. Get this wrong and you’ll fight water problems forever.
Ideal Conditions
Off-Grid Insider
Get off-grid guides & gear picks in your inbox — free
- North-facing hillside — the single best location. The hill provides natural earth cover on three sides, and a north exposure avoids direct solar heating. If you don’t have a hillside, you can build a fully buried or semi-buried cellar on flat ground, but excavation and drainage work increases significantly.
- Well-drained soil — sandy loam or gravelly soil drains naturally. Heavy clay holds water against your walls and is the number-one cause of failed root cellars. If you’re on clay, you’ll need an aggressive French drain system around the entire perimeter.
- Below the frost line — in most of the continental US, that means the floor should be at least 4 feet below grade. In northern states and Canada, 6–8 feet is common. Check your local frost depth at your county extension office.
- Away from large trees — roots will eventually crack block walls and compromise waterproofing. Keep at least 15–20 feet from mature trees.
What to Avoid
Don’t build in a low spot where water collects. Don’t build where your water table is less than 2 feet below your planned floor level. If you’re unsure about your water table, dig a test hole to your planned depth in spring (when the table is highest) and wait 48 hours. Standing water means you need to go shallower or pick a different spot.
Three Proven Root Cellar Designs
1. Concrete Block Cellar (Most Common)
This is the standard for a reason — durable, relatively affordable, and customizable to any size. A typical 8×10-foot interior provides enough storage for a family of four through a full winter.
Materials overview:
- 8-inch concrete masonry units (CMU) for walls — roughly 200–250 blocks for an 8×10 build
- 4-inch concrete slab floor with 6-mil poly vapor barrier underneath
- Poured concrete or precast slab roof (must support the earth load above — engineer this or use a conservative 6-inch reinforced pour)
- Rebar (#4, ½-inch) for wall reinforcement and roof slab
- 6-mil polyethylene vapor barrier — goes under the slab and over exterior walls before backfill
Key specs: Fill every other core with concrete and rebar vertically. Use a bond beam (horizontal rebar in a grouted channel) at the top course. This isn’t optional — earth pressure against the walls will crack unreinforced block.
2. Culvert Cellar (Fastest Build)
A corrugated steel or concrete culvert pipe buried horizontally is the fastest path to a working root cellar. A 10-foot section of 6-foot-diameter corrugated steel culvert gives you roughly 28 square feet of usable floor space.
Corrugated steel culvert pipe — check local suppliers first, as shipping costs on these are brutal. Many farm supply stores stock them or can order them.
Pros: Fast installation (can be functional in a weekend with an excavator), naturally strong against earth loads.
Cons: Limited interior height unless you go to 8-foot diameter, condensation management is trickier on steel, and the curved walls make shelving less efficient.
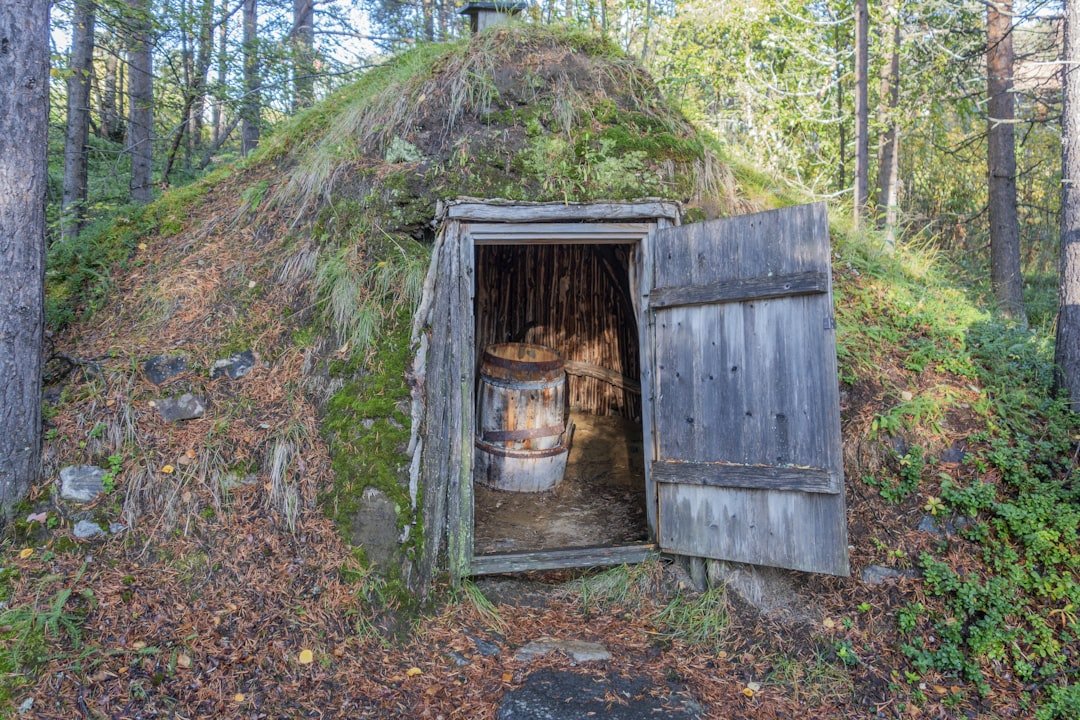
3. Earth-Bermed Walk-In (Best for Hillsides)

If you have a north-facing slope, you can dig horizontally into the hill rather than straight down. The front wall and door are the only exposed surfaces. This design offers the most stable temperatures because you have earth on five of six sides.
Frame the front wall with pressure-treated lumber or pour a concrete face. The door should be insulated — we recommend a solid-core exterior door with weatherstripping, not a hollow interior door.
Waterproofing — The Make-or-Break Step
More root cellars fail from water intrusion than any other cause. This is not where you cut costs.
Exterior Waterproofing System
- Parge coat — apply a ⅜-inch layer of Type S morite over all exterior block surfaces to fill pores
- Membrane — brush or roll on two coats of foundation waterproofing membrane like Henry 107 or Drylok Latex
- Drainage board — install dimple drainage board over the membrane. This creates an air gap that channels water down to your footing drain instead of letting it sit against the membrane
- French drain — lay 4-inch perforated pipe in gravel at the footing level, sloped to daylight or a dry well. Wrap the pipe in landscape filter fabric to prevent sediment clogging
The Floor
Pour your slab over 4 inches of compacted gravel with the 6-mil poly barrier between gravel and concrete. Some builders leave the floor as compacted gravel — this helps maintain humidity but makes cleaning harder and can attract rodents. Our recommendation: pour the slab and manage humidity through ventilation instead.
Ventilation — Getting the Temperature and Humidity Right

A root cellar needs two vents: one low intake and one high exhaust. This creates natural convection — cool air enters low, warms slightly from the stored produce, rises, and exits high.
Sizing
For an 8×10-foot cellar, use 4-inch diameter PVC pipes — one intake entering near floor level on the cool side, one exhaust exiting near the ceiling on the opposite wall. For cellars larger than 100 square feet, step up to 6-inch pipe.
Critical Details
- Intake pipe should extend outside and face north or be shaded — warm air intake defeats the purpose
- Install a screen or hardware cloth over both openings to keep rodents out
- Add a damper or blast gate to each pipe so you can throttle airflow in extreme cold (you don’t want the cellar to freeze) or extreme heat
- Inline blast gate damper, 4-inch — simple, effective, and about $10
Target Conditions
| Condition | Target Range |
|---|---|
| Temperature | 32–40°F (0–4°C) |
| Humidity | 85–95% |
| Air changes | 2–4 per day |
Hang a min/max thermometer with hygrometer inside so you can monitor conditions at a glance and adjust your dampers seasonally.
Shelving and Organization
Use rot-resistant materials. Pressure-treated lumber is fine since you’re not storing food in direct contact with the wood — produce sits on the shelves in bins or crates.
- Keep shelves 1–2 inches away from walls to allow air circulation and reduce condensation contact
- Don’t store apples with potatoes — apples release ethylene gas that causes potatoes to sprout faster. Separate them by at least 6 feet, or store apples in a sealed container
- Use slatted shelving or wire rack shelving for maximum airflow — heavy-duty wire shelving units work well and resist moisture better than wood
Storage life in a properly maintained root cellar:
| Produce | Expected Storage Life |
|---|---|
| Potatoes | 4–6 months |
| Carrots (in damp sand) | 4–5 months |
| Apples | 2–4 months |
| Onions | 3–5 months |
| Cabbage | 3–4 months |
| Canned goods | 12+ months |
Common Mistakes
-
Skipping the drainage system. “My soil drains fine” is famous last words. Even sandy soil can channel water against your walls during a heavy rain. Install the French drain. It costs a few hundred dollars and prevents thousands in damage.
-
Only one vent (or no vents). Without proper convection, humidity skyrockets past useful levels into mold territory, and temperatures won’t stabilize. You need both an intake and an exhaust, on opposite walls, at different heights.
-
Using interior-rated doors. A hollow-core door will rot within two seasons in root cellar humidity. Use a solid-core exterior door, or build one from 2-inch planks. Add weatherstripping to manage airflow through the entry.
-
Building too close to the house foundation. Excavating near your home’s footings can undermine structural support. Stay at least 10 feet away, or consult a structural engineer if you’re building closer.
Our Recommendations
Best Monitoring Setup: ThermoPro TP65A Hygrometer

ThermoPro TP65A Indoor Outdoor Thermometer Hygrometer — wireless, so you can mount the sensor inside the cellar and read temperature and humidity from your house. Tracks 24-hour min/max. Under $25. This is the first thing to buy because you’ll use it to dial in your ventilation dampers.
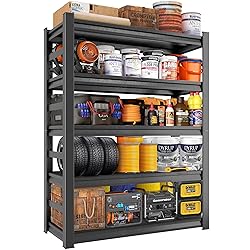
Best Shelving: Seville Classics UltraDurable Steel Wire Shelving
Seville Classics 5-Tier Steel Wire Shelving — chrome-plated steel resists the high humidity far better than particleboard alternatives. Each shelf holds up to 500 lbs. The open wire design promotes airflow around stored produce. Adjustable shelf heights let you accommodate everything from quart jars to bushel baskets.
Best Waterproofing Membrane: Henry 107 Asphalt Emulsion

Henry 107 Asphalt Emulsion Dampproofing — widely available, brush-on application, and proven in below-grade foundation work. Two coats over a parge coat is the standard approach recommended by most masonry contractors for below-grade walls.
FAQ
How much does it cost to build a root cellar?
A basic 8×10-foot concrete block root cellar typically runs $2,000–$5,000 in materials if you do the labor yourself. The biggest variable is whether you rent an excavator (~$300–$500/day) or dig by hand. Hiring out the full build can run $10,000–$25,000 depending on your region and site conditions.
Can I convert my basement into a root cellar?
Yes — partition off a north-facing corner with insulated walls, add ventilation to the outside, and you have a functional root cellar. The challenge is that most basements are too warm (60°F+) and too dry. You need the ventilation to pull in outside cold air and may need to occasionally dampen the floor to boost humidity. This works best in climates with cold winters.
How deep does a root cellar need to be?
Deep enough to get below the frost line with at least 2–3 feet of earth cover over the roof. In most of the US, that means the ceiling is 4–6 feet below grade and the floor is 8–10 feet down. The deeper you go, the more stable your temperatures, but excavation costs rise accordingly.
Do I need a building permit for a root cellar?
In most jurisdictions, yes — any below-grade structure requires a permit. Some rural counties are more relaxed, but check before you dig. The permit process may require engineered drawings, especially for the roof slab that must support the backfill load. Skipping this step can create problems when you sell the property.
Will a root cellar work in warm climates?
It can, but performance drops significantly. In USDA zones 8–10, ground temperatures at depth may stabilize at 55–65°F rather than the ideal 32–40°F. That’s still useful for extending the life of some produce and storing canned goods, but you won’t get the multi-month storage of root vegetables that a cellar in zone 5 provides. Going deeper helps — 12 feet down is cooler than 6 feet anywhere.